Repairing a damaged acoustic guitar bridge plate
I’m going to talk about bridge plates.
I’ve touched on these before when I discussed stringing an acoustic guitar and mentioned how important it was to ensure the string ball-ends were well seated. Super-quick recap: If the string ball end isn’t pressed good-and-proper against the bridge plate, the string can actually start to saw into the plate. Over time, the bridge can get hacked away. Give it long enough and this can compound, damaging the guitar soundboard and bridge too. Check out that previous article on ball ends and bridge plates for tips on how to prevent this happening.
If it’s already happened, though, what do you do?
Well, much of the time the solution is to replace the bridge plate. This means removing the current plate, making a new one and installing it. That’s a pretty involved job. I’ll write about it if I remember to take photos next time I do it*. Obviously enough, ‘involved’ frequently translates to ‘expensive’ and, in a lot of cases, replacing a bridge plate can be something best avoided.
The other option is patching.
Patching used to involve glueing a new slab of wood over the existing plate and drilling through it.
While this sort of patch has its place where instruments or budget does’t allow a replacement, it’s not my preferred route. An acoustic guitar depends on a vibrating soundboard for the bulk of its tone. If you glue what is, effectively, a second bridge plate over the top of the current plate (probably more than doubling the overall thickness), you risk altering the instrument’s voicing. This work can be done more sympathetically, of course, but I’ve seen some terrible jobs, with ridiculously thick hunks of wood glued on.
Because of that, I’m happy that Dan Erlewine and the Stew Mac crew came up with a better solution**.
Behold the Bridge Saver.
This is really quite clever.
We start off with a bridge plate that’s been hacked up. Then we use the first of the bridge saver tools, the plate cutter.
The tool is installed inside the guitar body. Sorry for the blurriness of the internal images, by the way. They’re actually reflections in my inspection mirror.
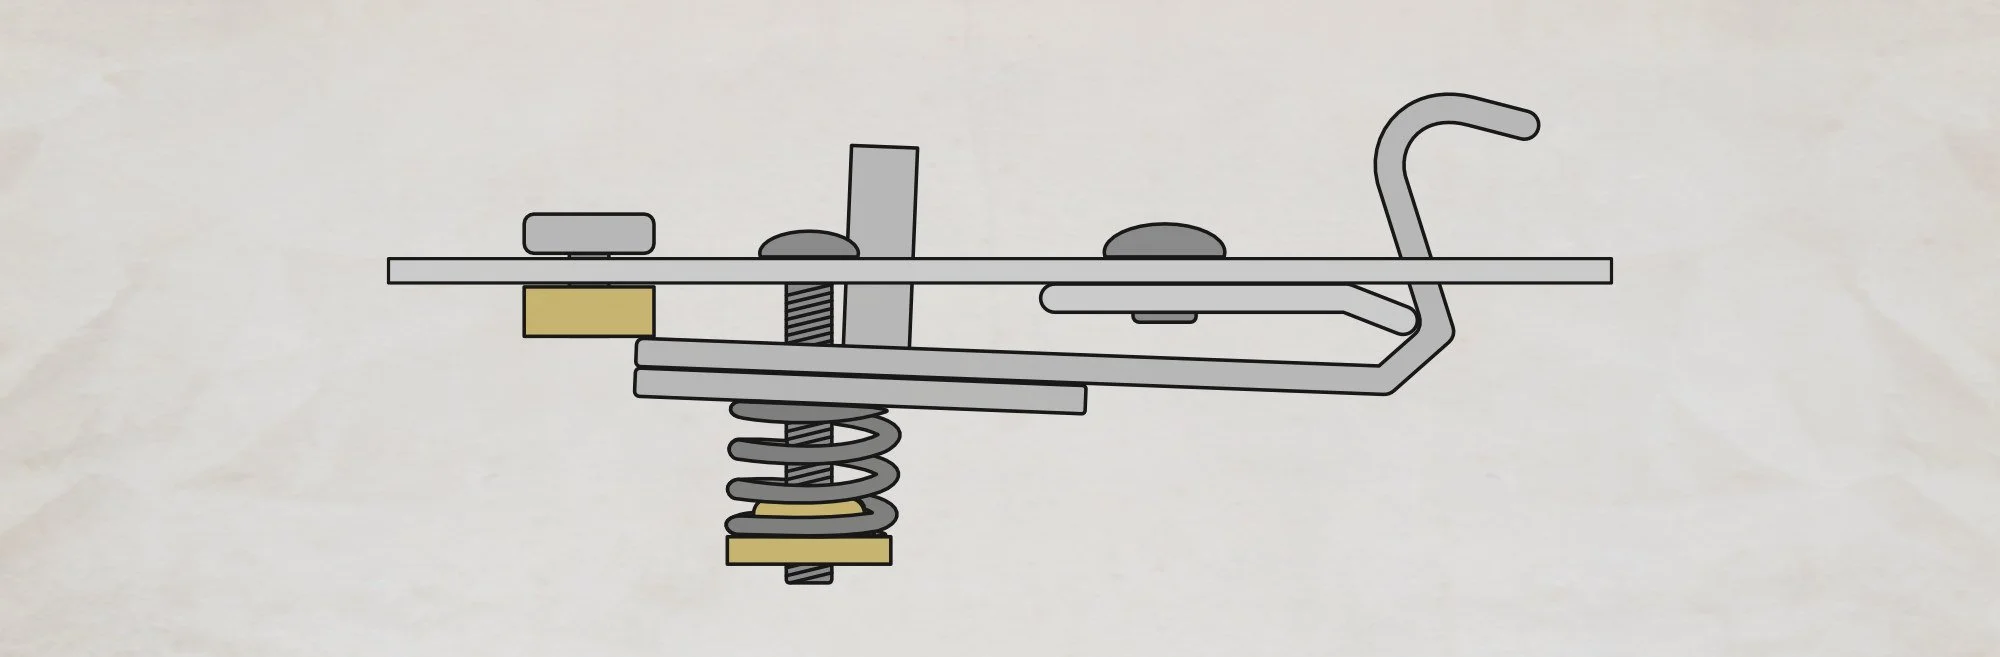
The threaded portion pokes though a bridge pin hole and those curved cutting blades bear against the bridge plate inside.
Around the outside, the tool is threaded into a brass base so it’s snug and a small tap-style handle turns the cutter. The cutter threads itself deeper into the base on the outside while, inside, the blades cut a dish-shaped hollow in the bridge plate.
Repeat this six times and you’re ready for the second tool, the plug cutter.
This tool is the mirror of the plate cutter. The first cuts a dish in the bridge plate (think of that as the negative shape) and this cuts a positive shape to fill the space.
Getting the plugs into place is a little fiddly but much less so than removing an entire bridge plate. The most important thing to remember is the line up the grain on the plugs to match the existing bridge plate (plate grain direction should ideally be perpendicular to soundboard grain direction).
Because of physical space issues, it’s only possible to glue three plugs at a time so they’re installed in two stages. After the glue dries, it’s an easy job to clean up the repair with a little sanding.
Using a piece of scrap wood as a backing board to prevent chipping, the new plugs can be drilled.
All of this is a much easier and less invasive job than replacing a bridge plate completely. It’s also head and shoulders above simply glueing another patch-plate over the existing one.
It’s worth mentioning the ‘Plate Mate’. This is a piece of sheet brass with an adhesive backing that can stick to a bridge plate. It’s pre-drilled for a couple of common string spacings. Stew Mac sells these as a quick fix for a worn plate and that’s fair. There are many instruments whose value might not justify a replacement or patched bridge plate. These have their place but, if you’ve a nice guitar, I’d err towards patching as a more sympathetic — and just ‘nicer’ — repair.
There are some players who like the Plate Mate as a ‘preventative’ measure, installing it so the bridge plate doesn’t get worn in the first place. To that I’d say that (providing the plate is sound and well installed to start with), proper restringing is probably all you need.
*I did a bridge plate replacement recently and only remembered to take a photo of my warming a bridge plate iron on a hotplate — d’oh!
**I’m not sponsored by Stew Mac, by the way. 😉 I mention them often because they have the best research and product development out there. Some of their tools have saved me tons of money, time, and stress and I’m happy to nudge people their way if I think others can benefit too.
This article written by Gerry Hayes and first published at hazeguitars.com