SETUP FAQ: What exactly IS a guitar setup?
I get a lot of questions about guitar and bass setup. Some from customers in the workshop and some from people who've read or seen my Sketchy Setups guides.
So, I'm going to do a series of posts answering the 'frequently asked setup questions'. Let's start with the main one.
What exactly is a setup?
If you hang around with guitarists or bassists, you’ll probably hear them talk about setups. “I got my guitar setup and it plays great.” “I think my bass needs a setup.” “I think I’ll do my own setup on this one.”
Setups, setups, setups. From the time you start playing and hanging out with other musicians, you’ll begin to absorb the ‘setup’ thing. It’ll become part of the world.
Let’s look at what is actually involved in a guitar or bass setup.
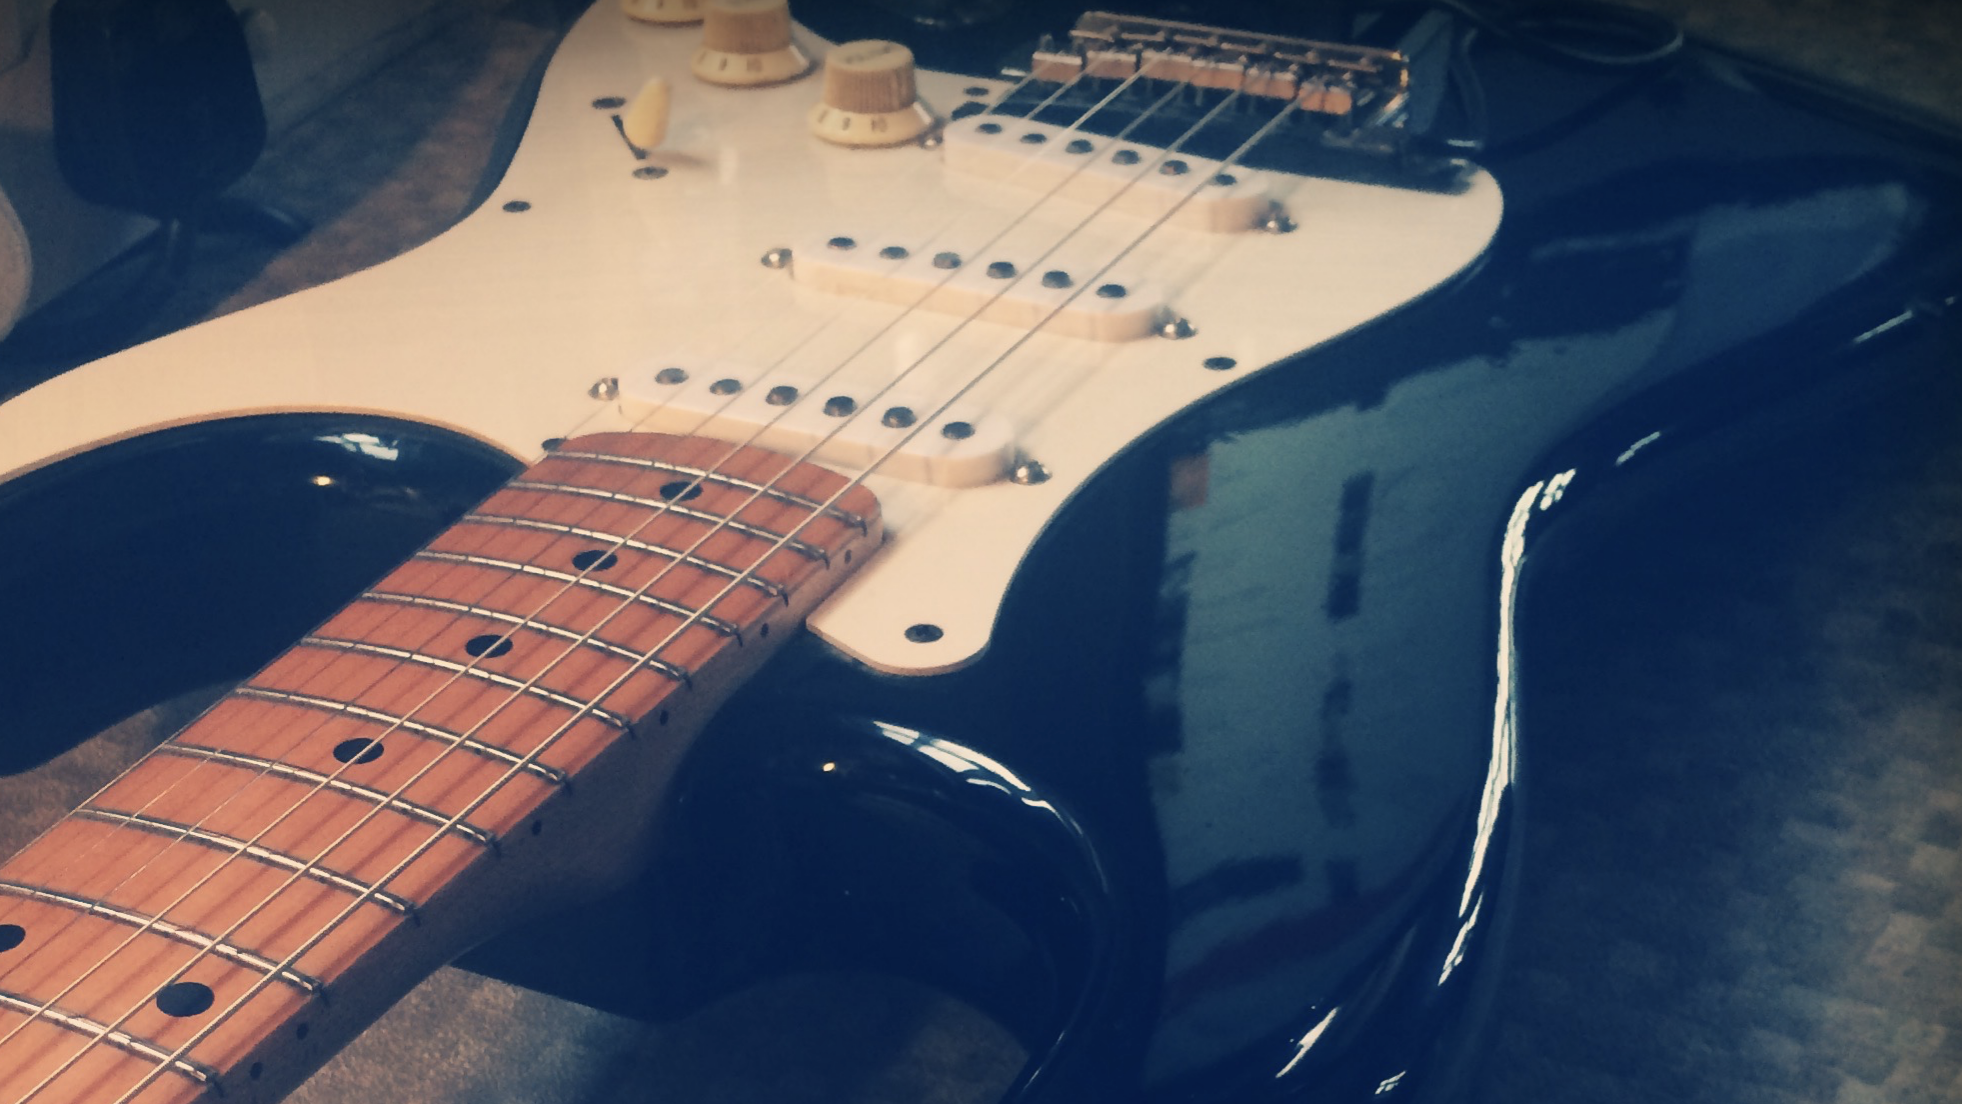
What happens in a guitar setup?
Mostly, a setup is just a series of adjustments. The idea is to modify a number of parts on an instrument in order to make that instrument play well for a particular player.
How each ‘parameter’ is changed can vary depending on the instrument but, generally, here are the steps involved in a good setup:
Assess current condition and measure
A first visual check of the instrument’s condition. Assess how things are looking and look for wear on nut slots, saddles, and frets. If there is excessive wear in these locations, it may be best to address first — for instance, you’re not going to get the best from a setup if you’ve got well-worn frets (and it may even cause problems that prevent you setting up properly).
Check electrics are working as they should. Check all pickup positions and pots.
Check hardware condition. Badly rusted/corroded or ‘gunked-up’ hardware may be difficult or impossible to adjust. It may require replacement or some intensive cleaning.
Play every note on every string. This gives you a feel for the current state of play and can let you know if there are any pre-existing problems. This can save you going down a spiralling rabbit-hole of stress because you don’t know if you caused a problem that was already there.
Measure current action and neck relief before making any changes. Note this and any other issues.
Adjust Neck Relief
Before you make any other adjustments, get the neck right first. Assess the truss rod operation and set relief where you want it. Play every note again. See if all is playing cleanly.
Adjust Tremolo Balance
For most trem-equipped guitars, get the balance where you want it now. It might be necessary to come back and rebalance after the next step but your trem needs to be floating in the right position before you set the action.
Adjust Tailpiece
Some Gibson-style guitars will benefit from tailpiece adjustments. Do it now.
Set String Action
Set the action where you want it to be for the player. I’ll generally set the outside strings — 1st and 6th for guitar and 1st and 4th for bass — to the action I’m aiming for. Then I’ll retune those and move on to…
Set Radius on String Saddles
Measure the fingerboard radius and set the height of the remaining saddles so that they match this radius. This gives you a consistent action across all strings.
Play every note again. Adjust if needed.
Note for Acoustic Guitars
As they don’t tend to have adjustable bridges or saddles, action and radius adjustment on an acoustic instrument is a little more involved. Its usually necessary to cut and shape the saddle to get the string height and radius correct. Obviously, this isn’t easily reversible without replacing the saddle.
The string break-angle over the saddle should be assessed. Actually, this should ideally be done before making those irreversible changes to the saddle. If the saddle will become too low for a good break-angle, the bridge may have to be modified a little or another (more involved) solution found.
Reassess Trem Balance
In case it’s altered after the action changes.
Adjust Nut slots
As the nut will have been assessed for any obvious problems (slots too low or too wide) before starting, each string should be lowered to its optimum height by filing the nut. Depending on the instrument, some additional work to the slot can help with tuning and breakage issues.
Adjust Pickup Height
Set the pickups to their appropriate distance from the strings. Balance the volume so switching pickups gives an even output level and balance the string-to-string volume of each individual pickup.
Note for Acoustic Guitars
Pickup output and string-to-string balance for instruments with under-saddle pickups (most of them) has to be done in conjunction with the saddle adjustments mentioned above. Under-saddle pickups require a consistent ‘pressure’ from the strings and this must be balanced by adjustments to the break-angle, saddle, and the saddle slot in the bridge.
Rough-in Intonation
This is a personal thing but I like to get the intonation pretty much where I want it now. Intonation should be set with fresh strings but I like to minimise any messing around with new strings by getting things in the ball-park first.
Note for Acoustic Guitars
Obviously, there is limited scope for individual intonation adjustments on an acoustic saddle. Intonation, being the sum of a number of variables, will typically be addressed satisfactorily during the other setup setups. A ‘custom-carved’ or intonated saddle is possible but, as it’s a fair amount of work, it’s usually outside what can be offered in a standard setup.
Remove old strings
Taking care over any tremolo systems pulling back, the old strings are removed.
Clean-Up and Tighten-Up
Clean the fingerboard and frets. Check that the various nuts and screws are tight. You’ll especially want to check tuners and output jacks.
Clean the guitar body and neck. Give the hardware a basic clean off if needed (a toothbrush is good).
If you’re cleaning Gibson-style instruments, be careful not to adjust bridge thumb-wheels and knock out your action settings.
At this point, do any work needed to clean electronics (especially on something like a Strat than needs the strings off to get access to the innards).
Restring
Fresh strings on. Don’t skimp on strings. You don’t need to buy artisanal strings wound by ninjas or anything but just don’t get strings that cost a buck a set.
Give the new strings a gentle stretching in.
Reassess
Check that everything is where you expected it to be. Make sure action, relief and trem-balance haven’t shifted and address it if they have.
Play every note again.
Final Intonation
The last tweaks to get the intonation where it should be.
Assess Trem Operation
Give that whammy a good wiggle. Make sure things are coming back into tune as you’d expect. Some final ‘finessing’ may be required at this point.
Play your Go-To Lick
Everyone’s got a favourite.
Final Clean-Up
Clean guitar body and neck to remove grubby hand prints. Pop it back in the case.
Make a note of the new relief and action measurements. It’ll help with assessing any ‘drift’ over time and (from an ass-covering guitar tech’s point of view) it’ll help if someone goes home and completely changes your setup before calling next day to say something’s wrong.
And That’s a Setup
Well, pretty much. It’s all pretty high-level and some instruments will make it easy while others will fight back a bit. You get a feel for it, though.
Is it a big job?
Well, while this is a long post, you can definitely tackle your own setups.
All you need is a little bit of guidance from the kind of guy who writes long posts.
And instrument setup guides. ;-)
This article written by Gerry Hayes and first published at hazeguitars.com
Sketchy Setups guides
My Sketchy Setups guides will step you through a setup in super-simple, illustrated steps. Check 'em out.
Great guitar and bass setup: Easy peasy.