How to Make a Bone Nut Part 2
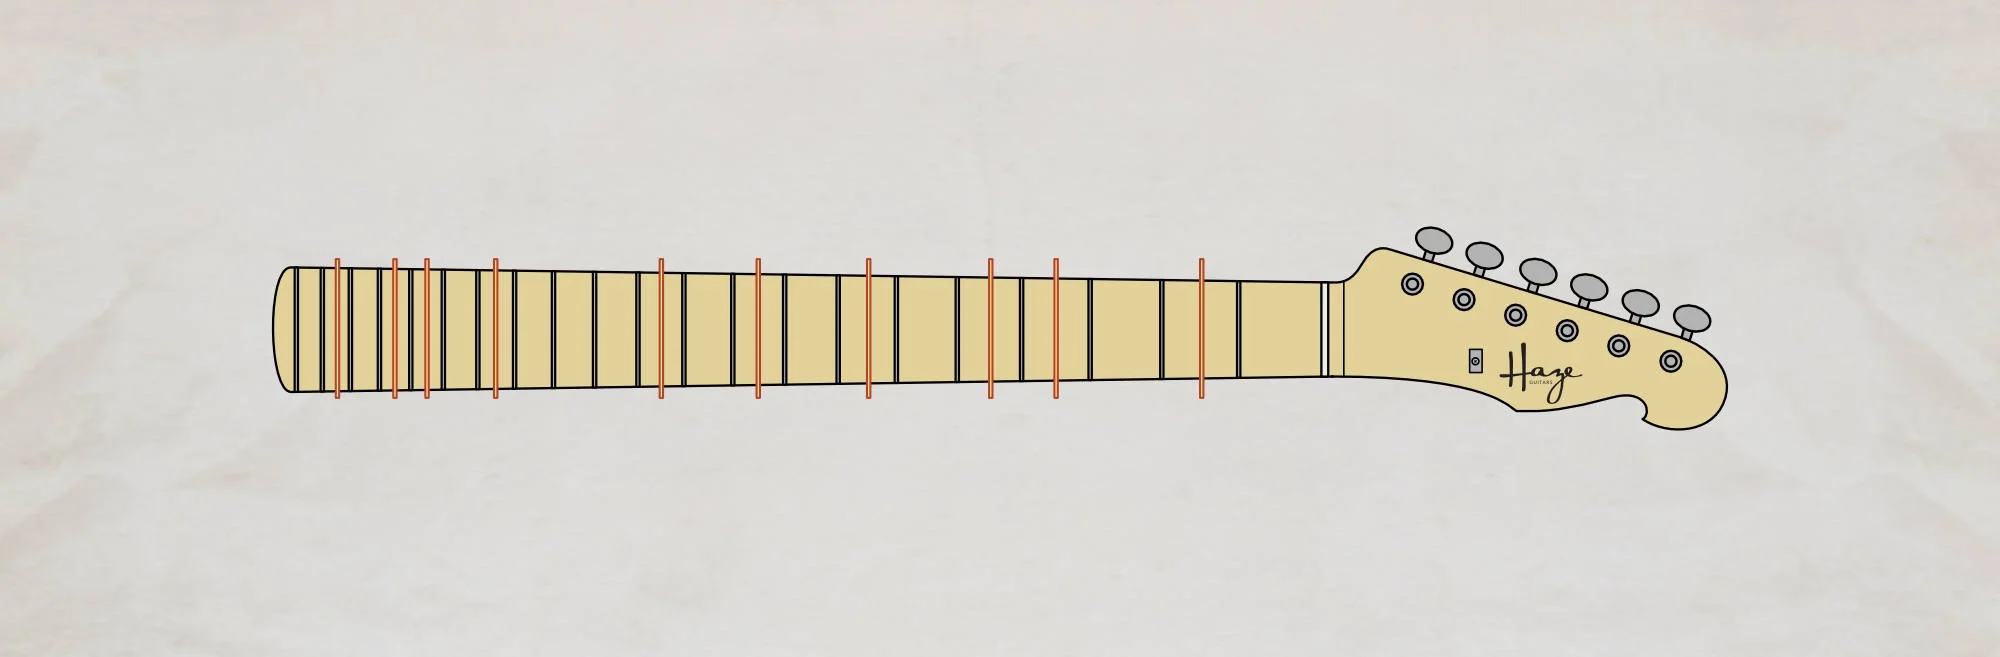
Last time, we left off with our bone nut blank thicknessed and roughly cut to size. We’d marked out our string-spacing — keeping in mind the need for the gap between the strings to widen slightly as the string diameter increased.
And now we’re at the point of cutting string slots.
But first I need to flag a couple of things…
Worth noting here is that I like to do as much work as possible away from the guitar. I think I may be in a minority on this as I’ve seen lots of images and videos of people doing most of this with the nut in place. While that’s occasionally necessary, I find that the bulk of nut-making can be done more easily with the nut off the guitar. A further (and important) note is that this is easy for me to say because I have a neat little vice for holding the nut as I work on it. Most of you reading this won’t have that luxury and, in many cases, a nut slot makes a very useful holding device for the nut you’re working on. That’s fine but you have to be more careful not to damage the guitar. Take it easy.
The other, vitally important, must-be-mentioned elephant in the room is nut files. There’s no other reasonable way to make a nut from scratch without a set of properly gauged nut files. I think I’ll have some more to say on this subject another time but, for now, I’m proceeding on the assumption you have a set of nut files for the gauge of string you’re using.
Rough-cutting Nut String Slots
We left our nut with the slot positions marked on top. Great. You’ll remember I’d also used the half-pencil to mark the fret height on the front face of the nut. That fret height line is my final destination but, right now, I’m going to use it as an indicator for my rough slot-cutting.
I do all of this step with the nut held in the vice.
I start every slot with a very thin file (.010”) for accuracy. This makes it easy to get a clean cut, right where I want it. Use the file to begin a slot precisely on each pencil line. This doesn’t need to be very deep but I just want a starting point so I'm not trying to accurately position a much thicker file on a line I can’t see.
For the first string — and let’s assume it’s going to be .010” because it probably is — I’ll use that file to cut it close to its final depth (almost to that fret-top pencil line) now.
For the other strings, I use this first, .010” ‘starter’ slot to key progressively larger files.
The second string will be cut to depth with an .013” file and I’ll then use this file to slightly widen each of the remaining slots. The third string will get a .017 slot and then that file will widen the remaining slots. In this way, I step up in file sizes for each slot so there’s never a big jump. This helps keep the wider files in position later on (a .046” file would have trouble staying keyed in a .010” slot without having gradually worked up to that final size).
Regarding file size, the file should be either the same size as the string or just a couple of thousandths bigger
For each slot, I approach the fret-top pencil line but stop just before I get there. I want to minimise the amount of filing I have during final setup but it’s obviously not good to file too low.
Before Final Nut Setup
An important precursor: Before you begin cutting you nut slots to their final height your neck relief MUST be adjusted properly. That’s ‘MUST’ in upper-case letters so you know this is vital.
If you cut perfectly setup nut slots but your guitar neck’s got a ton of relief, what happens when someone straightens the neck? Suddenly your nut slots are too damn low, that’s what. Straightening the neck alters the distance between fret-tops and strings. This alteration is greatest towards the middle of the neck but the first fret is affected too and, with the very close tolerances nuts are cut to, straightening a neck can leave you with a low nut and buzzy open strings.
So, make sure it’s right before you set up your nut. At an absolute minimum, set relief to its desired amount. Even better, though, is to set the neck dead-straight (or close to dead-straight), cut the nut, and then allow the desired relief back into the neck. This means there’s some built in headroom should someone straighten the neck in the future.
Final Nut Setup
Nut goes in slot. Strings go on guitar. Strings get tuned to pitch.
Check relief again to make sure your neck’s straight.
Now, since this is titled, “How I make a bone nut,” I will tell you how I’ve always setup my nuts. I’ve been doing it like this since I made my first guitar, back in the distant past. I learned this from Melvyn Hiscock’s fantastic book, Make Your Own Electric Guitar (Amazon US | UK - Affiliate Link) and have used it since the mid ’90s.
The problem is, this method is slightly difficult to properly explain because it involves working almost solely by eye.
No measurements.
For someone who’s making their first nut, I realise this might be slightly unsatisfying. Sorry. I’ll give you some measurements towards the end to help out but, first, I’ll describe how I go about this.
I start at the bottom string. With the guitar on the bench and the neck supported under the first few frets, I’ll press that string at the 3rd fret. Then, I’ll bend down — eyes level with the neck — and check the clearance between the string and the first fret. I want to see just a very small clearance.
How much? Just a little. Yeah, I know. Bear with me here.
If you cut the slot too deeply, the open string will buzz against the first fret. Dan Erlewine calls that ‘blowing the nut’ and everyone does it from time to time.
The converse is useful, though. If the slot’s too high, the string will be more difficult to fret at the 1st fret and will pull that note sharp because it’s being stretched more than it should. Armed with this knowledge, you can keep tuning the open string to pitch and checking the 1st fret note. Use just enough finger pressure to cleanly fret the note and check its tuning. If it’s sharp, that’s a good indication your slot could go a little deeper.
Hopefully that will help offset the vagueness of ’just a little clearance’. As you go, you’ll get a feeling for what a little clearance is. Armed with this, let’s move on.
Slotting
Our rough-cut nut should have all its slots too high at this point so, using the correct file size, I remove the string from the slot and file it deeper.
I go very slowly and keep replacing the string to re-check 1st fret clearance. You’ll do the same but will also check 1st fret tuning (I’ve gotten pretty used to this over the years and do it by eye).
I’ll emphasise the ‘slowly’ thing. It’s incredibly easy to go too far and then your nut’s trashed. Keep re-checking.
On a Fender nut, angle the file very slightly towards the headstock or keep it almost parallel with the fretboard. On a Gibson-style nut, you can angle the file back a little more towards the headstock (I once heard someone recommend halving the headstock angle and that’s a reasonable rule of thumb).
An extra note on Gibson and Martin-style slots. It’s worth slightly rounding the slot from front to rear of nut. This prevents any sharp points to hang-up the string. It’s also very useful to angle the slot towards each string’s tuner.
From the bottom string, I repeat we each successive string. Regarding that, the 1st fret clearance can be reduced a little as the strings get smaller.
At the end of the process, I should have n number of perfectly set up string slots.
Final fitting
Now it’s time to slacken off the strings and get the nut cut perfectly to size.
Because I’ve gotten my ends very close to the final sizes already, I’ve no real work to do there but I do use my disc sander to get the height of the nut to where I want it.
I’ll clarify just to avoid and possible confusion: I’ve set the height one each string slot and I’m not touching that again. However, there’s an unsightly mess of bone ‘above’ these slots from the first rough-cutting. I’ll sand the top of the nut so it ends up being more aesthetically pleasing.
The rule here is that the wound strings should have about half their height above and half below the top of the nut. The top of the unwound strings should be pretty much level with the final nut top.
I get close with my disc sander to hog off most of the bone and then I switch to sandpaper pieces. I’ll move up in grits from 220 to 800 and then shift to 1000 or even 1200 wet-and-dry (used dry). After that, I’ll buff the nut out with some polishing compounds (you can use them by hand on a cloth). This final sanding and polishing gives a fantastic gloss to the finished nut. It’ll look great.
Last thing to do is to pop two small drops of wood glue into the slot and press in the nut. If there’s any glue squeeze-out (you probably used too much if there is), clean it up.
String up the guitar and check. It’s a good idea to use a fresh set of strings at this point as you’ve stressed the others with all the on-and-off/in-and-out.
And that’s it.
If you’ve followed along, all going well, you should have a great playing and great looking nut.
Measurements
I promised some measurements. I know that telling you to fret at the 3rd fret and slot the nut until the string just clears the first fret is vague. Sorry. It’s how I’ve always done it and it’s just second nature at this stage.
For a little more certainty as you proceed, occasionally check the clearance between the 1st fret and the OPEN string. Don’t fret it at the 3rd fret for this check. Use feeler gauges between the first fret and the open string to check your progress. I’d aim for somewhere around the following as the final measurement:
6th string clearance between 1st fret and OPEN string: .020”
1st string clearance between 1st fret and OPEN string: .014”
Use these to assure yourself you’re on the right track. I generally don’t bother but I have the luxury of bitterly hard-won experience.
Many will leave these measurements slightly higher on an acoustic instrument. I don’t usually but, if you feel better erring on the side of caution, by all means, do so. Just don’t forget your 1st fret tuning test — if it’s sharp under ‘normal’ finger pressure, your nut slot’s probably high.
Wow. There’s a lot here. And I’ll have more to say on nuts. It’s a big, big subject for anyone interested in getting their guitars at their best.
Nut File Recommendations
If you're in the market for some nut files, check out my Nut File Tough Love article for some recommendations for decent guitar and bass nut files.
This article written by Gerry Hayes and first published at hazeguitars.com