Saving vintage guitars with clever refret techniques
Pull up a seat, you youngsters, and let me tell you ‘bout the old days.
Before all your new-fangled adjustable truss rods, reinforcing a guitar neck against string tension was a more ‘primitive’ matter.
You might have just had a massively thick neck. Or you might have a fillet of stronger wood (ebony for example) inlaid under the fretboard. Sometimes, you could find a steel channel — either square-shaped box-section or T-section — supporting the neck and helping it not to ‘bow’ too much.
Those strings can exert quite a pull, you see. It’s hard for a neck to resist bowing, especially over a period of years or decades.
With an adjustable truss rod, you can usually correct the bow and straighten the neck relatively easily.
Not so with a non-adjustable rod.
So what’s to be done if your wonderful pre-war Martin has a neck with so much relief (bow) that it’s difficult to play? Keep it as an ornament?
No way.
Correcting Relief with a Refret: Levelling
For a non-adjustable neck, a refret is the ideal time to look at addressing any bowing/relief issues.
The first step is to see if you can level some of the relief out of the fingerboard wood.
By this, I mean, can you remove fingerboard wood at the ’trouble’ spots to give a straighter neck.
For instance, it’s often the case that an instrument’s fingerboard will have a hump where the neck meets the body. Down at the nut and first fret is also a potential high spot.
Removing some wood here can make for a straighter neck. It’s done as if levelling frets — a levelling beam with some sandpaper. Same precautions apply and keep an eye on the radius.
Considerations When Levelling
Obviously, you need to be careful, especially on a vintage instrument. Removing too much wood can be visually unattractive and I’ve seen instruments with fingerboards lowered to, and even past, the side dots.
Inlays need to be considered. If you can, remove them from trouble spots before beginning. If you can’t remove them, or if they’re too thin to begin with, bank on replacing them.
Check fret slot depth before trying to refret to ensure they’re not too shallow after levelling the board.
The biggest levelling consideration is whether to level at all. Some purists will not want the fingerboard touched. If it’s possible to get a straight neck without levelling on the board, great; skip to the next part.
However, in many cases, it’s not possible. This means you have to have the ‘vintage-correct versus playable’ discussion and, ultimately that’s one for the instrument owner to decide on.
Correcting Relief with a Refret: Compression Fretting
It’s not always possible to level a neck as much as you’d like. However, by a clever refretting technique, you can go further.
‘Compression’ fretting is the careful selection of fret ‘tang’ size in order to ‘wedge’ fret slots open wider, thereby (hopefully) correcting a bowed neck.
Let me explain.
Let’s assume that you’re installing a fret into a slot in a perfectly straight fingerboard.
Installing a fret with a tang that’s properly sized should give you a well seated fret without having too much effect on the fingerboard itself. See image below.
Now, imagine we install a fret with a wider tang. Something’s got to give and what we hope will happen is that the fingerboard will bow backwards by just a little.
This is the principle behind a compression refret.
By installing wider-tanged frets, the fingerboard (and neck) is forced out of the forward bow it’s in and into a straight (or even back-bowed) orientation.
I should mention that the business part of the fret — the crown that you see above the fretboard — doesn’t change in size. We’re just changing the size of the tang — the part that gets inserted into the slot.
Measure First and Often
Compression refretting isn’t an exact science, I’m afraid. Expect to experiment if you’re doing it.
Measure your relief before starting and measure carefully and often as you proceed.
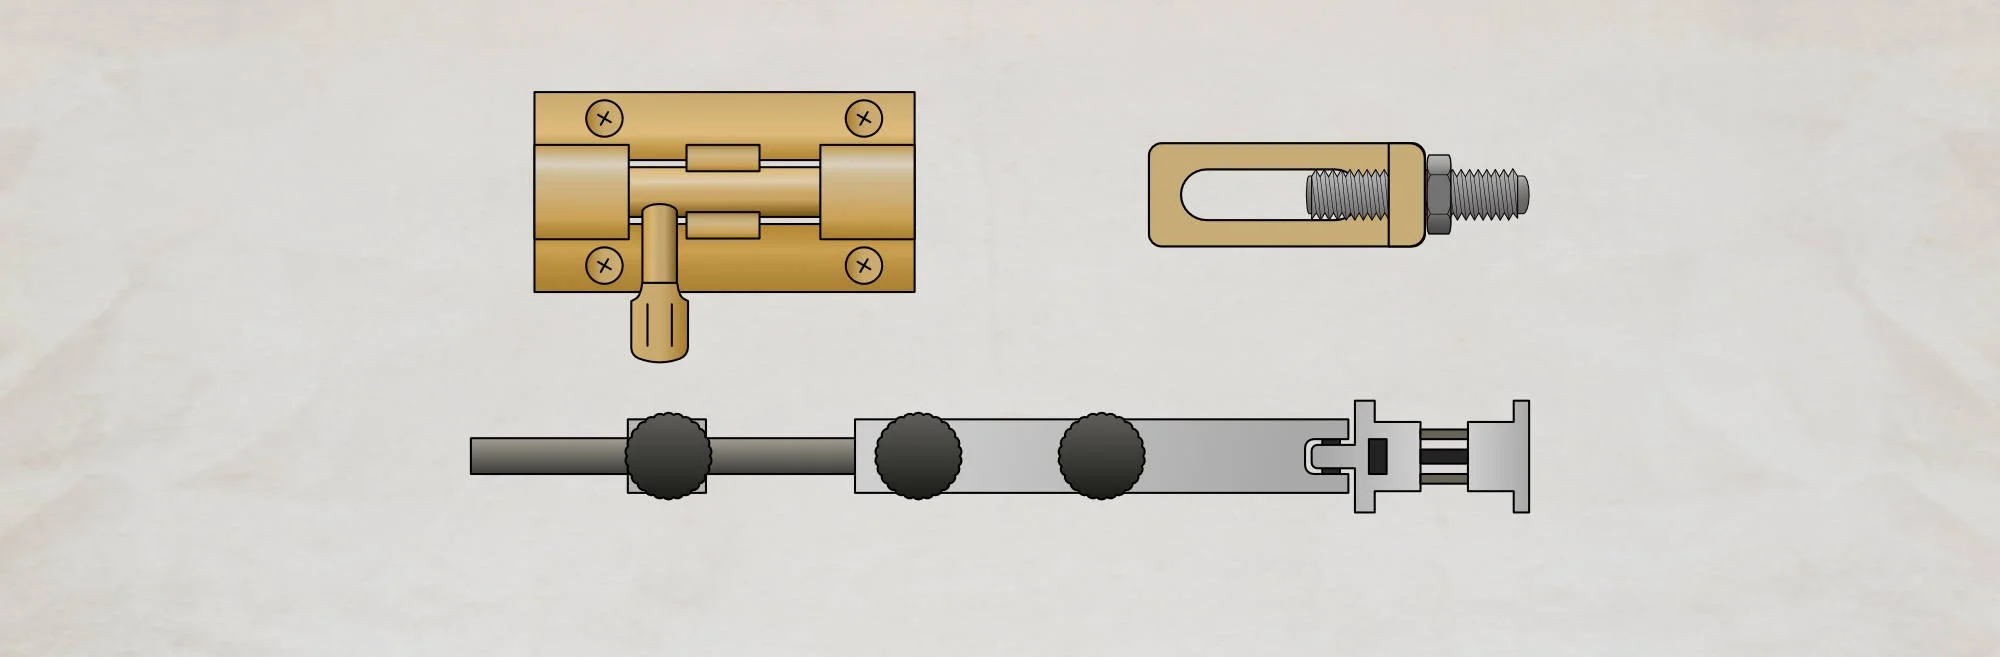
I like to use a slotted straight edge. This gives me a picture of what the fingerboard and neck are doing and means I can easily assess things as I add frets.
The First Few Frets
Start off with a couple or three frets along the board — maybe at the 3rd, 6th, 9th positions. Measure these fret slots with feeler gauges and note it.
As an example, if your fret slot is around .022” or 0.23”, you’d normally install a regular wire with a .020” tang. That will go in easily and the barbs on the sides of the tang should grab nicely.
For compression fretting though, we’ll go with something a little larger. Maybe a tang of 0.23”. This means the tang will completely fill the slot and the barbs will give a little outwards pressure.
Be careful.
Measure relief again and get a feel for how much it’s reduced. This will tell you if you need to add more corrective fret-sizes or even if you need to pull some, or all, of those you’ve installed to go up or down a size.
There aren’t really absolutes on this and you’ll need to keep assessing as you go.
If you’re not getting much movement with the .023” tang, you can try going another couple of frets with the same wire, or you can pull those frets and go with something a little bigger. No rights or wrongs — it all depends.
With most necks, what you’re aiming for is neck that’s got a small amount of back-bow when you’re finished — probably somewhere around .005” or .006” with no strings on.
Remember that the string tension will try to pull the neck into a forward bow and so the amount of back-bow you ‘fret’ in — combined with how flexible the neck is — will determine how much that ultimate, stringed relief will be. The amount of unstrung back-bow you’ll be aiming for depends on the strength of the neck. More ‘flexible’ necks might call for more back-bow because they’ll pull into more forward bow under tension.
Or, put another way, if you want a final relief of around .0xx” under string tension, you need to consider how much ‘give’ is in the neck and try to dial in the un-strung neck to the appropriate amount of back-bow or straightness.
(Wow, I hope this makes sense)
Again, no magic formula. Trial, error, experience. These things are the spice of life.
Keep checking relief as you install frets. Be prepared to pull some or all if things aren’t working out. These things happen.
The Fingerboard Extension
The extension — the part of the fingerboard over the body — doesn’t need any special compression fretting. Fret here as normal.
In fact, there isn’t really a reason to do any compression fretting from the 12th fret up. Also, I normally install a regular sized fret at the first fret position too. These are positions where I don’t want to do anything out of the ordinary to fretboard shape.
Wider Fret Tangs - Tools and Suppliers
So you need fret wire with wider tangs.
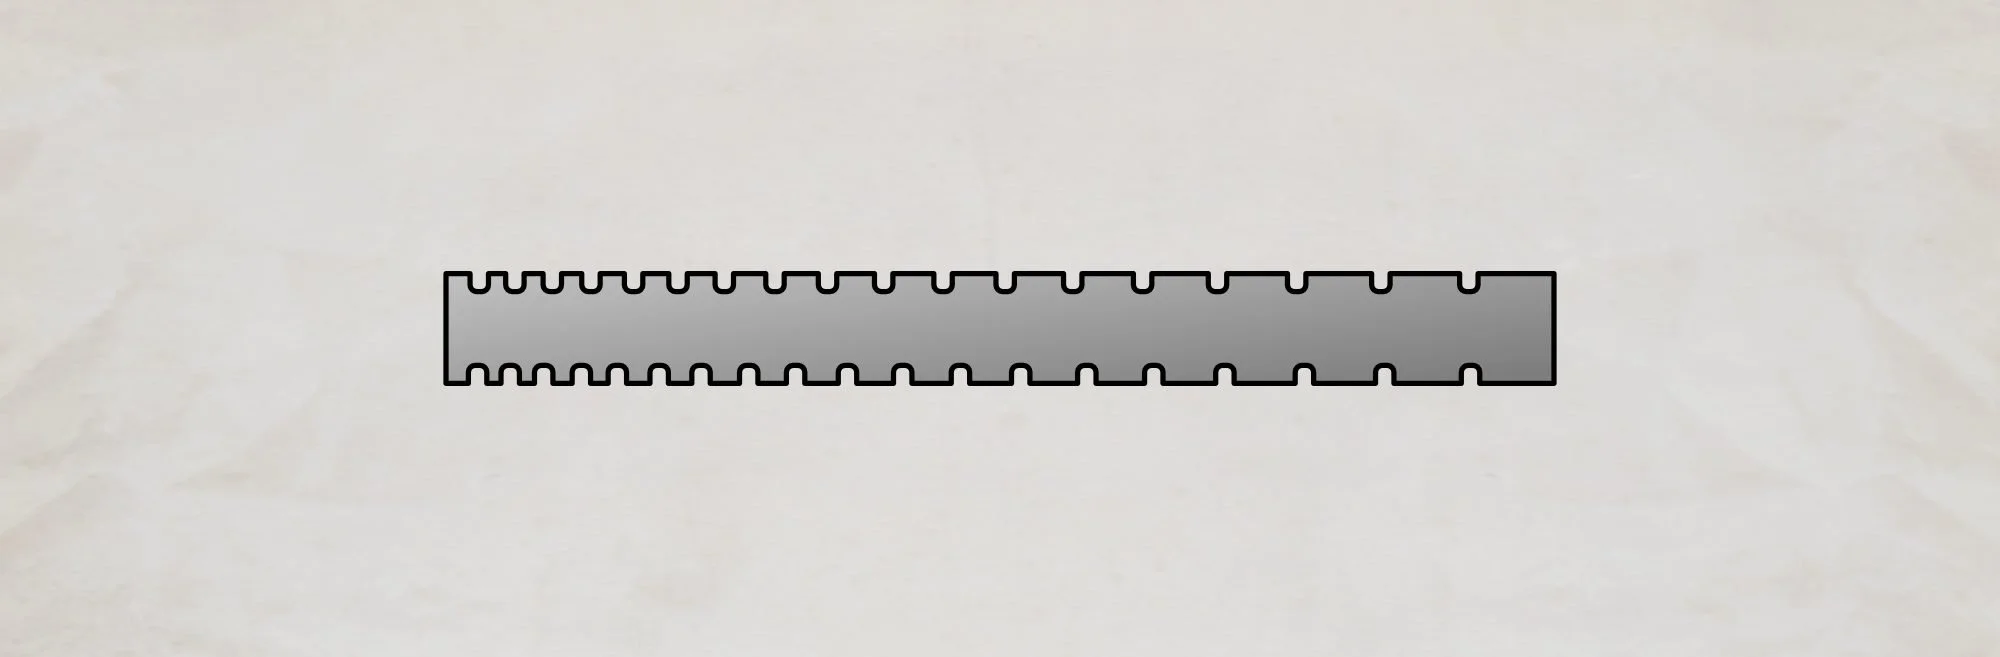
An option is to use Stew Mac’s Fret Crimper tool. This will allow you to mash the fret tang into a series of protruding scallops. This will work but it’s not the most controllable way to go.
Better to get fret wire with different sized tangs (for the same crown size). For some of their crown sizes, Jescar can provide different tang sizes.
There are also some places that can supply similar wire but in a slightly wider range of tang sizes. Blues Creek Guitars is a good place to start.
If you need a selection of sizes of bar frets, TJ Thompson is the place to go.
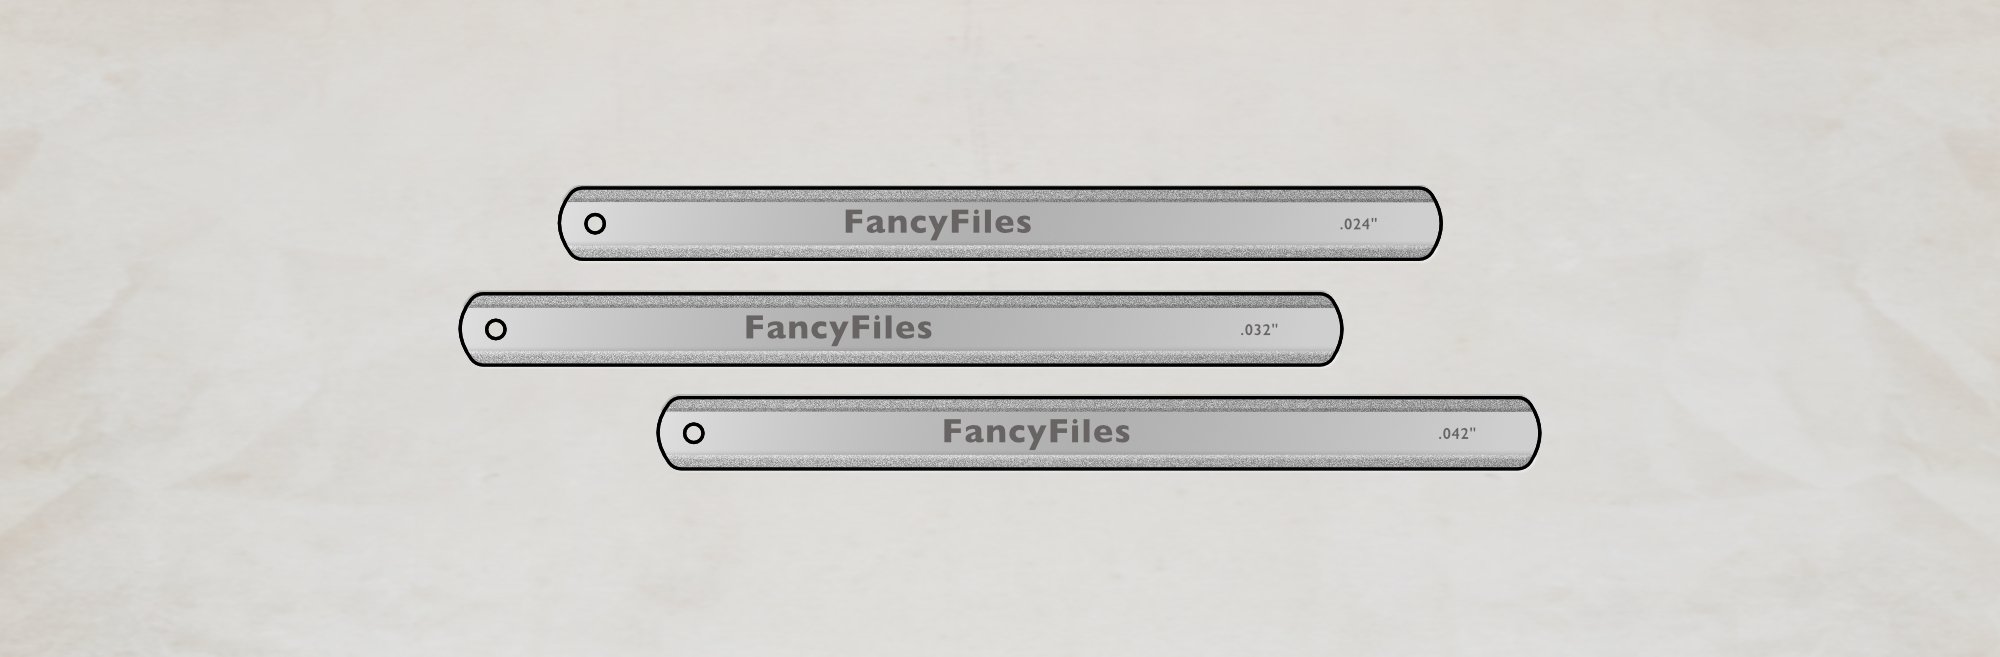
The bar fret refret I wrote about last time included a levelling and a compression refret portion. In the photo below, you can see the old frets and I’ve noted the size of each so I can pick the right gauge to replace them.
Patience
Continuing the trial-and-error trickiness of the compression refret is the fact that you should ideally wait a few days after installing the frets in case things settle.
The wood can settle around the fret barbs and this can have an impact on your relief. Give it a while and re-check. Be prepared to revisit some frets if needed.
Fun, eh?
I hope that this isn’t all too ‘inside baseball’ for you guys. I know I'm getting pretty nerdy with this stuff. Shout at me in the comments if you like.
This article written by Gerry Hayes and first published at hazeguitars.com