Straightening a bowed neck (with some complications)
Let's get things back to normal around here after the launch of the new Sketchy Setups guides.
I wanted to pull together something related to all the neck-deformation stuff we were discussing a few weeks back. What I’ve got doesn’t hit all the bases but it’s definitely relevant and, where it diverges is interesting and weird enough that I think you’ll forgive me.

A number of years ago, I worked on an ES-335 for a very good pal. The original problem was that the neck had a pretty good up-bow that resisted straightening. In fact, it resisted so much that the nut-end of the truss rod ended up bursting out the back of the neck (just below the headstock).
This is rather odd. For all the horror stories you hear about truss rod accidents, they’re not really as common as you’d expect. And, my buddy is good at this stuff — he’s not the type to over-tighten a truss rod under normal circumstances.
However, an initial examination of the guitar made me feel that these circumstances weren't quite normal.
The truss rod adjustment cavity seemed a little too deep. And, where the truss rod emerged into the cavity seemed correspondingly deeper than usual. Weird. I measured and compared to a couple of other instruments and, yep, it all seemed deeper than ‘standard’.
On an off-chance attempt, I tried running this by Gibson Europe. The long-shot hope was that they’d confirm the access cavity in the headstock was improperly cut and would cover things under warranty. Yeahhh… No. To be fair, there was a truss rod poking out of a crack in the back of the neck.
So, it was repair time.
The image above shows the neck bow under no tension. Since the truss rod hadn’t been able to pull this straight — and since I had concerns about the truss rod’s installation, I knew I needed to remove the fingerboard. This would mean I could start getting a good look at what was happening and could work towards some fix.
Removing the fingerboard
Before doing anything, I used a nice sharp scalpel blade to score the lacquer along the sides of the neck. I made a line along the transition between the fingerboard (or the binding in this case) and the neck.
A slight aside (just because it occurred to me while going through these photos). I took some ‘before’ photos to record the current lacquer condition around where I’d be working. In places it was pitted and bubbly and someone in the spray room had been over-zealous in their masking before they toned the neck. There was a strip of wood with no colour. This photographing precaution wasn’t really necessary when working on a friend’s guitar but this can be a good tip if you feel a customer’s might call your work into question. In some player’s minds, it can seem more likely that the local repair guy has made a mistake before the Gibson team. Where I see pre-existing problems, I often record them jusssst in case. It’s very rare that it’s an issue but it might be a useful tip for repairers out there.
Back to the task at hand. I warmed up my heating blanket and got to work.
I’m using a heating blanket that’s long enough to cover the entire fretboard but I’m working in smaller sections. This lets me control things more readily.
Some potential problems to look out for here. First of all the binding is plastic and would very easily melt if it became too hot. Working in sections, I was able to make sure my heating blanket stayed just inside the binding. Essentially, I’m just heating the frets here and letting them transfer the heat into the fingerboard.
The inlay is another problem. Pearl or shell inlay will take the heat, although the glue holding it might loosen. The mother-of-toilet-seat pearloid however is not so forgiving. It really wants to melt, bubble, char, smoke and generally cause stress. You can see above that I’m using folded foil sheets to help protect the inlay. Folding a double or quadruple layer of foil so it fits neatly between the frets can be enough to save the inlays. Sometimes. As it happens, I got lucky here. That’s not always the case. These smaller dot inlays are more forgiving than the bigger blocks and I was able to move fast and protect them well enough. Phew.
Starting that the body end, I heated the board and worked a spatula between the fingerboard and neck. Then, I worked my way further down the neck, heating a section, inserting a number of spatulas and tools. Patience is required as you don’t want to go forcing things until the glue is ready to let go.
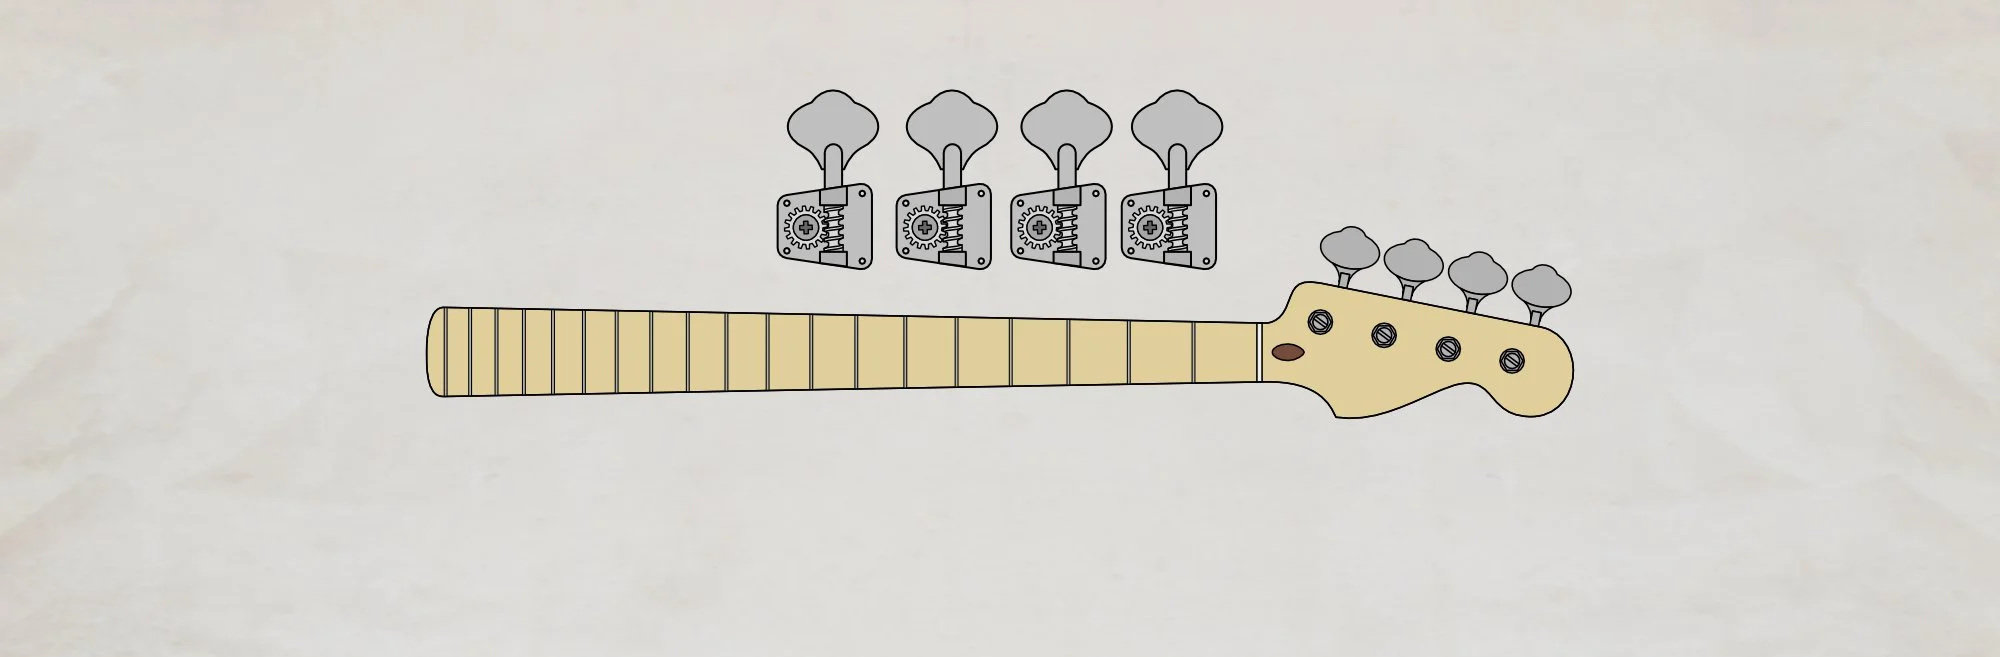
Gibson locating pins
IMG LOCATUING PIN
Modern Gibsons have two locating ‘pins’ — one at each end of the neck. During manufacture, two holes are machined in the neck, and the fingerboard gets two corresponding holes. A pair of small plastic cylinders key both pieces together for glueing.
If you don’t know these are hiding there, underneath the fretboard, they can really throw you as you try working your spatula up along the glue joint.
The fingerboard
Once the fingerboard is removed, I like to clamp it flat. This might be unnecessary but I feel better knowing that the thing’s less likely to do any weird warping (there’s that word 😉) when it’s been heated, stressed, and is no longer glued to a neck.
So, stage one is done. The fingerboard’s off. Next time, we can start digging into some additional weirdness that’s still hiding, waiting to be discovered.
This article written by Gerry Hayes and first published at hazeguitars.com