Fitting Nuts: Pre-Shaped Nuts Part 1 - The Right Nut
Following on from discussing the radiused bottom of Fender nuts, I want to talk a little more about the rest of the nut-fitting process.
If I’m completely honest, I’ve gone about this a little ass-backwards. It is certainly essential to have the bottom of your nut radiused before moving on to further fitting but, now, I’m going to skip around in time a little and talk about the steps before that.
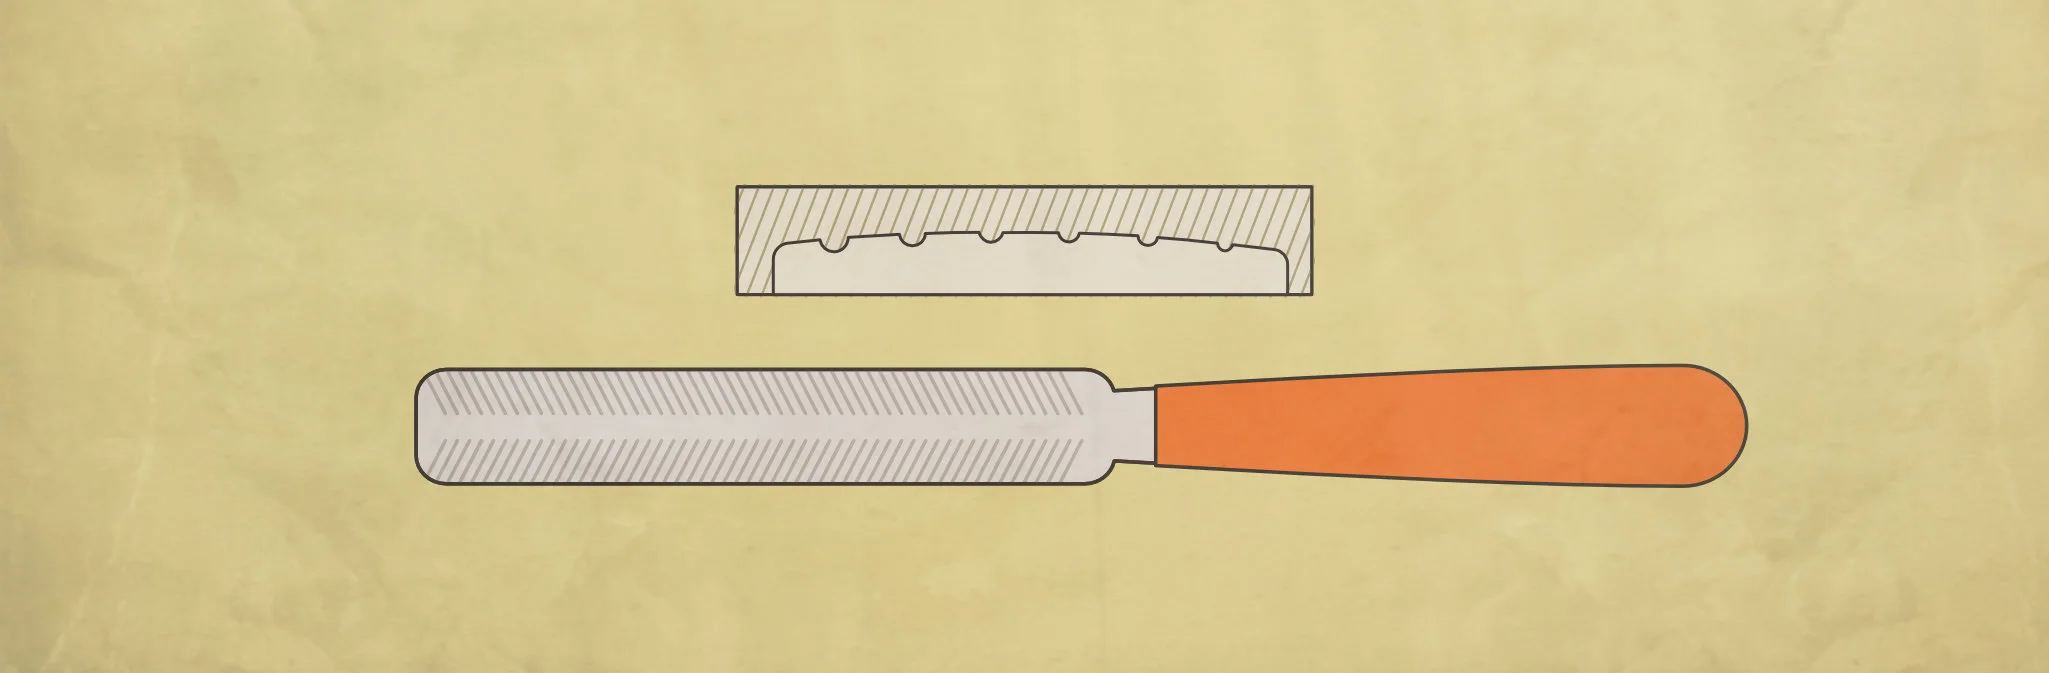
First up is selecting the correct nut for your guitar or bass. I’m proceeding on the assumption that most readers will be buying a pre-cut and pre-shaped nut to install.
Picking a nut
I’m not going to talk about materials right now. Maybe we’ll do that another day. I do need to discuss ‘fit’ though.
It sounds obvious, I know, but you need a nut that’s the right size and shape for your guitar. So, get out a good ruler (a callipers is even better) and write down the following measurements from your existing guitar and nut:
- Total width of nut from bass edge of the fingerboard to the treble edge.
- Total thickness of existing nut from back to front edges.
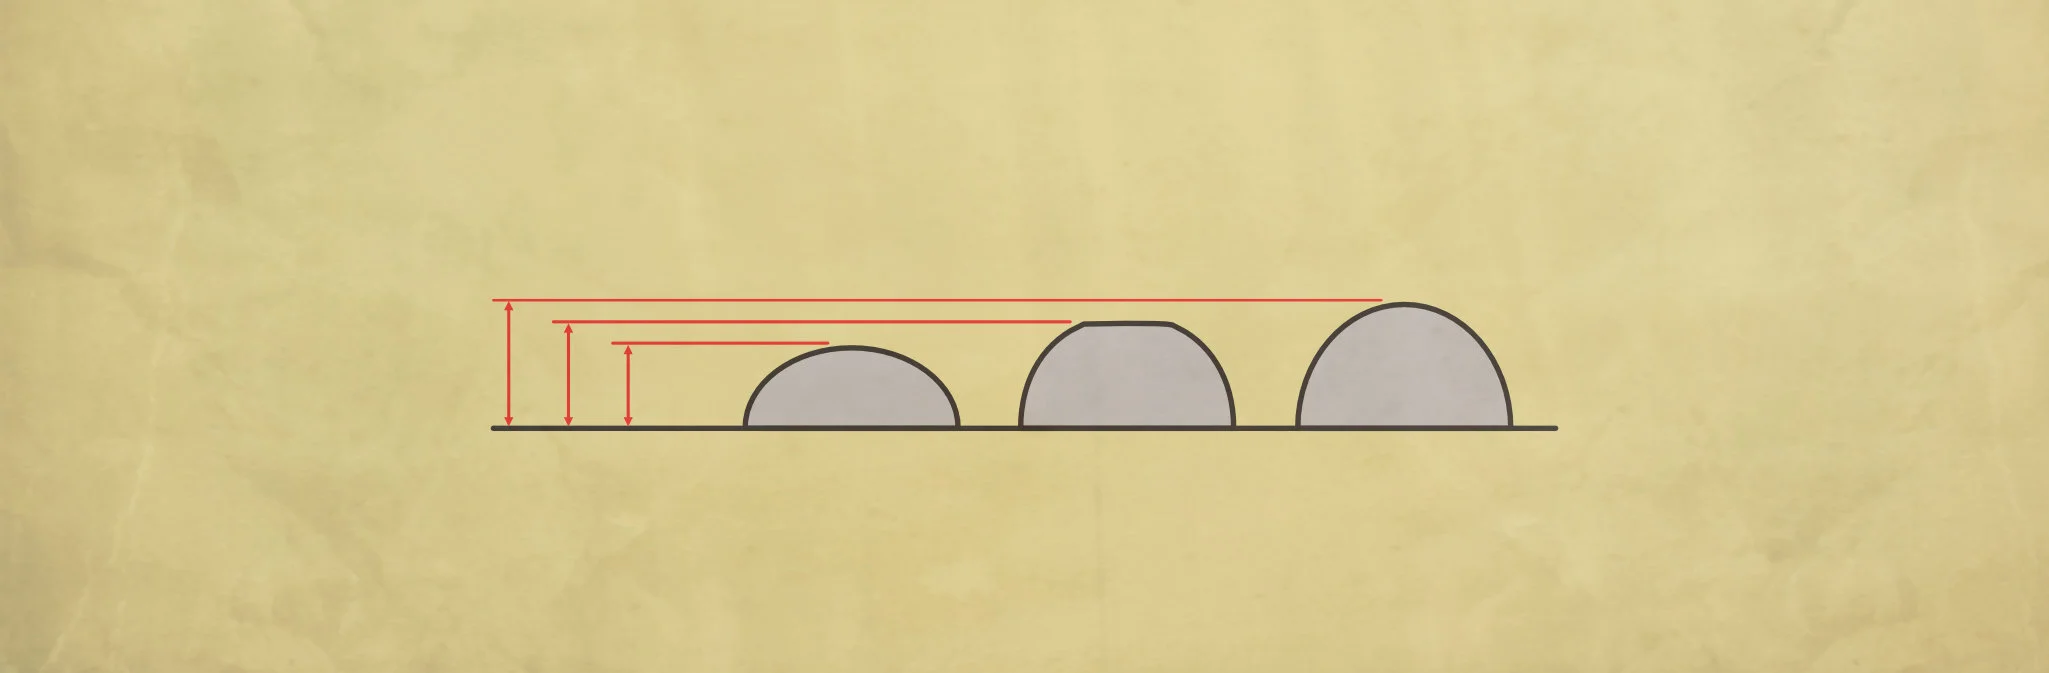
- Total height of nut from bottom edge at the side to the highest point. This can be tricky to measure but it’s also the least important measurement to the super-accurate on. You just want to know that your new nut won’t be too short.
- String-spacing. Measure from the centre of the bottom string to the centre of the top string. This one is important so be as accurate as you can.
When you’re picking your new nut, you’ll want to choose one that’s just a little bigger for all of these measurements except (and this is vital) the string spacing. Changing this bottom-to-top string spacing will change how your guitar feels to play and can cause problems — for instance, a wider spacing might see the outside strings falling off the edge of the fretboard as you play.
The only times you'll want to pick a different string spacing are when you’re dealing with particular problems. Maybe you’re narrowing the spacing to prevent that string-off-the-edge issue we just mentioned. Maybe you’re widening it to give your fingers more room. There are valid reasons to change this spacing but they need to be really carefully considered and you should be aware of the possible knock-on issues.
A Note on String-Slot Radius
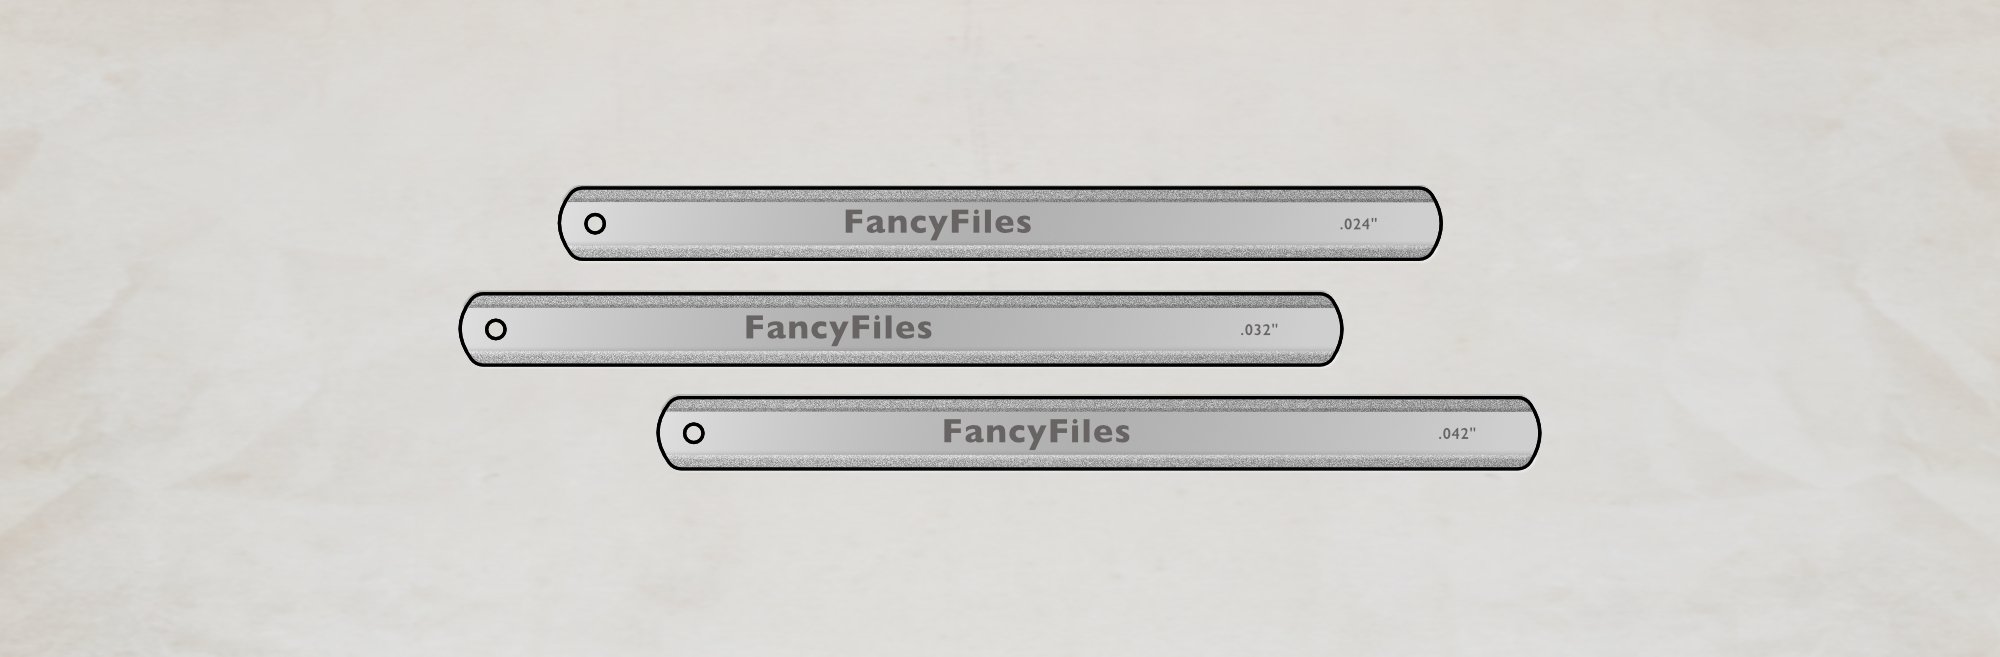
Before moving on, I must say a word about matching the radius of your new nut’s string slots to your fingerboard radius. In an ideal world you want these two radii to match. The short story is, however, that it’s not always possible to pick a radius when you buy a nut. Pre-shaped and pre-slotted nuts will typically have a set radius and there may be limited choice.
For instance, I believe that the radiused-bottom Tusq (Graphtec) nuts for Fender with have a 9.5” radius on the string slots (while their flat-bottomed Fender-style nuts — often used on ‘import’ guitars — have a 12” string slot radius). This does, however, leave you in a pickle if you’re hoping to install a nut in your vintage-style 7¼” neck because you’re stuck with a 9.5” string radius. Graphtec don’t publish the string radius on their site (an oversight, I feel) so you may have to email them if you’ve something ‘non-Graphtec-standard’.
Stew Mac offers their own pre-shaped and slotted nuts in bone. They have a more ‘standard’ variety of sizes and radii there. You can get a 7¼” or a 9.5” for your Fender, for instance. Both are available in flat and radiused bottom varieties. If you’re replacing a nut on a Fender (and if you’re ok with bone) I recommend checking these out.
For more information about why this string slot radius thing is important, please read my article on bridge radius mismatches. I talk about bridges there but the issue is exactly the same for nuts.
So, we’ve one more measurement to make. Download some radius gauges and check the radius of your fingerboard between the nut and the first fret.
That’s what you’re trying to match with your new nut. If you can’t get one to match, there will be compromises in the final setup. We’ll discuss those in part two.
Everybody loves cliffhangers, right? 😉
Right now, though, you’re equipped to select the right nut for your instrument.
This article written by Gerry Hayes and first published at hazeguitars.com