Fitting Nuts: The Curved Bottom
Slightly odd title, there. It actually makes total sense but not until I’ve explained. So…
When it’s time to replace the nut on your Fender guitar or bass, it's important to get the nut fitting well in the slot. When you remove the old nut, you’ll probably find that the slot in the neck (where the nut sits) doesn’t actually have a flat bottom — it’s curved to match the radius of the fingerboard.
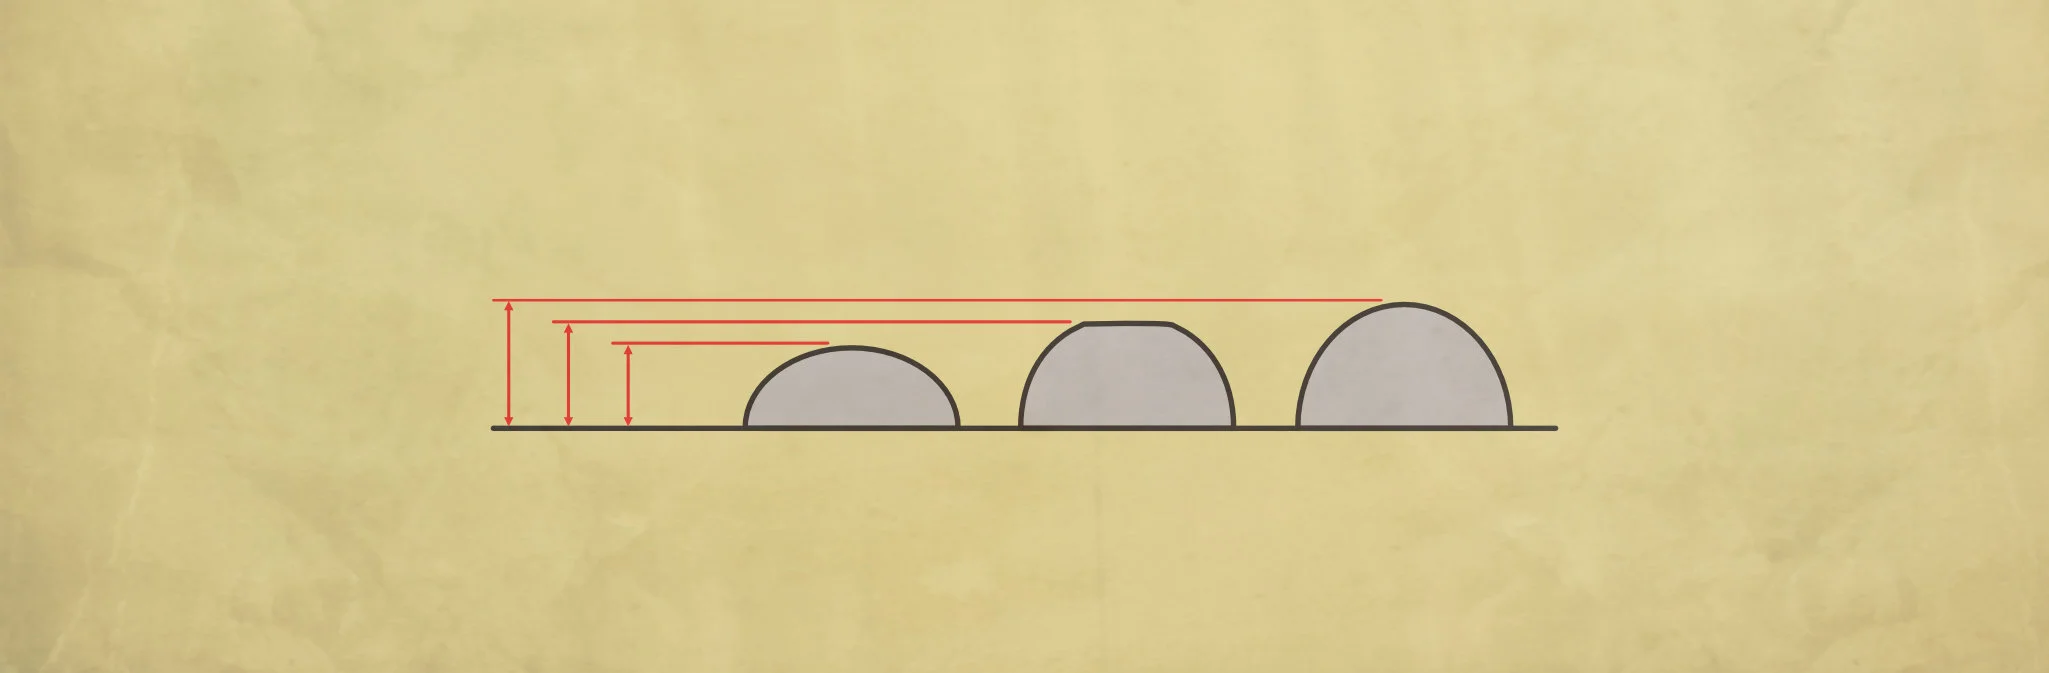
If you’ve got a vintage-style 7¼” radius, the bottom of the slot also arcs across the fretboard at a 7¼” radius. Same pattern if you’ve got a more modern 9.5” radius; the slot’s got a 9.5” bottom radius to match.
If you’re cutting a new nut from a blank (whether bone or synthetic), you have to shape the bottom to fit the appropriate radius. Otherwise, it doesn’t contact the slot-bottom all across the neck and, in this guitar game, good coupling of all parts is the ideal we’re aiming for.
Even if you’re fitting a pre-cut nut, you’ll probably still have to do some work on the bottom. Your new nut might come with a radius and need just a little work to ‘finesse’ it to a perfect fit or the radius might need total reworking. If you want to get a feeling for it, sit your new nut on your fingerboard and see whether it touches the board all along its length. Shine a light from one side and check for a good contact all along. If it’s not perfect, read on.
As a quick side note at this point, on ‘import’ instruments with Fender-like necks, the nut slot will usually be flat bottomed. Straight across. That means you can skip this radiusing process. Some replacement nuts have a radiused bottom with a little tab in the middle so it can fit a flat bottomed slot or a curved slot (with a little less work). Personally, I don’t like the idea of an air-gap under my nut but, hey… Anyway, that tab will need to be removed to fit a radiused slot.
Fitting a nut or guitar nut replacement
Whether you’ve got a bone nut or a Tusq/Graphtech/another synthetic nut, the process is pretty much the same.
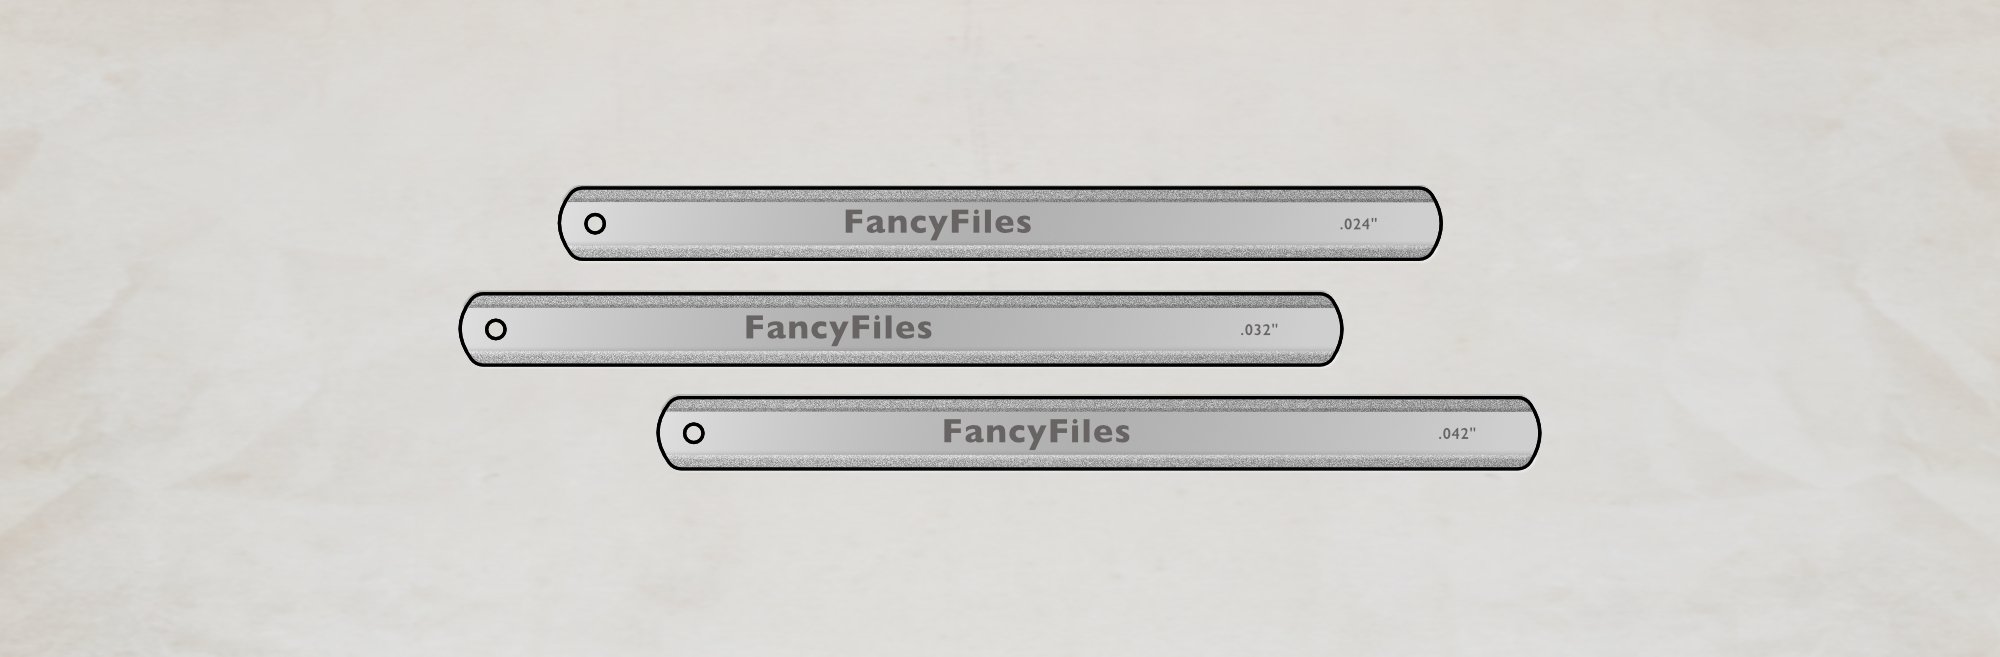
Before we get to the bottom of the nut, we need to make sure the nut fits into the slot in the first place. Check if it can be inserted into the slot. Chances are, you’ll have to do some thicknessing to get a nice snug fit. I’d go with a little 220 grit sandpaper on a very flat surface and then sand a little from the sides of the nut until it goes into the slot with just a little pressure. You’re aiming for snug enough to not fall out.
Now on to the bottom.
How to radius the bottom of a Fender Nut
Double check your fingerboard radius between the nut and first fret using a radius gauge. Don’t have a radius gauge? Well, you can just download your own printable radius gauges right here. 😉
Use a pencil to mark this radius onto the side of your nut. Now you know what material has to be removed.
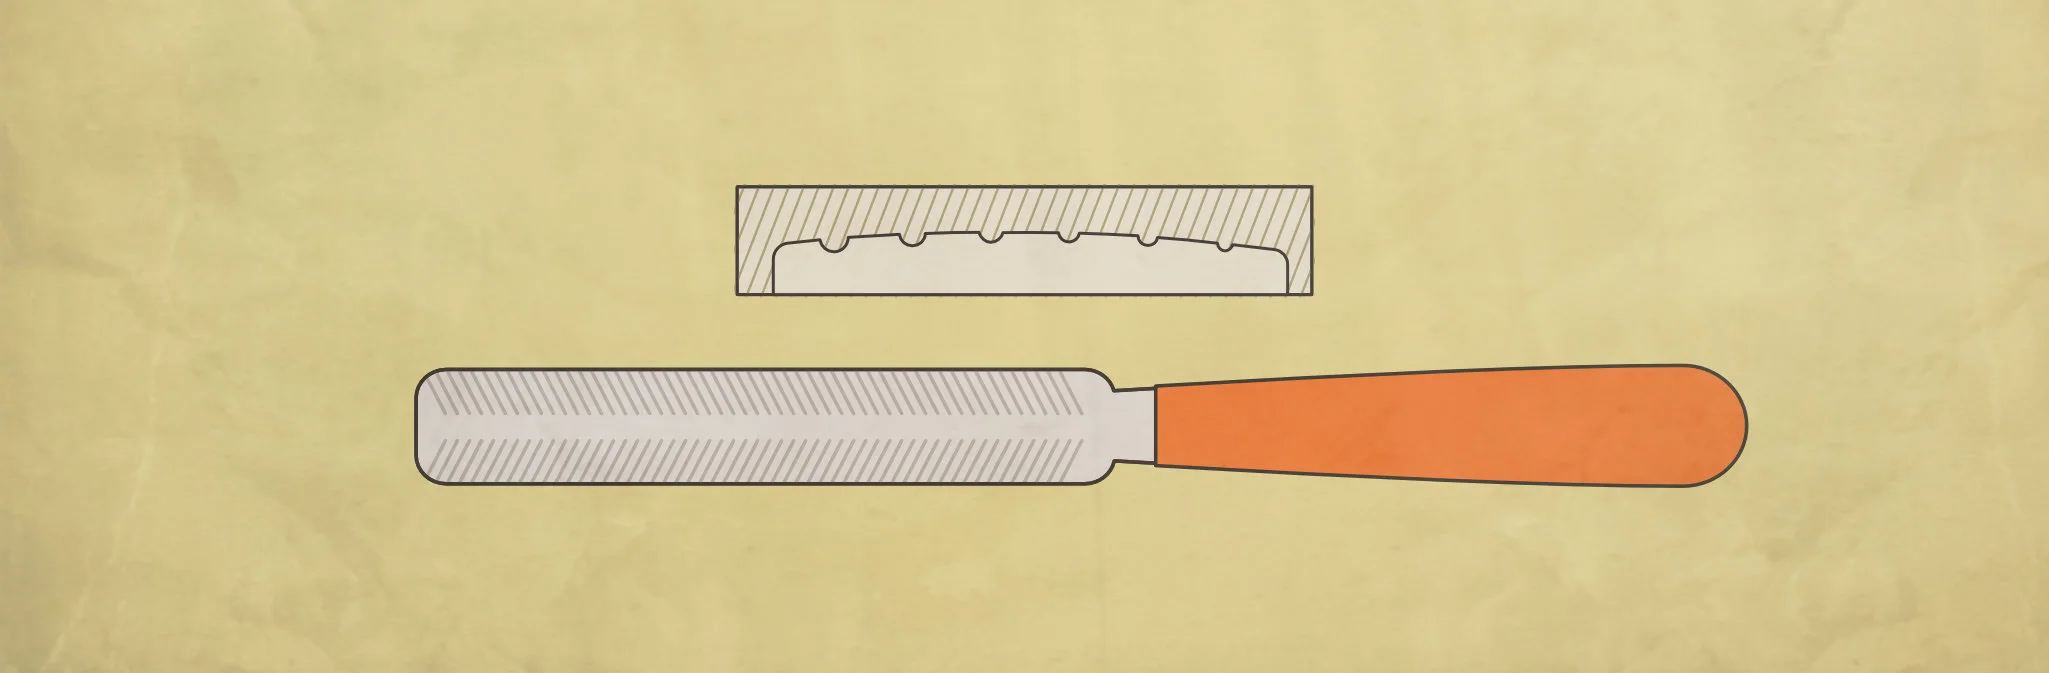
If you want, you can use a file or rougher sandpaper (maybe 120 grit) to get most of the material out of the way (I have the luxury of hogging most of it out on my belt sander). You’ll want to change to 220 grit again for a good finish and fit.
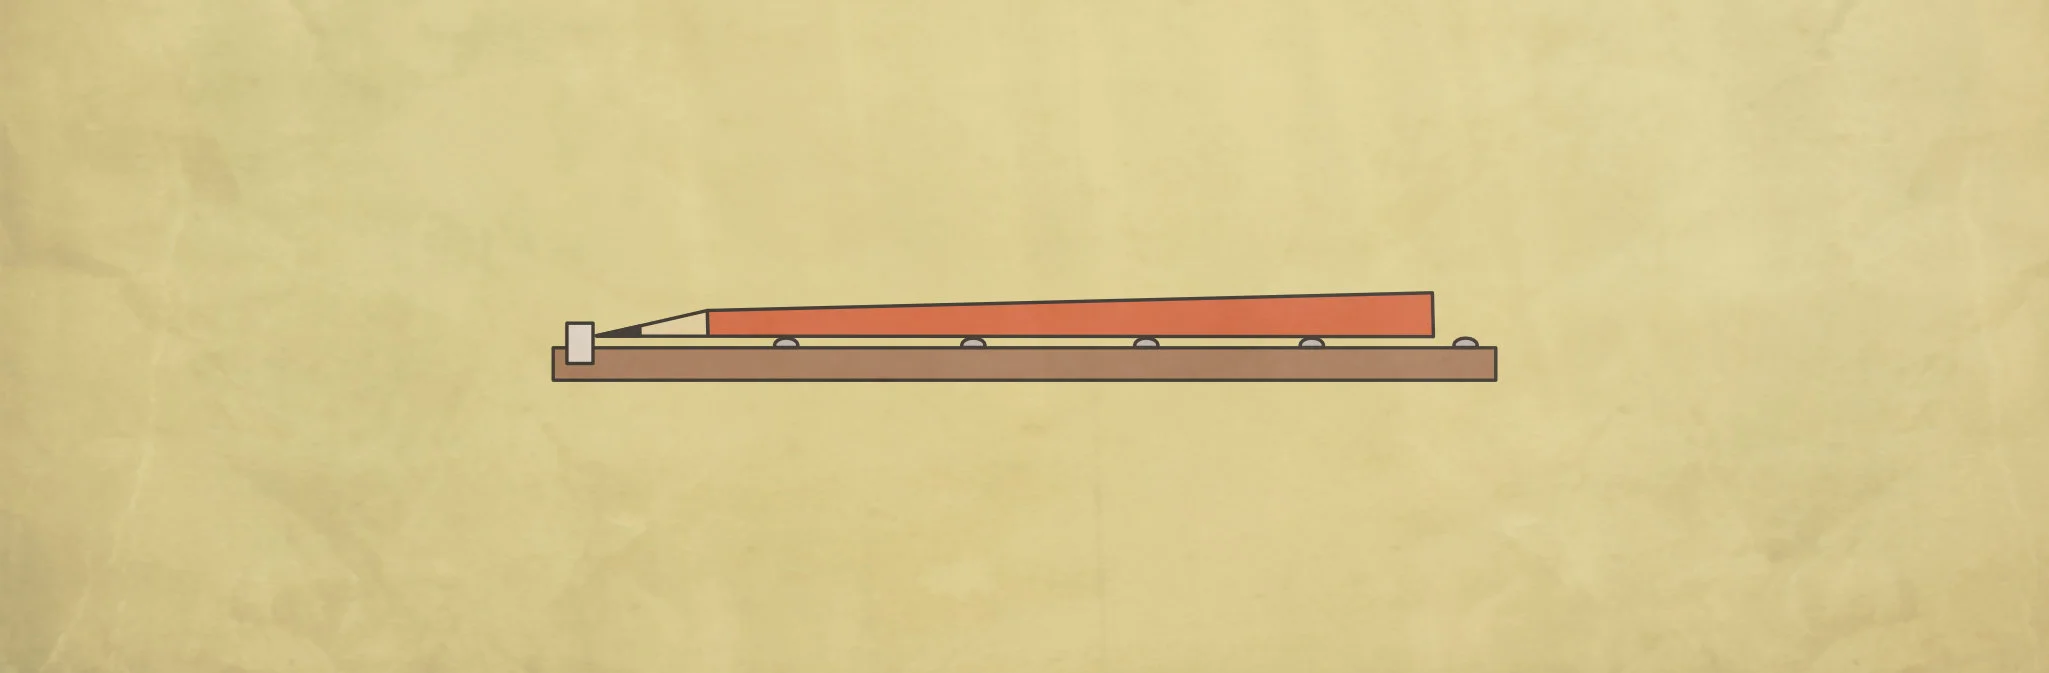
Here’s the trick: To get the perfect radius for the bottom of your nut, use the fretboard as a ‘former’.
Pop a strip of masking tape on to protect the board and then place your sandpaper on that. It should conform to the fingerboard radius which is a match for the slot radius.
Using back-and-forward strokes, slowly remove the remainder of the material from the nut-bottom. Keep an eye on things as you go, especially to ensure the bottom is at right-angles to the side. It’s easy to lean a little one way or the other when you're sanding. Keep going until you’ve got it perfect.
I’ve made a little former from a block of hard wood for this job. It’s got a 7¼” radius on one side and a 9.5” on the other. It’s really easy to clamp this in my vice to work on a nut. You’re just making one nut so use your fingerboard.
So. That’s curved bottoms. 😉
Next time, we’ll look at some other steps to get that nut fitted.
This article written by Gerry Hayes and first published at hazeguitars.com