
Tools: Poor Man's Saddle Sander
I want to talk about a few tools that I've just tried in the last couple of months. None of these is new to market or anything but I'm using them for the first time so I thought I'd pass on my thoughts. I'm starting with the down and dirty 'Nut And Saddle Sander'.
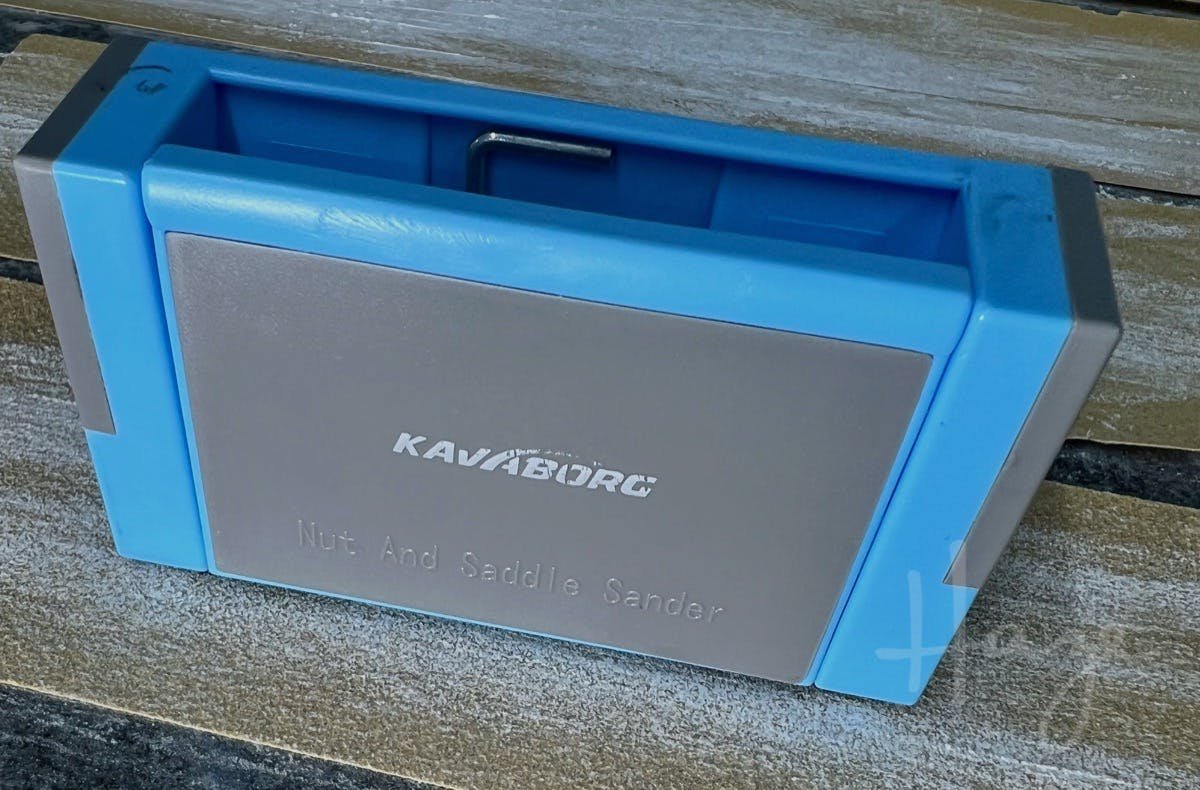
I found this on eBay two or three years ago—in the Before Times prior to any pandemic stuff. I think it cost around twelve dollars and I bought it on a whim, not really expecting it to be terribly useful. Truth be told, when I got it, I popped it in a drawer and promptly forgot about it.
Until this week. I don't know why it came to mind but I was adjusting the action on an acoustic guitar and had to take a sliver from the bottom of the saddle. I wanted around .5mm (.02") from one side and even less from the other. My tolerances were tight and I didn't want to mess up. The eBay saddle sander came to mind.
I dug it out of the drawer and after looking at it, I almost put in straight back in.

It's not the most solid-looking device. The saddle is held by a spring-clamp—it's essentially a big clothes peg/pin. At either end is a roller. These rollers can be raised or lowered with thumbwheels so that more or less of the saddle is exposed beyond them. Then, you roll the thing along a sheet of sandpaper on a flat surface and—hopefully—you end up with a precisely sanded saddle with a flat and square bottom edge.
The eBay sander didn't fill me with confidence that this would go flawlessly. But, I decided—in the interests of science, luthiery, and email newsletters—to give it a go. Risking the possibility of screwing up the saddle and having to make a new one, I began.

Ok, setting the height on these thumbwheels is not a straightforward job. It's possible to get the saddle and the tool body perfectly lined up by placing them on a flat surface. However, because the thumbwheels raise the entire unit, saddle and all, they don't really help in determining how much of the saddle will be removed. I ended up doing some annoying feeler-gauge stacking and mental arithmetic to raise/lower the wheels to expose the right amount of saddle.

As for the sanding part, well, it was ok. Mostly. The rollers don't turn smoothly so it's hard not to feel you're sanding a series of juddering steps into the saddle. They're also relatively narrow and the tool relatively tall so I needed to be careful to keep things perpendicular.
Did it work? Well, yes. It did. With care, it did give me a pretty square and flat saddle bottom. The setup was very uncertain, however, and I had to constantly keep checking the guide line I'd drawn on the saddle to make sure I didn't go too far. It also took ages to do the sanding. This was partly because I was being very cautious and partly because I was afraid to push too hard for fear the spring clamp would allow the saddle to slip, undoing all my feeler-gauge height settings.
Can I recommend this? Nah. Not really. It's gone back in the drawer. Having used this, I can see how a version that actually works would be useful, though. Might have to check out the 'real' sander tool at some point. I'll report back when I save up for that.
Next time, I want to look at something that's completely at the other end of the spectrum from this. For now, though, that's your lot.
This article written by Gerry Hayes and first published at hazeguitars.com


