
The Fix For Choking Bends
“Dude, I can’t get that big bend. What’s the deal?”
That’s choke-out.
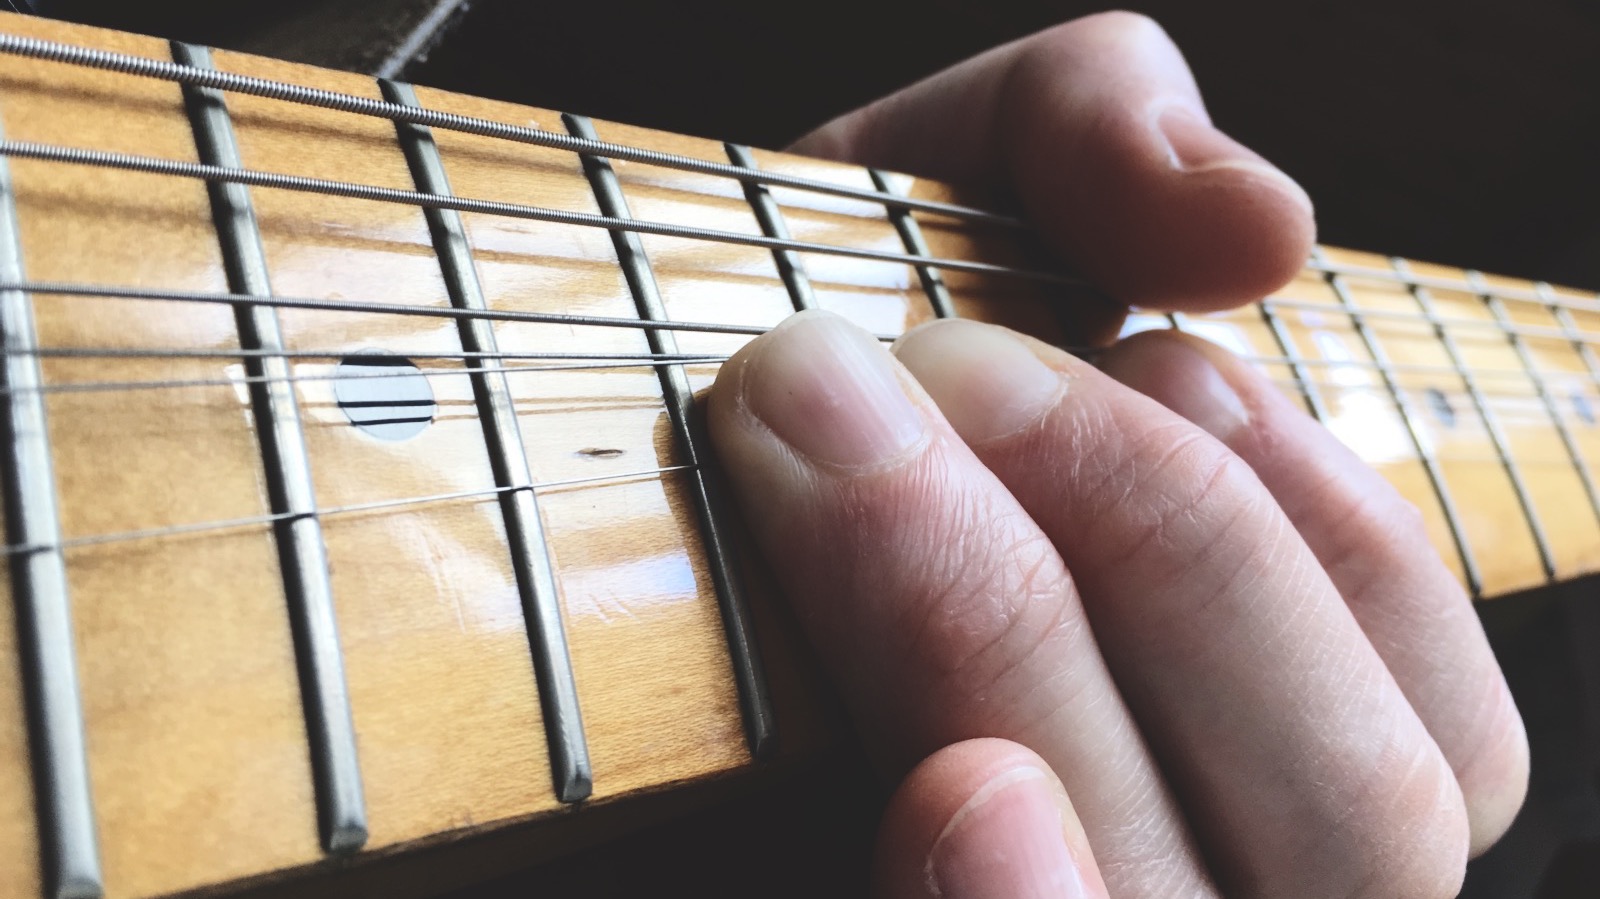
Choke-out is that ‘dying’ of a note. A note that failed to ring out, or one that dies off as you bend is said to have choked.
Choking is often experienced when a player tries for a biggish bend, and most often on vintage-style guitars.
What causes choking notes?
Choking is usually caused by something getting in the way of the vibrating string, killing off the vibration.
It can happen on a badly adjusted or setup guitar (or bass) and it can indicate fret problems. For the purpose of this discussion, however, let’s assume that your frets are all nice and level.
For the classic Big-Bend-Choking, that’s all down to action and radius.
Fingerboard and Bridge Radius
To explain, I’ll turn to a diagram from a wonderful series of setup guides (they’re mine — check ‘em out).

Your guitar will generally have it’s bridge saddles set so their height follows a similar radius. This gives you an even and consistent action across the strings.
Great.
Unfortunately, though, guitars are far from perfect. The more you bend a string the more the travels ‘around’ this radius, and the more likely it is to hit off a fret further along the board.
This is just geometry. You’re effectively bending a string around a cylinder, while the end remains fixed. It has to contact a fret eventually.
And the ‘eventually’ thing is important. You see, bigger radii (i.e. ‘flatter’ fingerboards) will allow more travel before you hit a problem.
Smaller radii fingerboards are less forgiving.
This is why the problem is most common on the vintage-style Fenders with a 7¼” radius.
The Problem From The Past
Back when Leo began making guitars, there weren’t a lot of shredders looking for two-tone bends. A 7¼” inch radius seemed perfectly reasonable (it’s a comfortable radius to chord on).
When players cottoned on to the fact that they could look impressive by pulling guitar solo faces and bending notes, they began to hassle Fender about choking notes.
The 9½” radius was the response.
It’s better. It’s definitely better.
But it’s not enough for some players.
Gibson, of course, used a 12” radius all along. Well, when they were actually paying attention, the radius probably came out around 12” but that’s a different story.
That makes the Les Paul even more bend-friendly.
Now, depending on how big a bend you want, you’re going to have to consider radius. The smaller the radius, the more choke-happy the guitar and the more you’re going to have to compromise to get the bends.
Compromise: The Guitar Setup for Bending
“Noooo! Not compromise. I hate compromise.”
Guitar may not be the instrument for you, then. ;-)
You can make the choking problem better by raising the action.
So, do you need the bends or do you prefer lower action?
Raise the action
So, you can raise the action by the same amount across all six strings. However, remember that the usual culprits for this bending issue are (in order) the 1st, 2nd, and 3rd string.
What can often be a reasonable route is to raise the first string until you can get the bend you want*. Then graduate the action to the — unaltered — sixth string. This is essentially ‘flattening’ the radius of the saddles/strings slightly. Try it.
Be Realistic
*Don’t forget to be realistic about how much of a bend is actually possible. Don’t expect two-tone monsters on a vintage Tele. If you want big bends, higher action is better and a flatter/bigger radius is better. This applies to your Gibsons too — they’re better for bending but you need to be realistic as to what can be achieved.
Fret-work considerations
Let’s consider frets again. If your guitar is due some fretwork, chat with your repairer. It can be possible to do a number of things.
Change the radius of the whole fingerboard
During a refret, it may be possible to change the radius of the fingerboard, flattening it to a bigger radius. This may add some cost to the job — especially if it involves refinishing or replacing inlays — but it’s an option if you love your axe and want bigger bends.
Compound the radius
A compound radius is one that flattens out as you move up the neck. You might have a 7¼” or a 9½” at the first fret that will moved to a 16” at the last fret. As you get higher up the neck (where most of your bending takes place), the radius becomes more bend-friendly. Again, you'll want to be refretting for this one.
Flatten the radius under the bendy strings
A Dan Erlewine trick is to ‘compound’ just the portion under the first couple of strings. Usually this can be done to the frets alone (without altering the fingerboard). This can be a nice way to get a bit more bendability into a guitar that you don’t want to permanently modify.
Don’t expect miracles but, it’ll probably allow you a slightly lower action for the same bend amount.
A last word on setup
Choking (on bent and unbent notes) can indicate a problem with neck relief. You might want to give your truss rod a tweak. Straightening your neck can help reduce choking, especially on bending.
The Bottom Line
As with so many things related to guitar setup and playability, remember to keep the word ‘compromise’ in mind as you consider your route.
In the words of that wisest of wise men, Mick Jagger, “You can’t always get what you want.” ;-)
Happy bending.

If you’d like a little help with setting up your guitar or bass, you might like to check out my Sketchy Setups guides.
They're a super-easy way to great setup.
This article written by Gerry Hayes and first published at hazeguitars.com


