Fitting Nuts: Pre-Shaped Nuts Part 2 - Installation
We’ve seen how to select the right pre-shaped nut. Now we need to get it fitted.
Brace yourself. It's a wild ride. Ready?
Then let’s go.
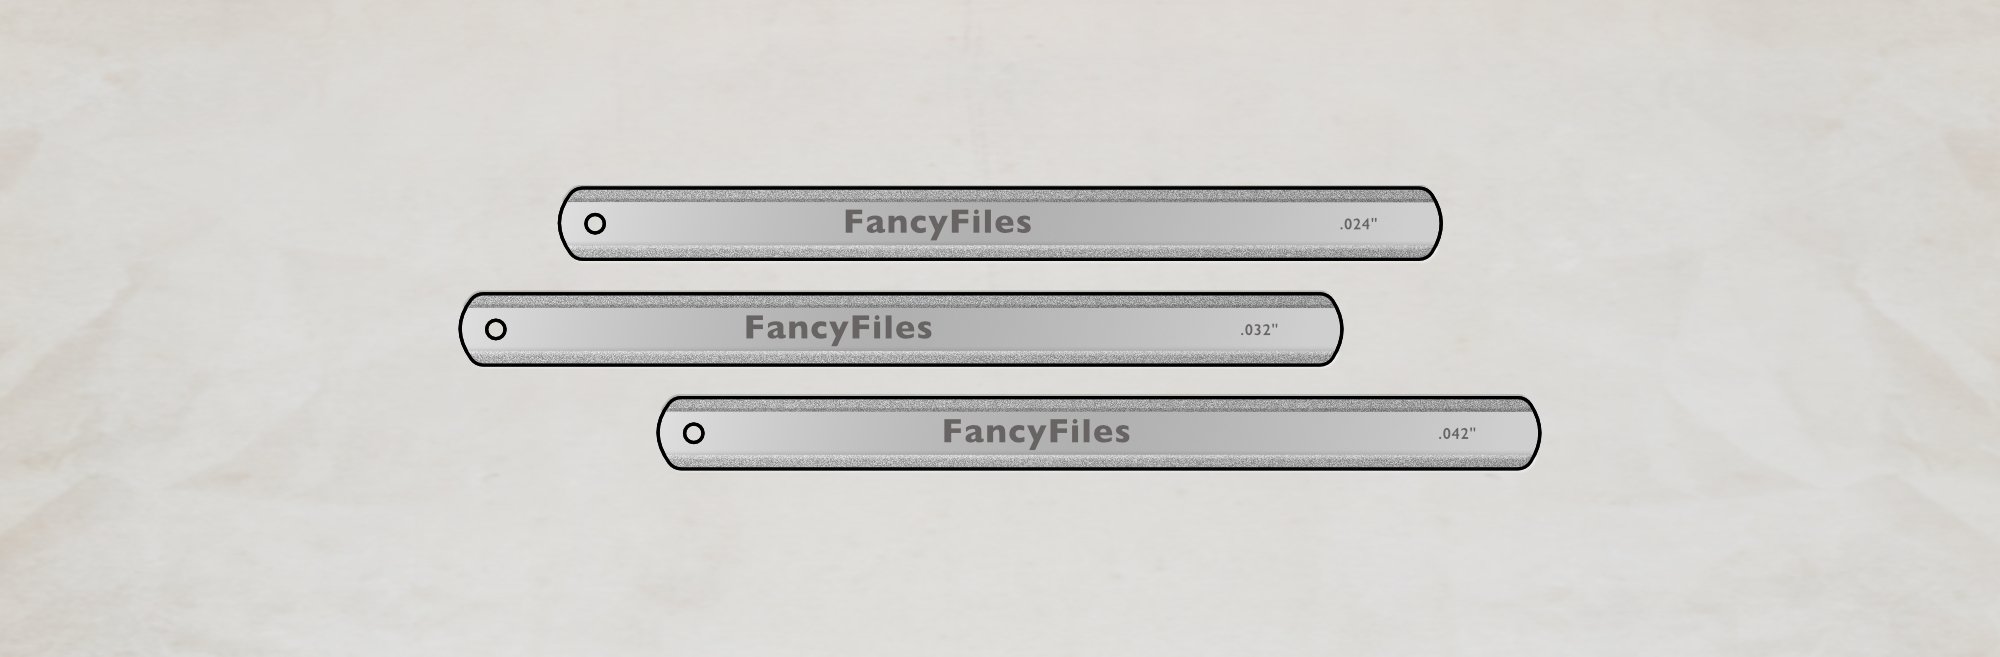
Guitar nut replacement
This stuff's not rocket science but to do it well is a little more involved than the nut-sellers 😉 would have you believe. Patience is key here.
Getting old nut out
We’ve looked at this before. Check out these links for more info on how to get the existing nut out of the guitar safely.
How to remove a Fender guitar or bass nut
How to remove a Gibson guitar nut
Fit for Thickness
We begin by getting your nut fitting into the slot. Most of these things are going to be oversized so you’ll have to do some sanding to get the nut in. First off, we want the thickness right so it fits into the slot.
Use some 220 grit sandpaper and lay it on a completely flat surface. Start to rub the front face of your nut off the paper to remove some material.
Because you’re using a pre-shaped nut, you remove from the front. Removing material from the back will ruin that nice curve-from-top-to-back shape. That’s not quite such a problem on a Fender-style nut but you should still go with the front edge.
Keep checking your fit as you go. Try both ends in the slot. Remove some more material as needed. Try again. Does the centre fit now? Keep going until you’ve got a snug push fit. It should fit into the slot with just a small amount of pressure and remember you want this to have a uniform thickness all along its length. This means take things slow and keep checking. More than you think you have to.
Oh, and, the other important thing to remember is that you need to keep the front face at right angles to the nut bottom. If that face angles, the string take-off point could shift and make intonation more difficult.
That’s a lot of stuff to try keep right, I know. Just go slowly and carefully.
When the nut fits easily into the slot and remains snug, without falling out, you’ve nailed it.
Radius the bottom of the nut
As discussed in the article on fitting replacement nuts with a curved bottom, for Fender-style nuts, you need to match the bottom of the nut to the fingerboard/nut slot radius.
Square bottom
It’s important to keep the bottom of the nut at 90º to the front edge. That’s going to get you the best fit in the slot. If you’re radiusing the bottom, check constantly as you go and keep that angle square. If you’ve got a Gibson-style, flat slot, your nut might still benefit from a little cleaning up and squaring off. Check it.
The outlier on this step is a Martin angled nut slot. Many Martin guitars have a nut that fits into a slot angled back like the headstock. If you’re lucky, your nut will slot in there and the angle will be perfect. Chances are, though, you might need to do some finessing of that angle so the nut sits properly along the bottom of the slot. Patience is useful here.
Nut height setup
Patience is definitely useful in this step. Like, so much patience.
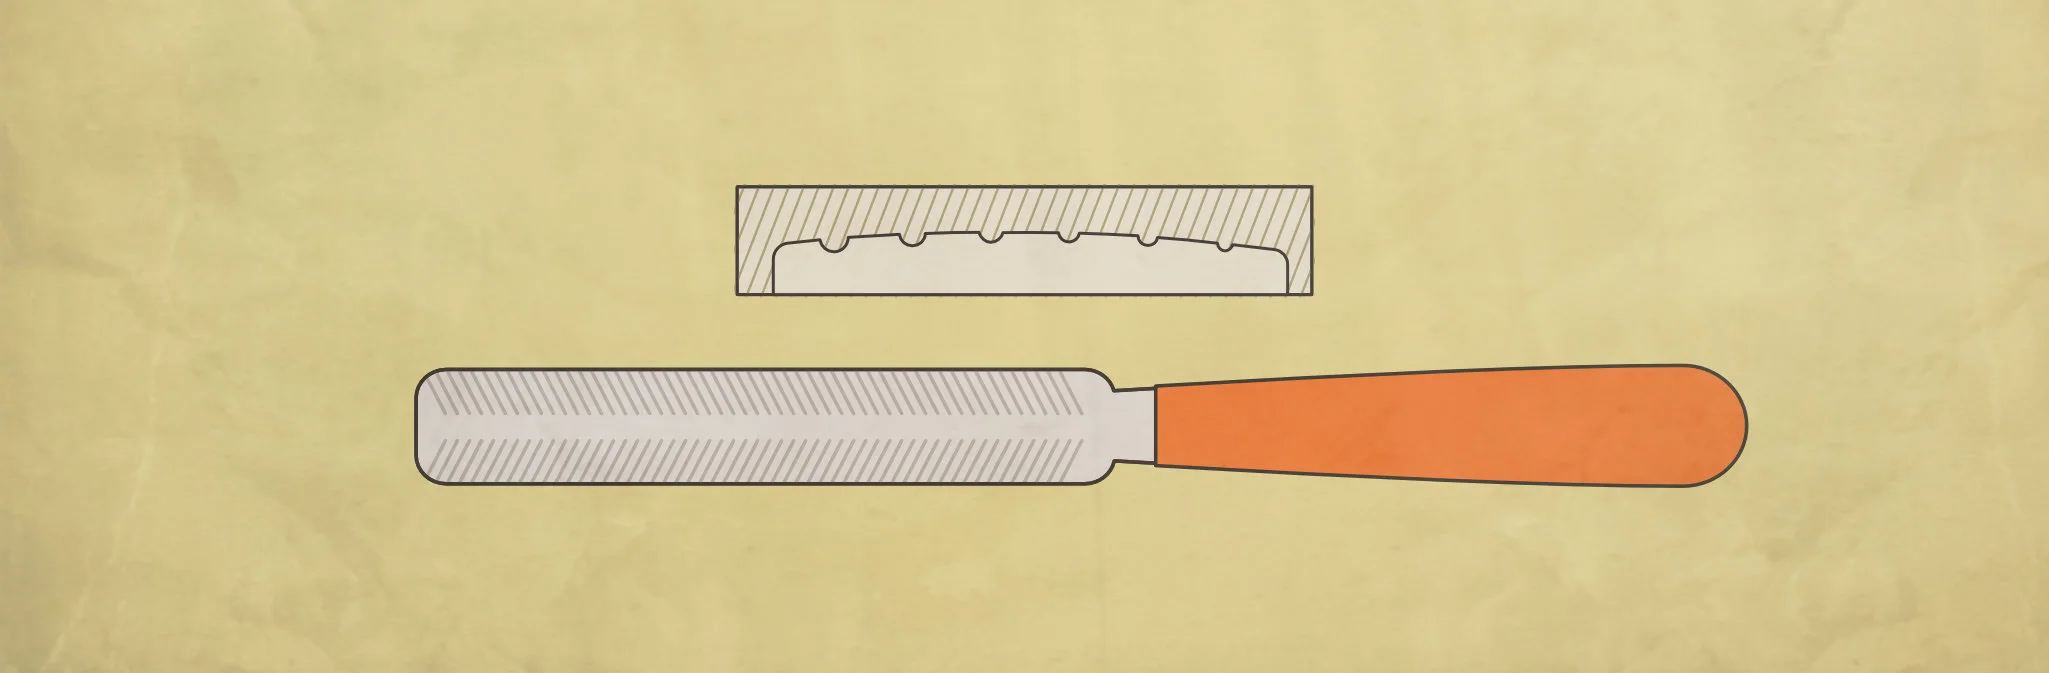
For someone with a nice selection of nut-slotting files, final setup of string height at the nut is relatively straightforward. It still needs patience and it can still go wrong but, it’s straightforward — you take each string slot down individually until it’s at the height you want.
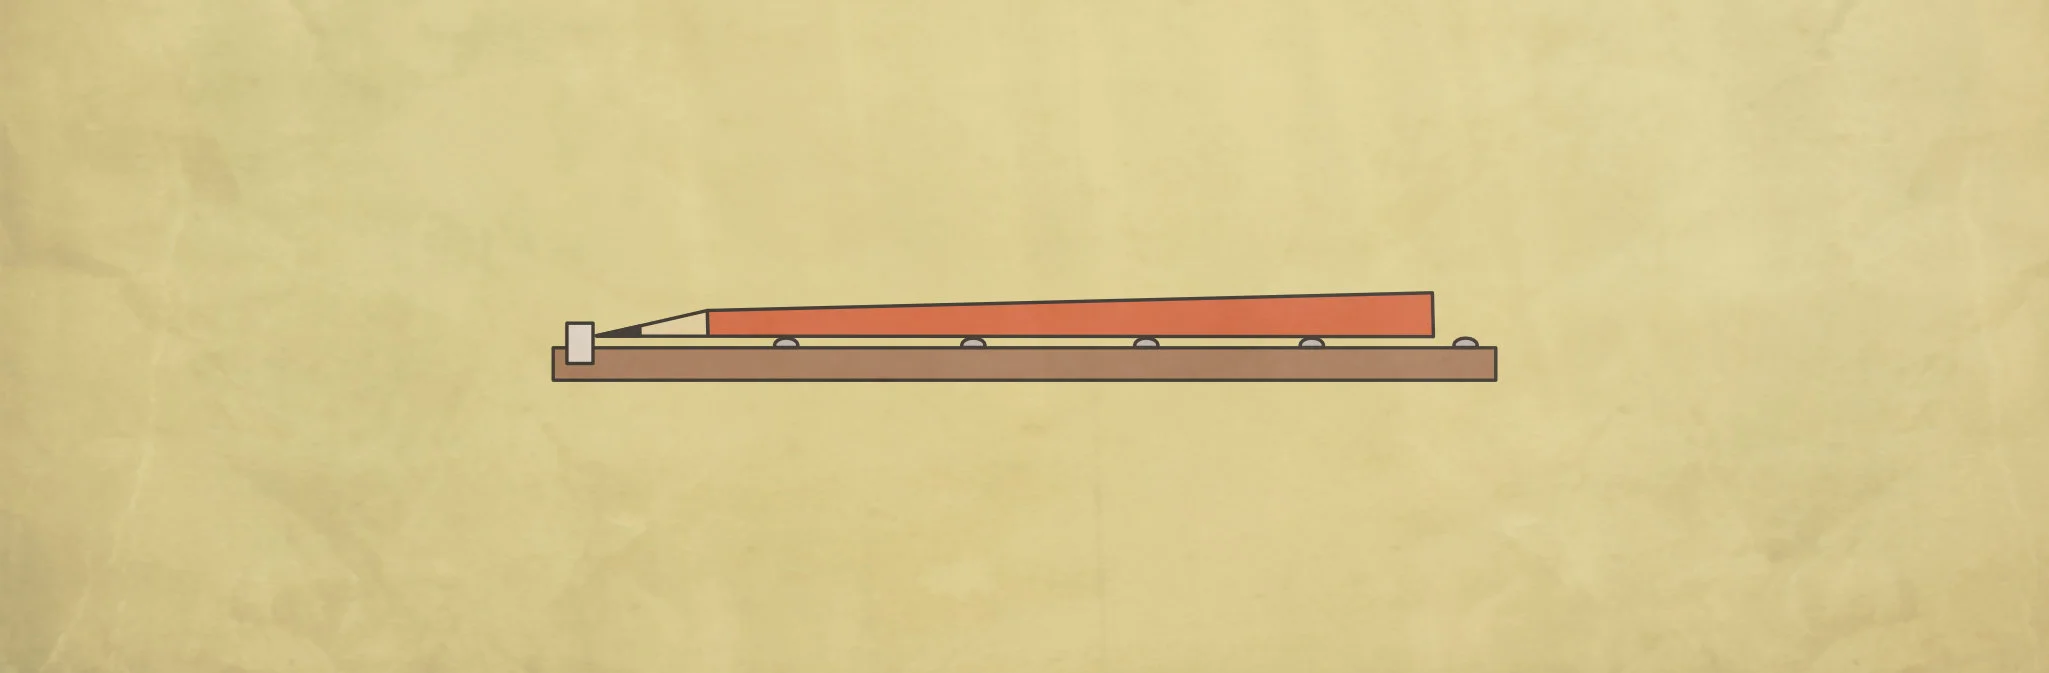
For someone without nut files, things are less straightforward. Not complicated, just time-consuming and fiddly. You’re going to take the string height down but removing material from the bottom of the nut. You’re lowering the overall nut height to bring down the string height.
This typically takes a lot of trial and error progress. So, let’s get to it.
Before starting though, this information assumes the nut’s string slot radius pretty closely matches the fretboard’s. If there’s a mismatch, things are a little less straightforward and there are some compromises necessary. We’ll deal with that in a minute but do finish this article before you start work.
Start by installing the top and bottom strings on your guitar and tune them to pitch.
Check the side-to-side positioning of your nut to make sure it’s ok. You don’t want those outside strings too close to the edges of the fretboard. If there's not much room, I’d err towards having the bottom string to be a little closer to the edge than the top string, but try ensure you’ve got enough space on both.
Check your neck relief. You don’t want to set nut height with a ton of relief in the neck. With only two strings on, that’s not likely to be the case but you should do this with a neck that’s as close to straight (no relief/bow) as possible.
Use feeler gauges to measure the height of the strings over the first fret. You’re measuring from the bottom of the string to the top of the fret.
Now, nut setup is a subjective thing and it’s the one setup step I’m always reluctant to give measurements for (this might be, partly, because I’ve always eyeballed it and my brain is unused to measuring here). That said, I’ve pulled some specs together to give you something to aim for.
As a reasonable, ‘average’, electric guitar action, the following is the first fret measurement you’re aiming for.
Bottom String: 0.017–018” (approx 0.43–0.46mm)
Top String: 0.010” (0.25mm)
Your pre-cut nut will likely be miles off this. That means you have to slacken off the strings, remove the nut and sand some material off the bottom.
This is the painstaking part. It’s incredibly easy to go too far and ruin the nut. Avoiding that means sanding a little off the bottom, refitting the nut, re-tuning the strings, and checking the measurements again.
Remember too, that you’re trying to maintain that front-to-bottom right angle and, if applicable, the bottom radius.
Yeah. I know. It’s a pain.
But it’s doable if you’re careful. Expect to have the nut off and on a lot. Keep your cool and be as exact as you can.
When you’re getting close to these measurements, check it out for ‘feel’. How does it feel to finger those strings in the first couple of frets? A bit stiff? Keep going.
Also, check for tuning on the open string and the first fret. If normal pressure at the first fret pulls that note sharp, the nut’s probably still a little high. Essentially the sting’s being stretched more than it needs because it has to travel further to the fret. Beware of finger-of-steel syndrome, though — don’t press any harder than you would in normal playing conditions because that will result in a sharp note regardless.
God speed, you patient, nut-bottom sander. 😉
Compromising for radius mismatch
Remember we talked about how the nut’s string slot radius would ideally match the fretboard radius? Well, here’s why…
If your pre-cut nut has a radius that’s larger (i.e. flatter) than your neck, the outside strings are going to sit higher, relative to the fretboard and frets. We’re not talking a massive distance here but, remember, we’re measuring all this ideal setup stuff in thousands of an inch.
And here’s the compromise. Unless we can file those slots with properly gauged nut files (unlikely for most DIYers), we have to accept that some string slot heights will not be as perfect. Only being able to sand the bottom of the nut to adjust height limits how well set up we can be.
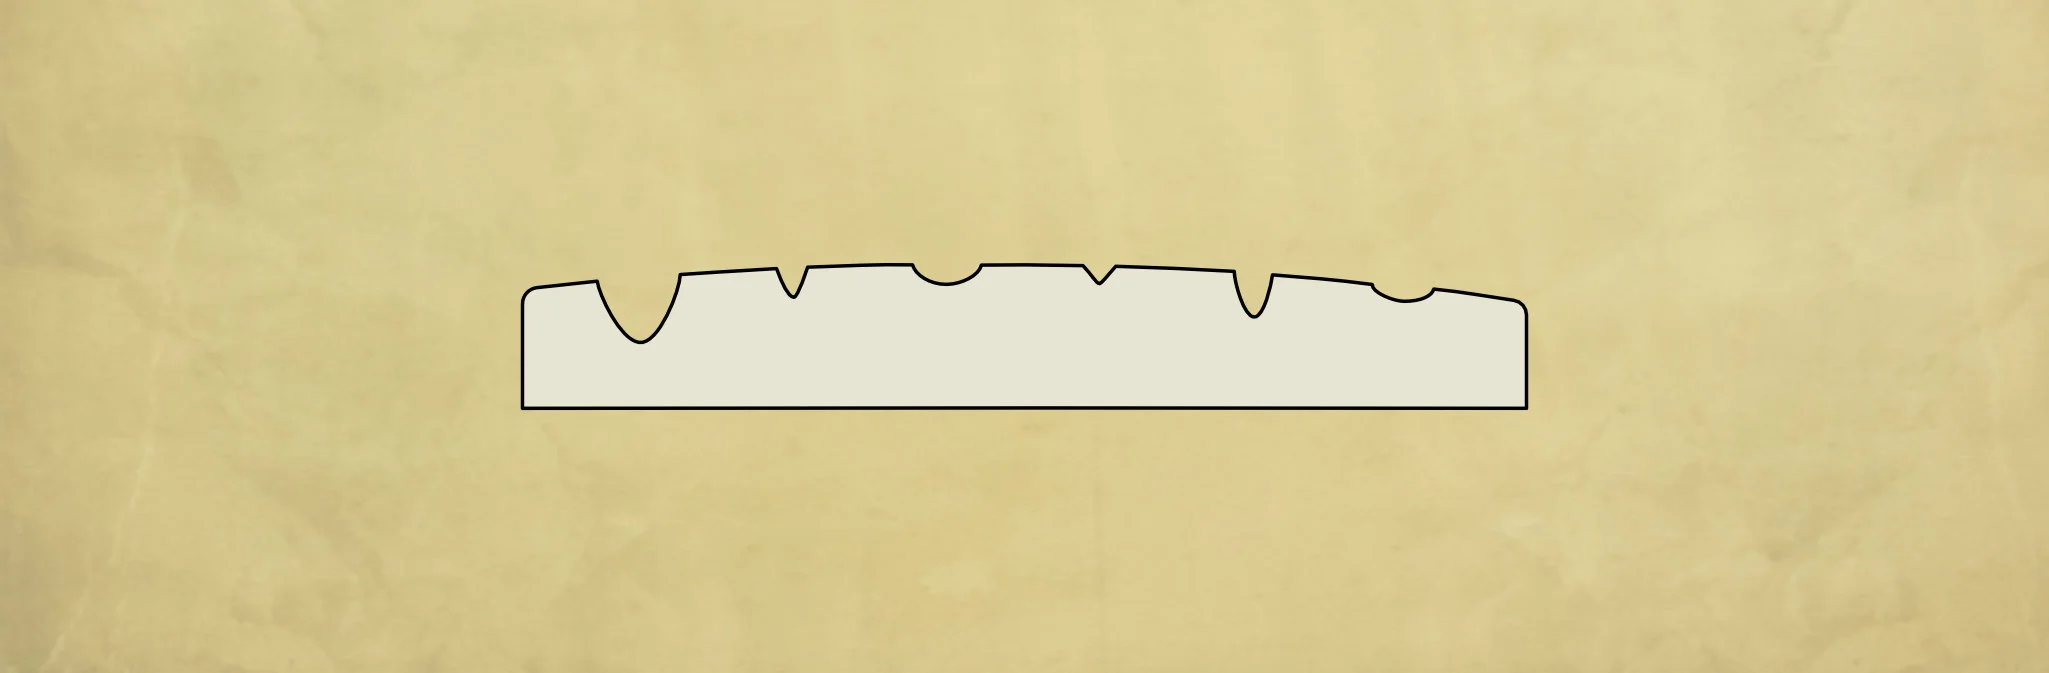
For this reason, in the circumstance described above — you have a nut with a flatter/larger radius than your fingerboard — I recommend stringing up the middle 3rd and 4th strings as well as the outside top and bottom. As you can see from the image, these middle strings are the ones that will end up closest to the fretboard so it makes sense to work with these for measuring.
Aim to get your middle strings about 0.013–014” (0.33–0.36mm) from the first fret. Don’t use the measurements above for the top and bottom strings — if your outside strings reach that measurement, odds are good your inside strings will be too low.
Continuing the annoyance, you do need to measure your outside string height too, just to make sure the overall top to bottom ‘balance’ is correct. Otherwise, even if the middle strings are correct, you could end up with one side of the nut high while the other’s low.
OK, I know this is stupidly fiddly. I know. You buys your nut and takes your chances.
Dealing with a nut slotted to a tighter or smaller radius is actually easier. You can just use the bottom and top strings as described initially and let the middle strings take care of themselves. The middle will be a little high at the end but that’s the compromise.
Take nut edges down flush to the neck sides
After all of that, this bit should be easy. You’re just going to take the sides of the nut down flush with the guitar neck.
Double-check alignment, mark the nut with a pencil along the neck edge. Remove and get sanding again.
Keep popping it back in to check. Once you’re done, you’re done.
Dab two small blobs of wood glue into the slot, insert the nut and string up. Make sure it doesn’t shift as you tune to pitch and then wait for the glue to dry. Superglue will work fine if you don’t have wood glue but don’t go crazy — just a couple of tiny dabs.
The bottom line
Phew. That was a lot to take in (and to write).
Sorry for all the intricacies here but fitting a pre-cut nut well, without fret files is not as simple as the nut companies would have you believe. Lots of instruction videos and articles tend to gloss over — or even skip entirely — the height-setting part. I wonder why.
Look: Nuts are tricky. Even for pros, we sometimes do something stilly and blow it. A replacement nut can be fantastic upgrade and but getting it installed well isn’t necessarily the simple task the manufacturers make it out to be. It’s definitely achievable but expect it to take some time and require some substantial patience.
Right. Time for a tea, I reckon. 😉
This article written by Gerry Hayes and first published at hazeguitars.com