
Neck Reset 8: Putting it all back together
We’re approaching the end of our neck reset journey. Let’s see about getting that neck back onto the guitar.

The big problem here is that, as material has been removed from the neck heel, the neck moved a little deeper into the dovetail. So, the neck part of the joint is now a little loose when it’s inserted into the the dovetail socket in the guitar.
Shimming
To tighten things up again, we need to install a shim in the joint. What size shim will vary depending on how much ‘resetting’ has taken place. Best thing to do is to start with some thin cardboard or some paper and build up the thickness until the dovetail starts to catch just before the neck seats completely into the joint.
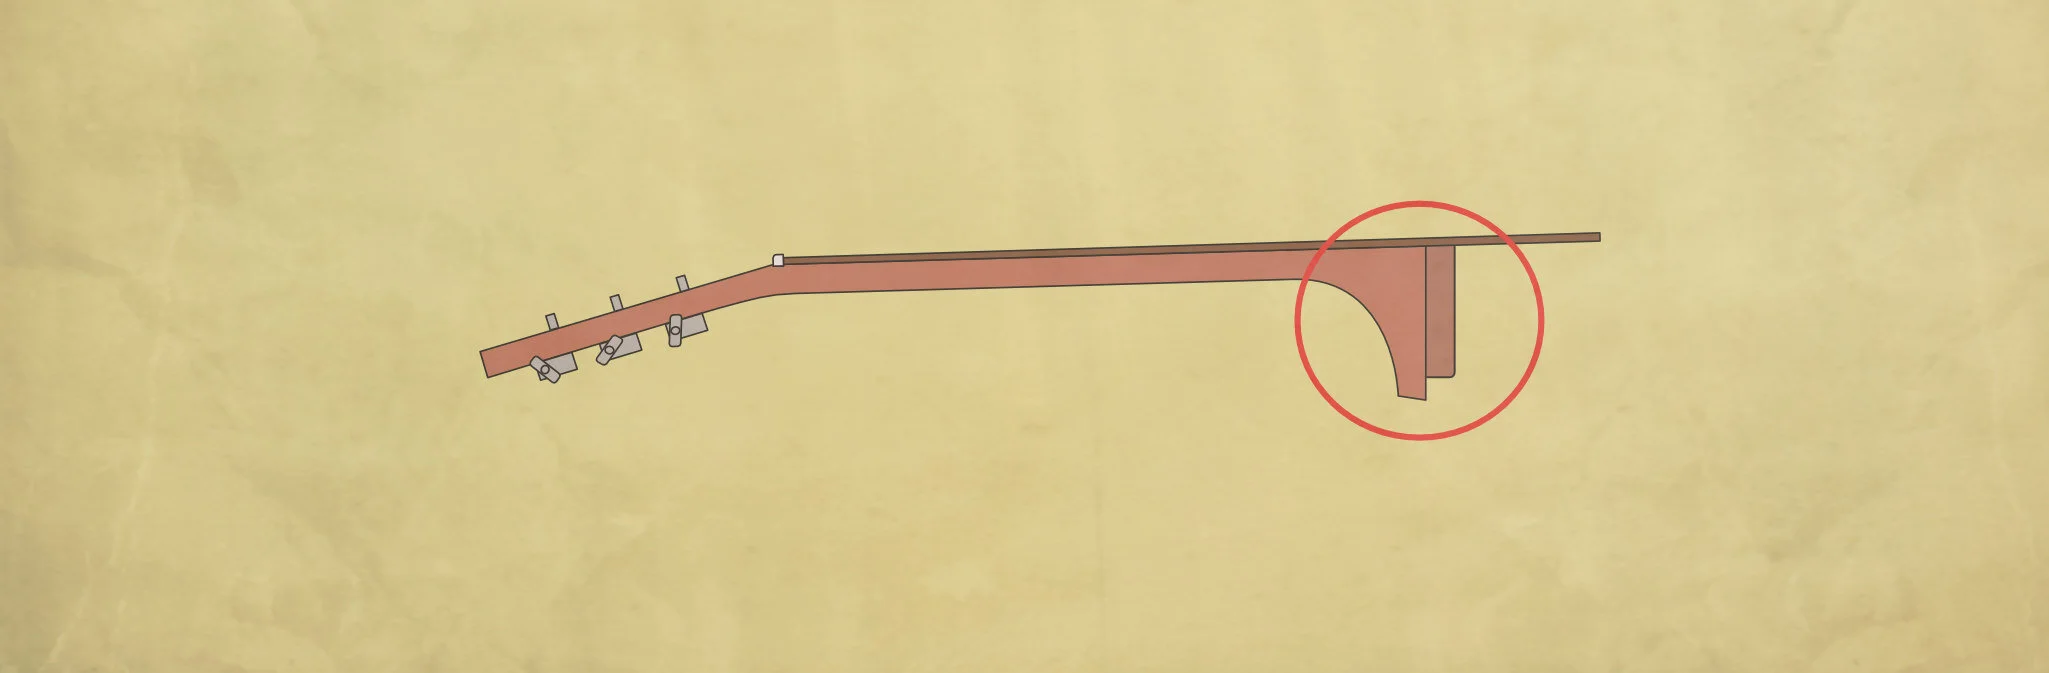
A good way to tell is to look for a slight gap between the bottom of the fingerboard extension and the guitar top. When you’ve mated the neck to the body, push it tight by hand and check this gap. Look for about .020” or .5mm right by the joint. Check with a feeler gauge. This should give you enough ‘tightness’ in the joint to safely clamp the neck the rest of the way.
So, let’s do just that.
Up on top, I use a caul that’s slotted (messily) so it clears the frets and only touches the fingerboard. Around the back I use a cork-padded caul that’s cut in a slight wedge-shape to accommodate the angle of the guitar back.
Using these, I’ll apply a clamp right over the dovetail joint to press things home.

Clamping arrangement for reattaching acoustic guitar neck after a neck reset
When it’s pressed home, if all is good you can remove the clamp and the neck will stay fixed securely to the guitar. That’s the magic of a good fitting dovetail. If it slips out, you might want to reassess your shims. Maybe add a tiny amount of thickness and try again(oh, and make sure you’re not using very glossy or slippy cardboard — sometimes it makes a difference).
When the neck is mated temporarily like this, it’s a good time to reassess your previous reset-tuning parameters. Still got a good fit between neck heel and body? Is that centre-line still on centre? Check ‘em out and sort out any discrepancies.
Because, we’ve got one more to add to the mix in a minute.
First, though, we turn our temporary shim into a permanent one. A sharp tap of a rubber mallet will loosen the neck again.
Measure the thickness of your cardboard shims and add a little — maybe .010 (.25mm) to get the thickness of your permanent shim. This extra thickness will let us adjust our final fit and leave enough to ensure a firm joint.
You’ll want a wooden shim of the thickness you’ve just worked out, about the size of one side of the dovetail wall. When you’ve got it cut, glue it to the inside of the female part of the dovetail wall (make sure it’s the same side you had your temporary shims).
Once the glue has cured off, you can start your final fitting.
Trimming for shim-fit
This new, thicker shim will have nudged the neck up and over a little in the joint. You can tell by measuring that fingerboard to guitar gap — it’ll be wider now.
We’ll be removing a little material from the neck-dovetail — from the face that contacts the new shim to let it slide back down until it’s at the point where our temporary shim placed it.
The truly brilliant method for doing this, I first saw demonstrated by Bryan Galloup in Dan Erlewine’s Neck Reset video. It’s simple and easy and fiendish.
Bryan cut some carbon paper to size and inserted it between the shim and the male part of the dovetail (facing the neck part). Pressing the neck, in with hand pressure only, would leave some of the carbon-ink on the face of the joint.
These spots (and it will be small, discrete spots at first) indicate the points that touched. These spots can be scraped or chiselled back to slowly (a) make for a much better fit between joint surfaces and (b) shift the neck back down into the dovetail after our permanent shim nudged it up.
This carbon paper fitting and adjustment will be repeated again and again with things getting closer each time.
So, you’re thinking, why didn’t we just install a shim the same size as our temporary shim and avoid all this messing about.
Well, having an extra bit to play with allows us to ensure our final fine-tuning can be done.
Fine-tuning for ‘twist’
As we’re progressing lower, we need to keep checking the fingerboard to guitar gap. Remember, we’re aiming for a gap of around .020”.
However the crucial thing is that we need a similar gap on both sides of the fingerboard extension. Bass side and treble side should be the same. If you’re checking and that’s the case, great. You might get away without any correction.
More likely is that one side will be a little different to the other — the neck is ‘twisted’ or rotated slightly in the dovetail. So, we need to do a little more fine tuning to sort that out.

When fitting a neck into a dovetail, you have to keep checking and adjusting the ‘twist-fit’ to keep it level.
I hope this slightly busy image is clear enough. I'll try to talk it through.
If we measure your fingerboard gap and find that the treble side is smaller than the bass side, our neck is tilted/skewed/twisted in the dovetail towards the treble side.
This being the case, we need to adjust the dovetail to allow it to move back. We would remove a little material from the neck (male) dovetail faces in the areas shown. Less material here will let the neck skew back in the direction we want.

Illustrating how the twist-fit can be tuned during a neck reset
Another view might make things more clear. I hope. This is a job for your Neck Reset Sanding Stick from a while back. Just sand a little in these positions and repeat your neck fit test.
This neck-fitting/shimming stage can take a while. There’s a lot or back and forth test-fitting and correction. Stick with it and, after a while, we should have a good straight neck-mating with somewhere around a .020” (.5mm) gap between both sides of the fingerboard and the guitar top.
Great.
Now to glueing.
And here I’m going to be a stickler. Most of the guitars that are currently being reset will have been glued together with hide glue. So, use hide glue for the reassembly. Personally, I don’t care for the bottled hide glue but, if you decide that’s your thing, make absolutely sure it’s fresh. Check the expiry date and replace it if it’s even close to the date.
Hot hide glue is a better bet. Hot hide glue has a bit of a learning curve and this installment is already at 1200 words. It’s not the time to go into glueing. Maybe another day. I’ll work on the assumption you know, or can research, some methods for using hide glue. </p
Remember that it’s the dovetail fit — with its nicely mated angles — that keeps everything together. If you’ve gotten that right, you’re golden. Martin guitars only have glue applied to those dovetail surfaces. The areas where the neck heel contacts the guitar sides is not glued. Gibsons and other guitars do glue these surfaces too but, for Martins, we only want glue in the joint.
Well, obviously the fingerboard extension will be glued to the guitar top too. Don’t forget that.
Get your clamps and cauls ready, apply glue in the required places, mate everything and clamp. Clamp the neck home into the dovetail and add another clamp, through the sound hole (you’ll need a caul to accommodate the shoulder brace), for the fingerboard extension. See the image from the dry-fit test above for the clamping arrangement.
Do some clean-up of glue squeeze-out and leave everything to sit overnight.
Next time we’ll finish things off and look at some considerations for completing this job well.
A round-up of this neck reset series


This article written by Gerry Hayes and first published at hazeguitars.com


The final touches. Everything’s back together and the reset is done. Just a few last considerations.