
Neck Resets 3: Steaming out the neck
Last time I talked (for longer than I expected) about the beginning of the neck reset process. I looked at getting the fingerboard extension loose from the guitar top and detaching a bolt-on neck.
Now the biggie: Detaching and removing a glued-in acoustic guitar neck.
Removing the guitar neck: Dovetail
Well, I say ‘dovetail’ because that ends up being most of what we’re dealing with but this mostly applies to glued-in mortice and tenon joints too.
So, if you’ve heard anything about neck resets before you might have heard the term, ‘steaming off the neck’. That’s been the way we’ve handled this job for ages. Injecting steam into the neck joint heats and loosens the glue and, hopefully, encourages it to let go so you can remove the neck.
Before that can happen, we need a way to get the steam in there.
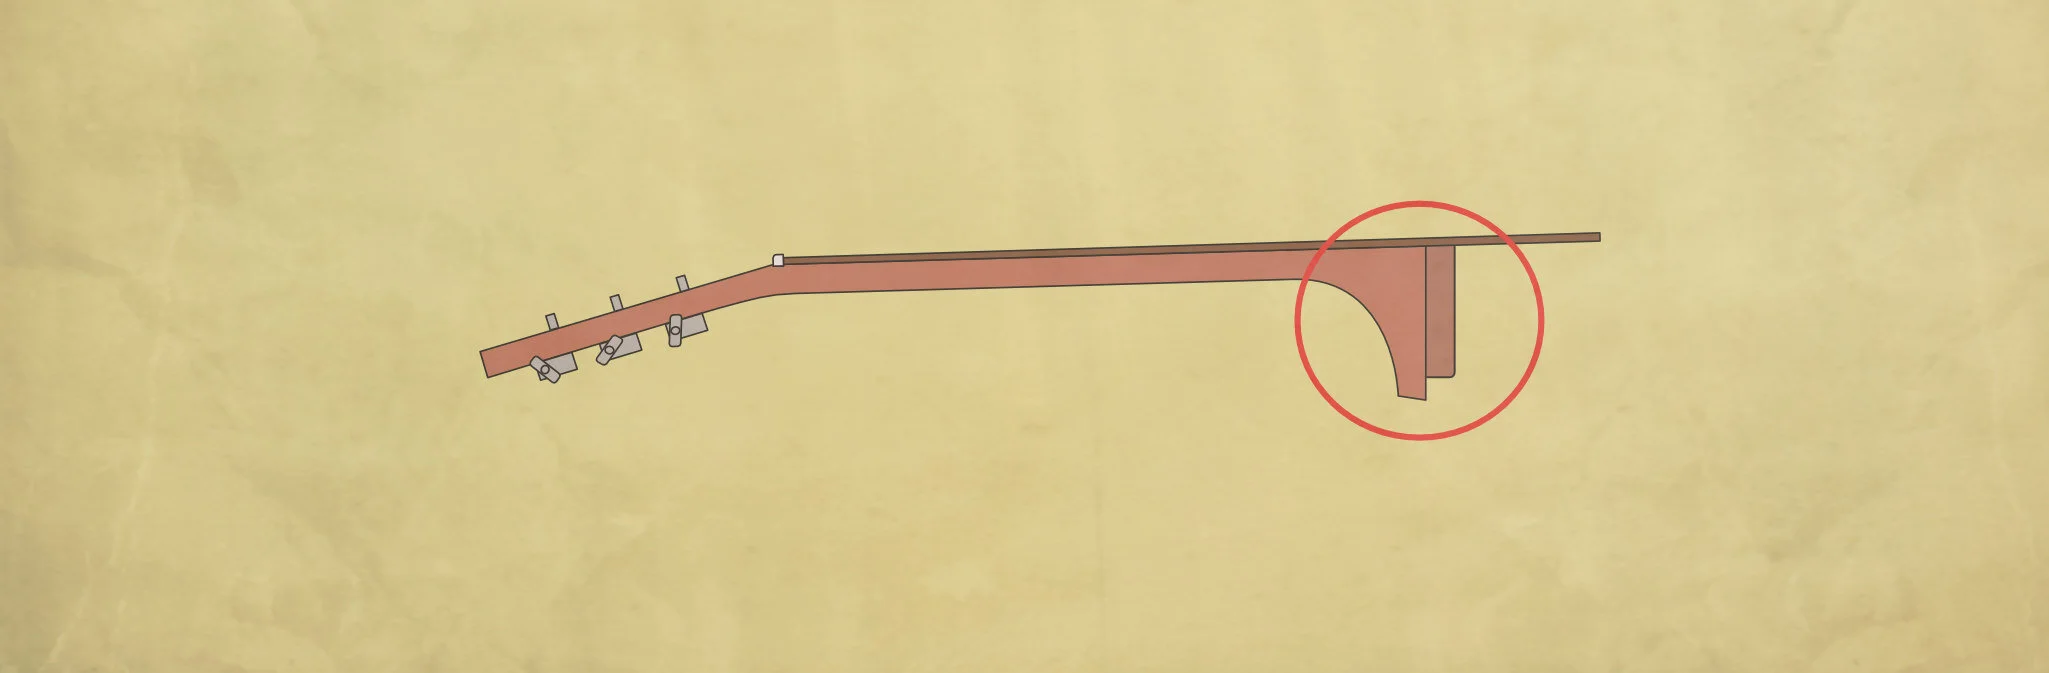
I’m not sure if it’s by luck or by design but, there’s a very handy quirk that makes this job a little more straightforward. The back end of the dovetail pocket generally sits under the 15th fret (on a 14 fret-to-body guitar).
If you remove the 15th fret you can drill through the slot and usually gain access to a small air pocket at the back of the joint. Drilling through the fret slot makes it easier to hide the hole when all of this work is done.
Drill a hole about a third of the way across the neck from the bass side. I tend to angle the hole towards the centre slightly, trying to mimic the angle of the dovetail pocket. I use the nozzle that Stew Mac sells for this (more in a sec). That’s got a 5/64” needle part so I generally drill a 2.5mm hole.
If all goes well, you’ll actually feel the drill go through the fingerboard and into the void beneath. Sometimes this isn’t so cut and dry, though. You can poke about with the end of a guitar string to see if you’re into the joint gap. Sometimes, the geometry isn’t quite right and you have to drill another hole or even two (trying slightly different angles) to find the pocket. If you’re drilling more than one hole, try the second a third of the way from the treble side. After that, well, it becomes a bit of a crapshoot.
You will occasionally encounter joints with a much smaller gap at the rear (or even with no gap). Sometimes, you have to trust to experience (and a little instinct) that your hole is right and try a little ‘blind’ steaming. Luckily, that’s not so regular but it happens. If things are really fighting back, it’s possible to pull the 14th fret and saw through that fret slot to completely remove the fingerboard extension. That’s nobody’s first choice here but it’s very occasionally necessary and, in the old days, this is how may resets were done. I do this very rarely and, mostly, it’s only to deal with instruments that have previously had their necks removed and badly reinstalled.
Let’s assume the reset gods have smiled on your endeavours and you’ve got a nice clean hole into the joint pocket. Time for steam that neck off.
First you need steam.
How to make steam
I don’t know of anyone that’s selling a Guitar Neck Steamer so what most repairers do is to modify something that already makes steam. The most common solution is to hack an espresso maker to hijack its steam nozzle. I’m more of a tea-drinker so this didn’t appeal. 😉
Actually, I just happened to find one of those crazy steam irons where the base part makes the steam and shoves it down a hose to the iron part. This was pretty easy to modify (although it did require a little electrical modding too so it might not be the best solution for everyone). Now, the base boils water and, with the flick of a switch, I can send steam shooting down the hose.
Preparing for guitar neck steam-removal
Ok, so the first thing to know here is that steam (and it’s cooler pal, water) are not really best friends with guitars. You shouldn’t go barging in shooting steam around like you’re playing Ghostbusters. Any steaming should be kept to an absolute minimum and you need to protect the guitar as much as possible.
The steam will find its way through any tiny holes and gaps around the fingerboard and in the neck block. Be prepared for this. I usually heap a bundle of dry rags inside the guitar around the neck area. You should too. Keep another few rags within reach to wipe up any external steam escape but be very careful with this. Very delicate finishes can be damaged really easily. Don’t start aggressively wiping on thin or vintage finishes that have already been warmed by escaping steam. Be gentle with this stuff.
I know of some repairers that use their shop vac or dust extraction hose through the soundhole to suck out steam that escapes in there. I’ve done that a couple of times but it’s not always necessary. Most of the time, I try to control the steam in very short bursts of just a few seconds at a time.
After flipping on the steam function, the hose tends to run pretty wet for the first few seconds. I assume it’s the condensed steam sitting in there, cooling. I keep a mug on hand and squirt this first ‘spitty’ gush of steam into that. When the steam cleans up and flows hot and vaporised, I quickly turn off my iron-steam, insert the needle into the fingerboard hole, and turn back on the steam again. This happens really quickly so I get nice ‘clean’ steam shooting into my dovetail.
It’s here you’ll see what sort of gaps exist. The steam will do it’s best to shoot out anywhere it can. Be careful of yourself and the guitar here. Steam is, necessarily, pretty hot.
I’ll always have a rag in my left hand as I insert the needle with my right. I use this rag like a sort of gasket around the needle to stop so much steam shooting out of the hole. There’s always another bunch of rags near my left hand for wiping or ‘catching/mopping’ duty.
I generally only give a few seconds steam. With my right hand, I’ll flip off the steam switch and quickly remove the needle. Be careful here. The residual steam can still shoot out.
First steam application done, it’s time to start wiggling. A guitar vice that can safely and securely hold the neck is a godsend here but it’s not necessary. What you’re trying to do is to wiggle the neck in the joint. Sometimes, one steaming is all that’s needed and you can wiggle the neck free easily. That’s nice.
However, don’t think that you just give it a quick wiggle and then go straight back to more steam. My preference is for as little steam as possible so I’ll wrestle with the guitar and neck for a bit. I want to be sure I need to add more steam. Work that neck back and forth from bass to treble side.
Usually, you won’t get the neck off with one application of steam. So, repeat the process above. Keep an eye on the guitar condition as you go. Make sure nothing’s getting too steamy or damp if you can help it. A few seconds more steam and another wrestling session. Keep at it.
You’ll feel the neck beginning to ‘give’ as you work. Now you’re going to want to add a third dimension to your wiggling. Now you’re going to start trying to work the neck towards the top (and out of the guitar).
Keep going. Sometimes, you’ll need a number of applications of steam but, like I say, keep working the guitar and neck as much as possible between steamings. Keep the steam to a minimum.
All going well, eventually the neck’s just going to pop. Watch for this — you don’t want to send it or the guitar flying across the room during an intensive wrestling session.
When neck and body are separated, mop any condensed water and, if possible start to clean and scrape the glue residue from the male and female joint surfaces. It’ll be easier to get most off while it’s still warm.
Phew. Nerve-racking, eh?
Next time I’m going to look at a couple of things that can make this process a little smoother (maybe) but, for now, that’s your lot.
A round-up of this neck reset series


This article written by Gerry Hayes and first published at hazeguitars.com


The final touches. Everything’s back together and the reset is done. Just a few last considerations.