
Quick and Easy has a place
Just going to share a couple of quick tips this week. I had to plug a hole in the end block of an acoustic guitar. The instrument had had a piezo pickup fitted at some point in the distant past but it was long gone. The output jack remained though and had about a foot (300mm) of cable attached inside that flopped about when the guitar was moved. As I was doing a heap of other work on the guitar, I thought I’d clean that up too.
Now, there is an accessory available from Stew Mac (where else?) that’s a sort of plastic sleeve/cylinder that fits the larger output jack hole and accepts a plastic end-pin. The end-pin expands the plastic sleeve, wedging it, and there’s a screw to secure it all for extra safety. That’s all well and good, but I didn’t have one. So, I did it old-school.
Because this was a nice-to-have add-on on task and because the owner was already paying a chunk of cash for the other work, I just wanted quick and easy with this. We’re not talking a pristine, collector’s item instrument here.
So, first order of business, plug that hole. Actually that was second. First was getting the damn output jack out. Whoever fitted it didn’t screw it into place and instead wrapped what looked like an entire role of insulating tape around the shaft and wedged it into the hole in the end block. It took a bit of encouragement from within to get it moving. So much for quick. 🙄 No more time to waste.

This job didn’t justify making a plug from expensive matching wood. A dowel will do just fine and first, we need to know what length of dowel is needed. So, tip #1 is finding the depth of a through-hole.
There are a number of ways but quickest and easiest is to use something with a right angle at the end. I chose a small allen wrench but you could use a bent guitar string if you wanted. Stick it through the hole, snug the angled bit up against the back of the block and mark where the longer shaft meets the outside of the hole. I just pinched it between thumb and finger in this case as accuracy isn’t really paramount.
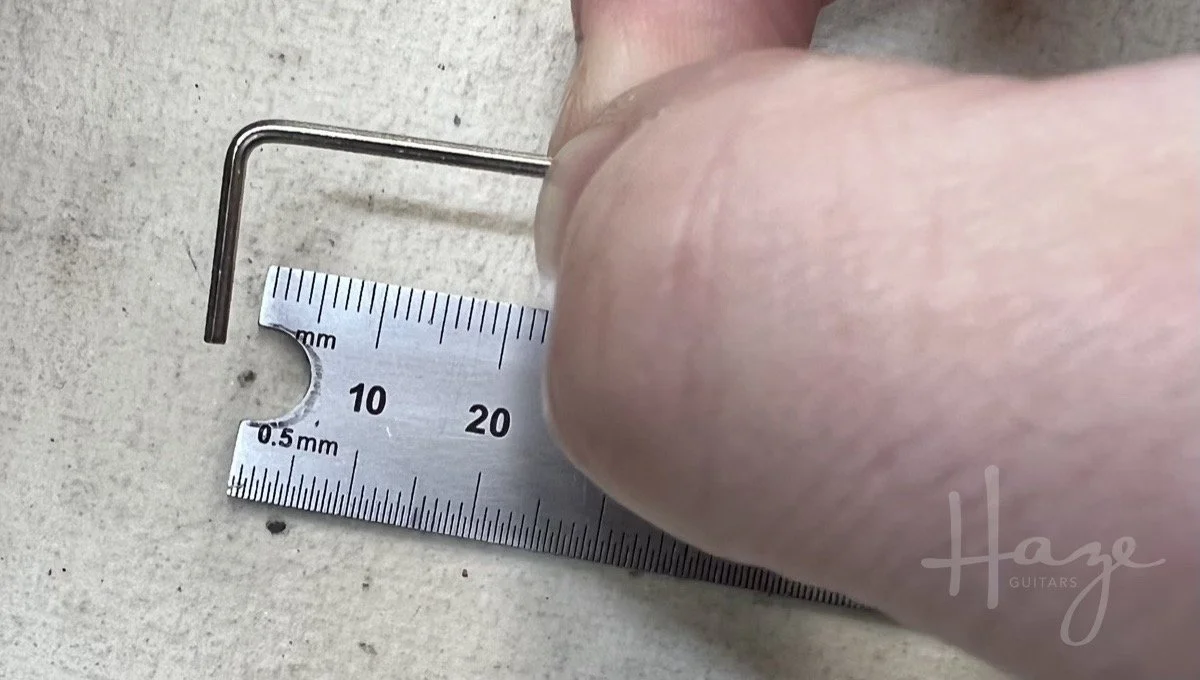
Measure the distance from the allen wrench corner/angle to your mark and you’ve got the depth of the hole. That’s it. Told you it was quick and easy.
Then to the dowel itself. We need a half-inch (12.7mm) dowel to plug the hole. My closest dowel is metric and comes in at 14mm diameter. I’m not digging out a lathe from under a hundred other bits of equipment to turn down an inch-long piece of dowel so, tip #2 is quick and dirty dowel resizing.
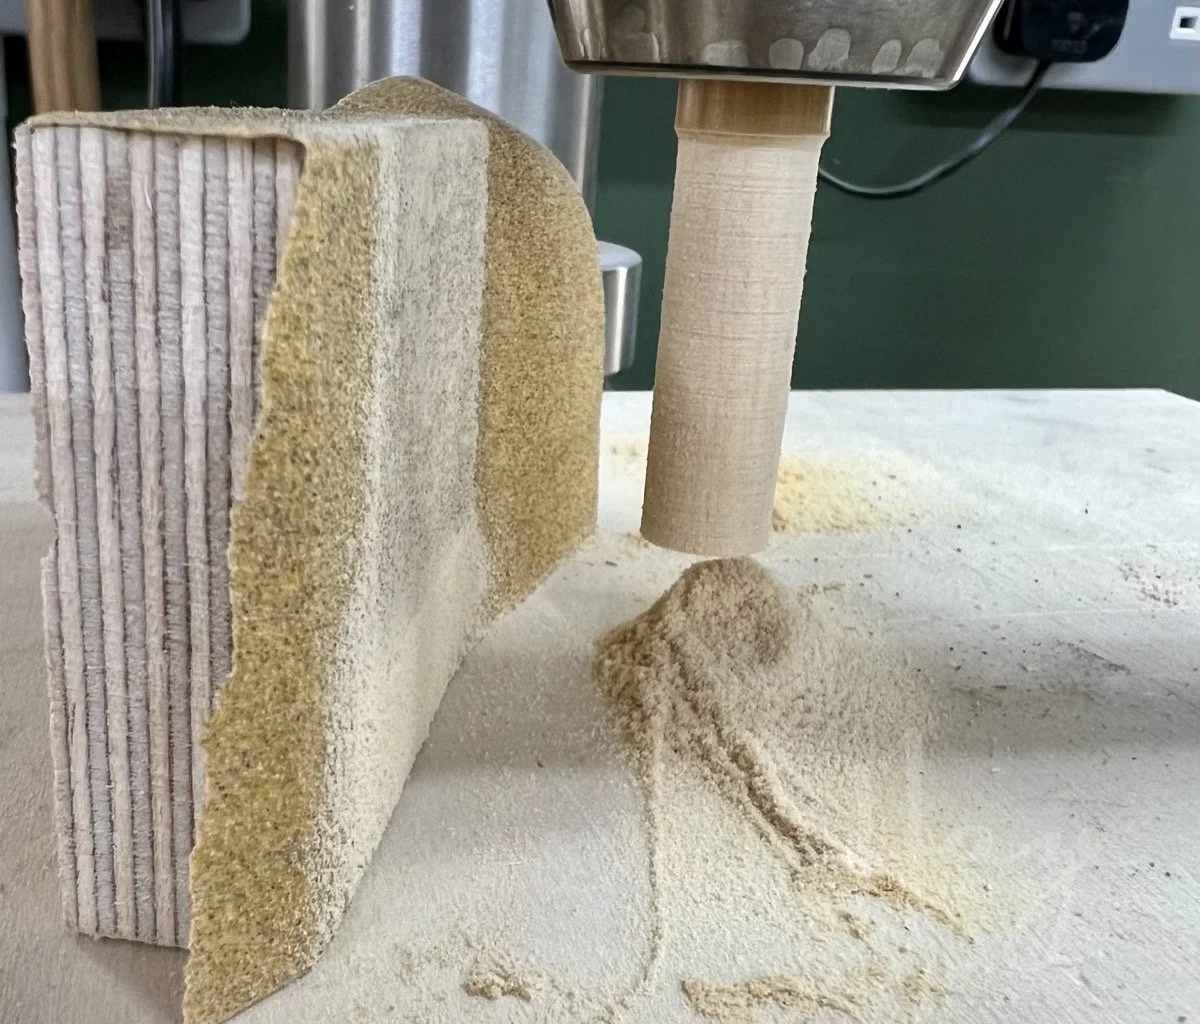
I just chucked the dowel in my drill press and used an off-cut of plywood with 80-grit sandpaper attached. The plywood block presses against the spinning dowel and the sandpaper removes material to resize it. You want a relatively slow drill speed for this (for safety more than anything) and obviously wear protective glasses or a face shield. The block’s held by you so don’t do anything stupid or reckless here. If you’re careful, though, it’s a very quick job to get that dowel down to size.
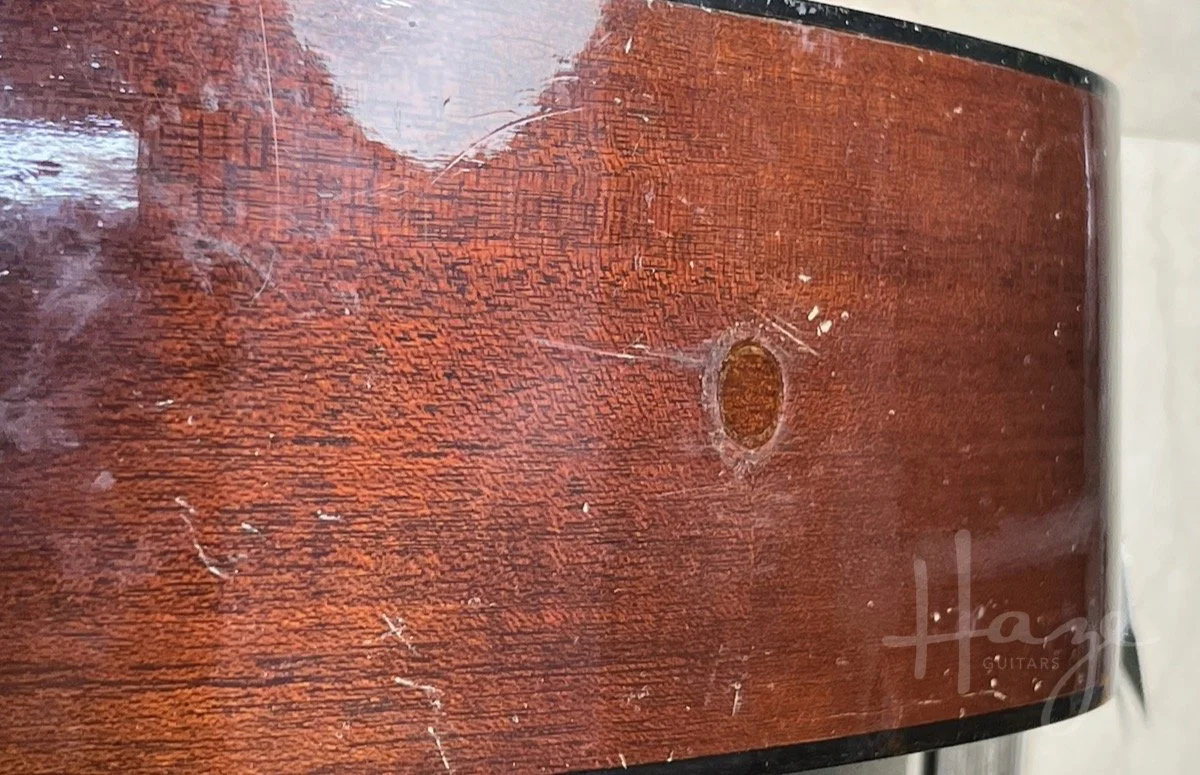
Boom. A bit of glue, tap it in, cut it flush. Done. I used a little stain and some water-based marker/brushes to get a close colour and simulate some grain before going over it with some CA glue. For this job, this guitar, and this location on the guitar, super-close colour matching wasn’t necessary. There was already a lot of scuffs and dings around the area anyway so I confined myself to just touching-up to disguise the dowel end-grain.
Lastly, there’s already a strap-button on the guitar’s neck heel so I just installed a second to match here. No need to re-drill out for a traditional end-pin.
And that’s it. It probably took longer to write this than it did to do it. Some jobs absolutely warrant tons of effort and some jobs are good with just enough to make things better. As long as things don’t get half-assed, quick and easy has its place.
This article written by Gerry Hayes and first published at hazeguitars.com


