
Repairing shrinking waist binding on acoustic guitar
Binding shrinkage is one of those repairs that looks simple until you're in the middle of it. Here I'll cover what actually works when guitar binding pulls away at the waist — why the heat-and-stretch approach might be a short-term fix, and why the more reliable method means releasing the binding all the way back to the nearest seam. It's more work, but it's the right kind of more work.
Binding can shrink. Plastic and especially celluloid can actually get smaller as it ages. Sometimes this is a slow process but, now and then, it happens more quickly than you’d like. Well, not that you’d ever like this but you know what I mean.
The shrinkage is usually more evident along the length of the binding. In long straight binding runs—like along the side of a neck—the binding shortens and you’ll sometimes see gaps at the nut or end of the fingerboard. It’s often possible to get away with grafting a little extra piece of binding in to repair this.
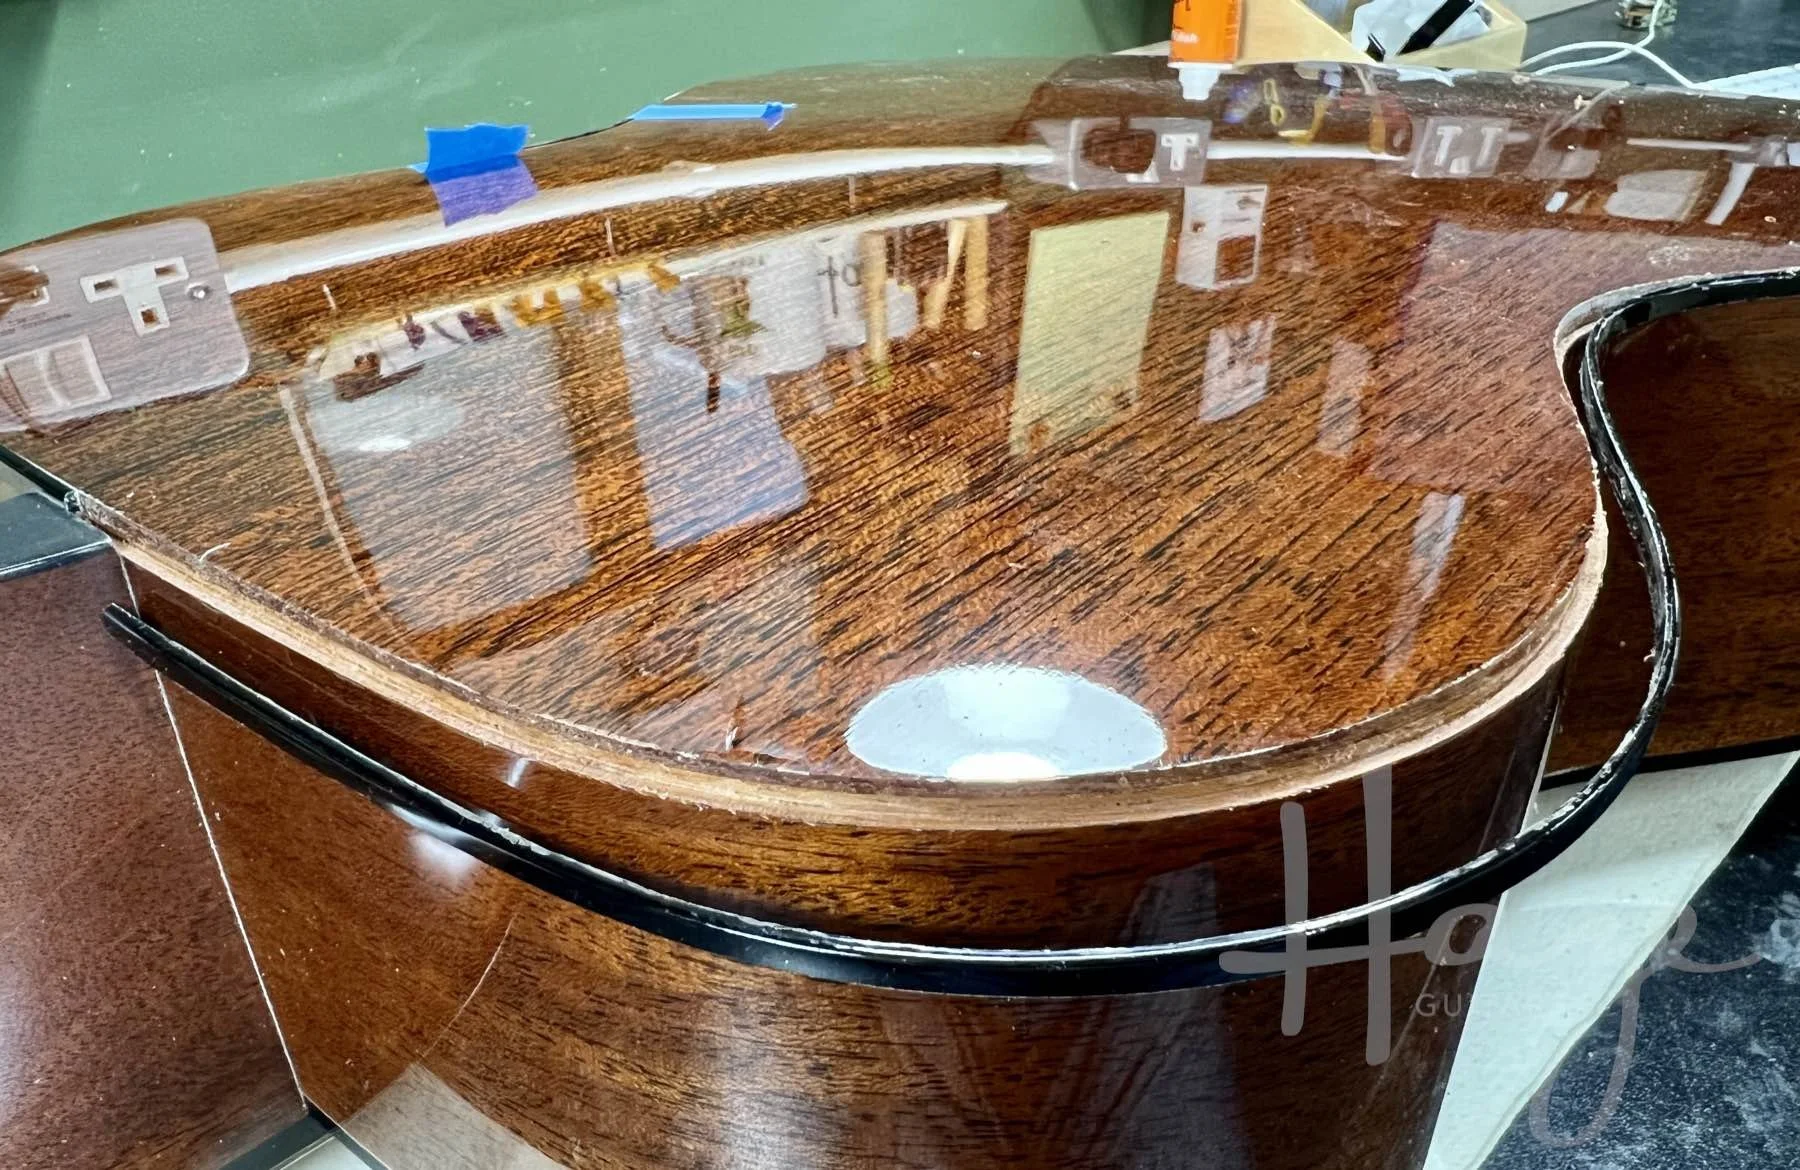
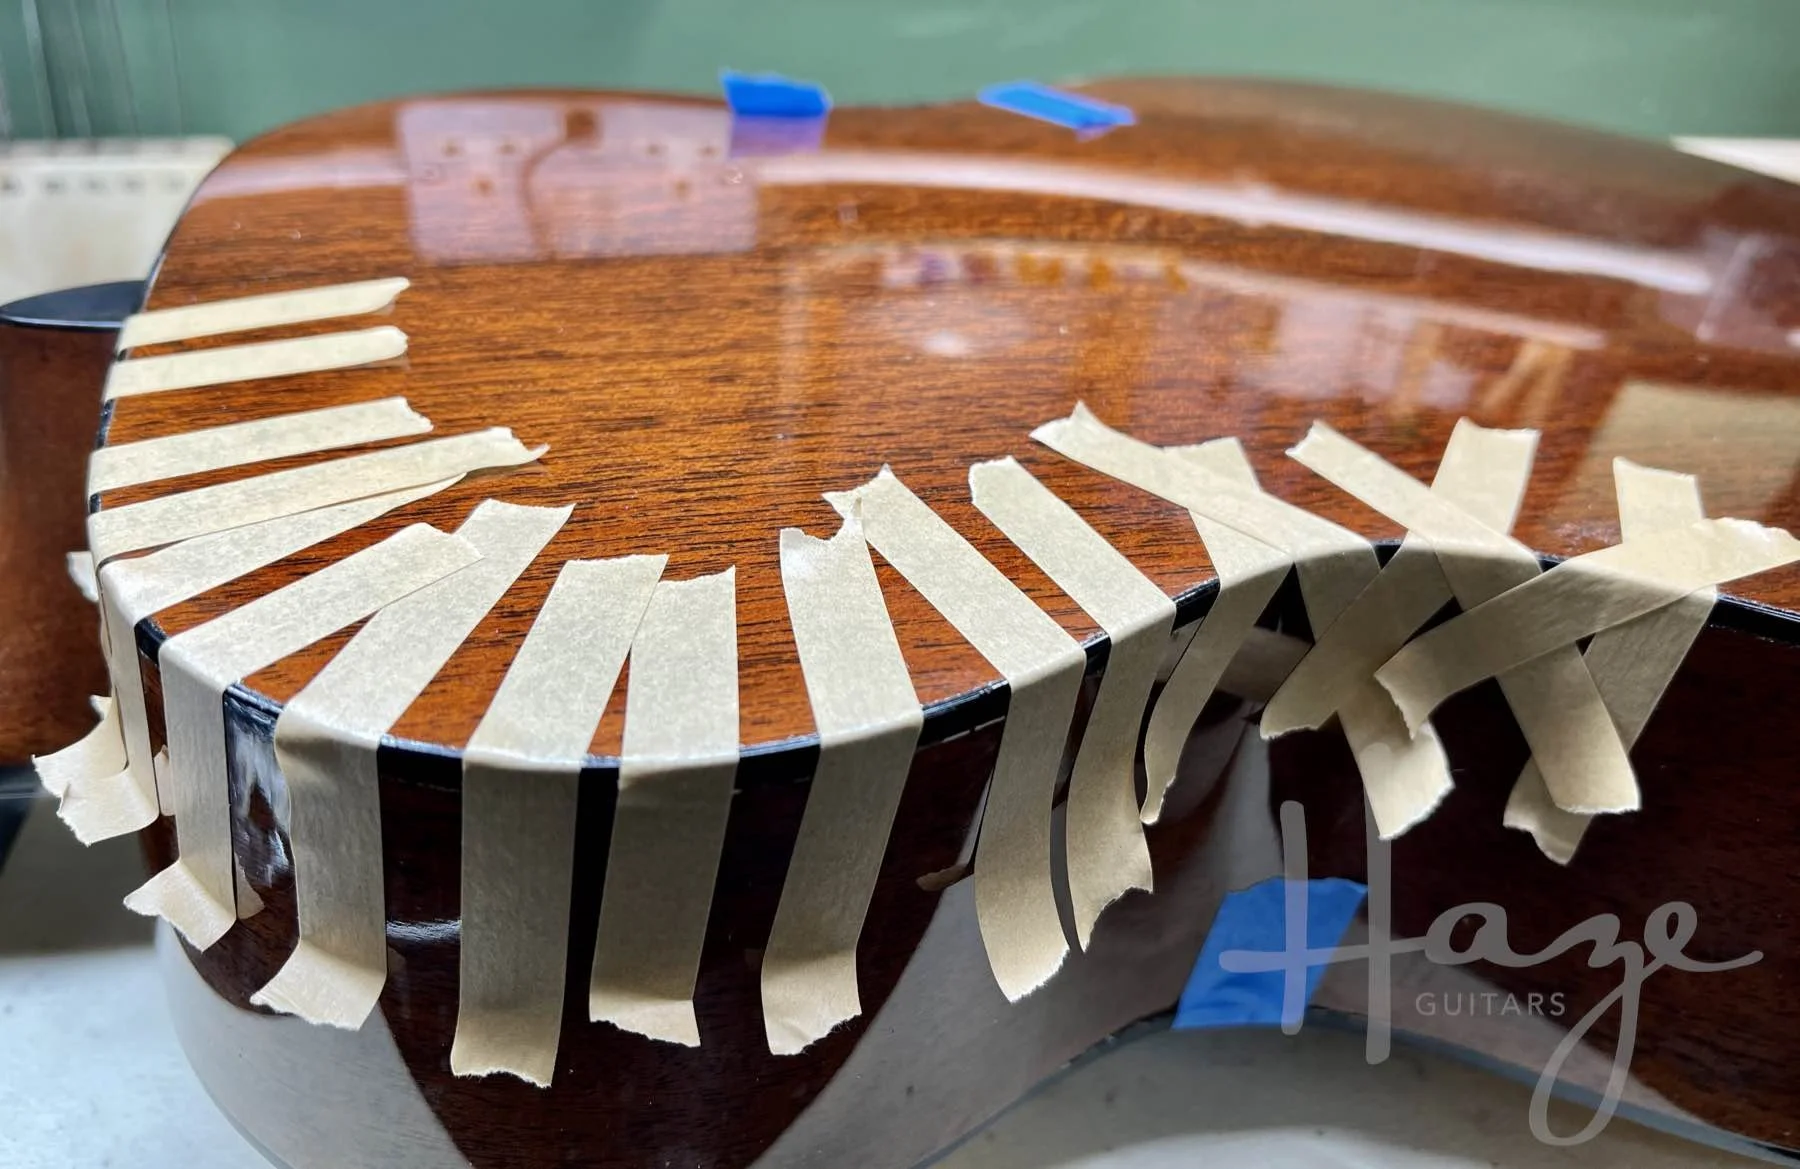
Binding around a guitar body, though, is an even longer run. And it’s definitely not straight. So, when body binding shrinks and gets shorter, it’s pretty common to see that as a separation at the waist of the instrument. The binding gets shorter but the waist stays its normal size and the result is that the binding pulls away and leave a gap between it and the guitar. Gah!
If you research this, you’ll read about using heat to soften the plastic binding so that it can be stretched back into shape. This can work. In my experience, it’s often not successful, with the binding pulling away again pretty quickly. And, heating/stretching is definitely something that applies to very small gaps. Like, really small. That said, it’s much less hassle than the method I’m about to explain so, if you want to give it a try, go for it. Just don’t use a lot of heat (nothing more powerful than a hairdryer on low) and don’t focus the heat in one place for too long. It’s really easy to soften/melt/burn some guitar finishes and bindings. Be careful if you try this.
More certain is to acknowledge that the binding is now irrevocably shorter and not to try force it to be longer again. Unfortunately, when the problem is at the waist of a guitar, that means loosening the binding all the way back to a seam/join. Usually you’ll find the join at the end block or the neck block of an acoustic guitar (and similar spots for an electric). These are unobtrusive locations to start and end binding and we can take advantage of that.
But first we have to get there.
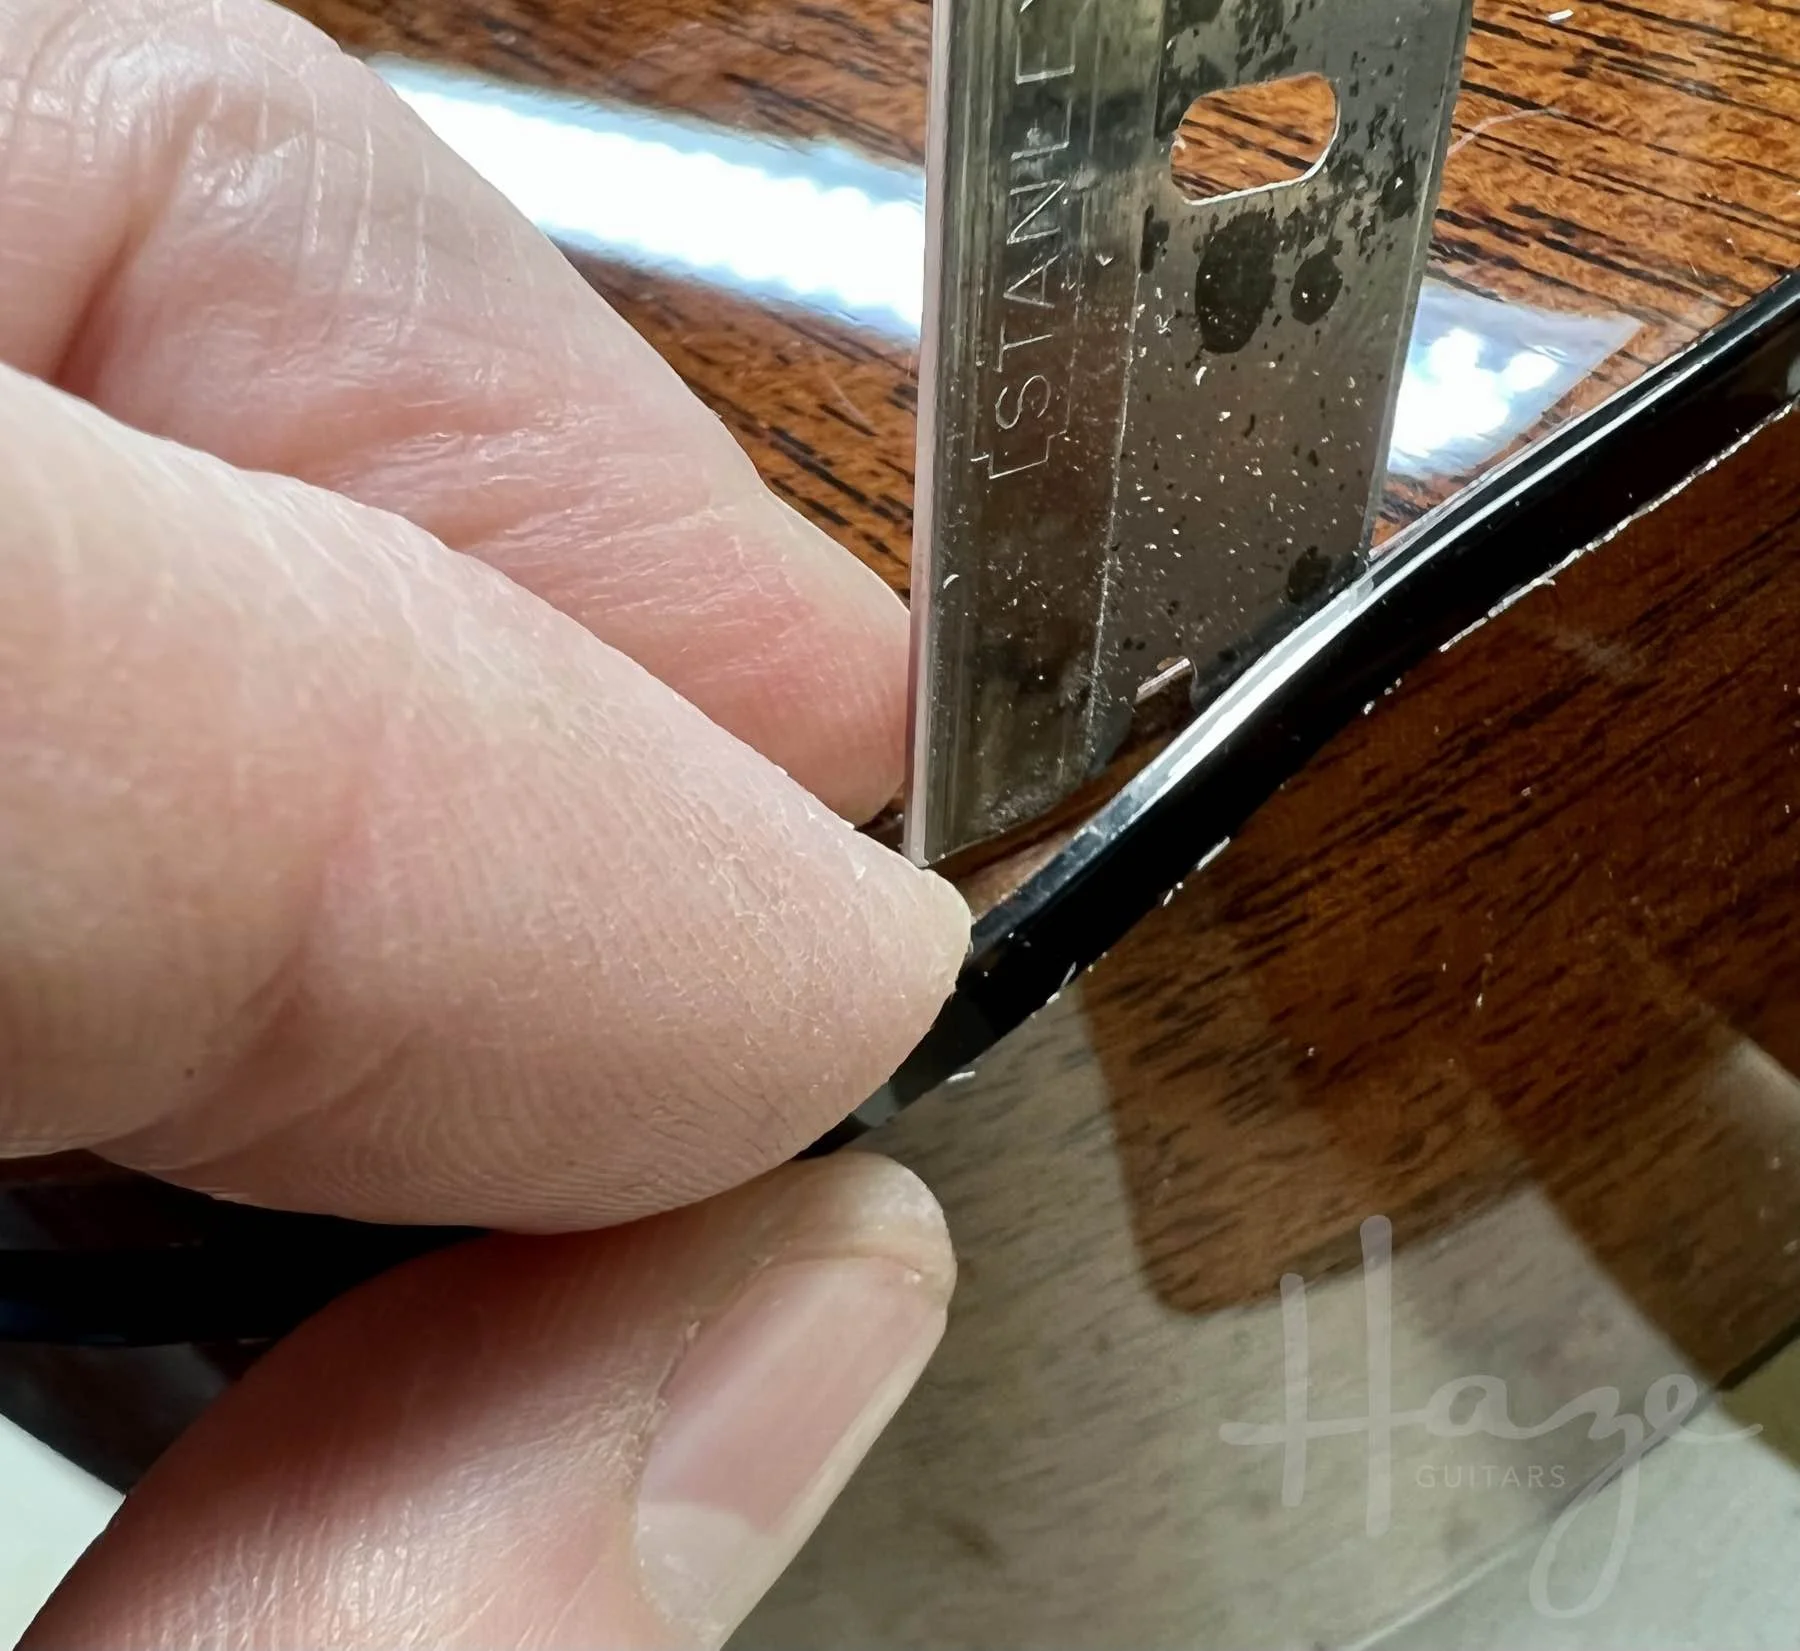
It’s a pain in the ass but the best thing to do is to release the binding all the way back. I use a razor blade to (very slowly and very carefully) separate the binding from the body. It doesn’t need a lot of force here—you’re not hacking at anything. If you pull away a little with your free hand as you move the razor slowly forwards, the binding will come away from the wood without too much trouble.
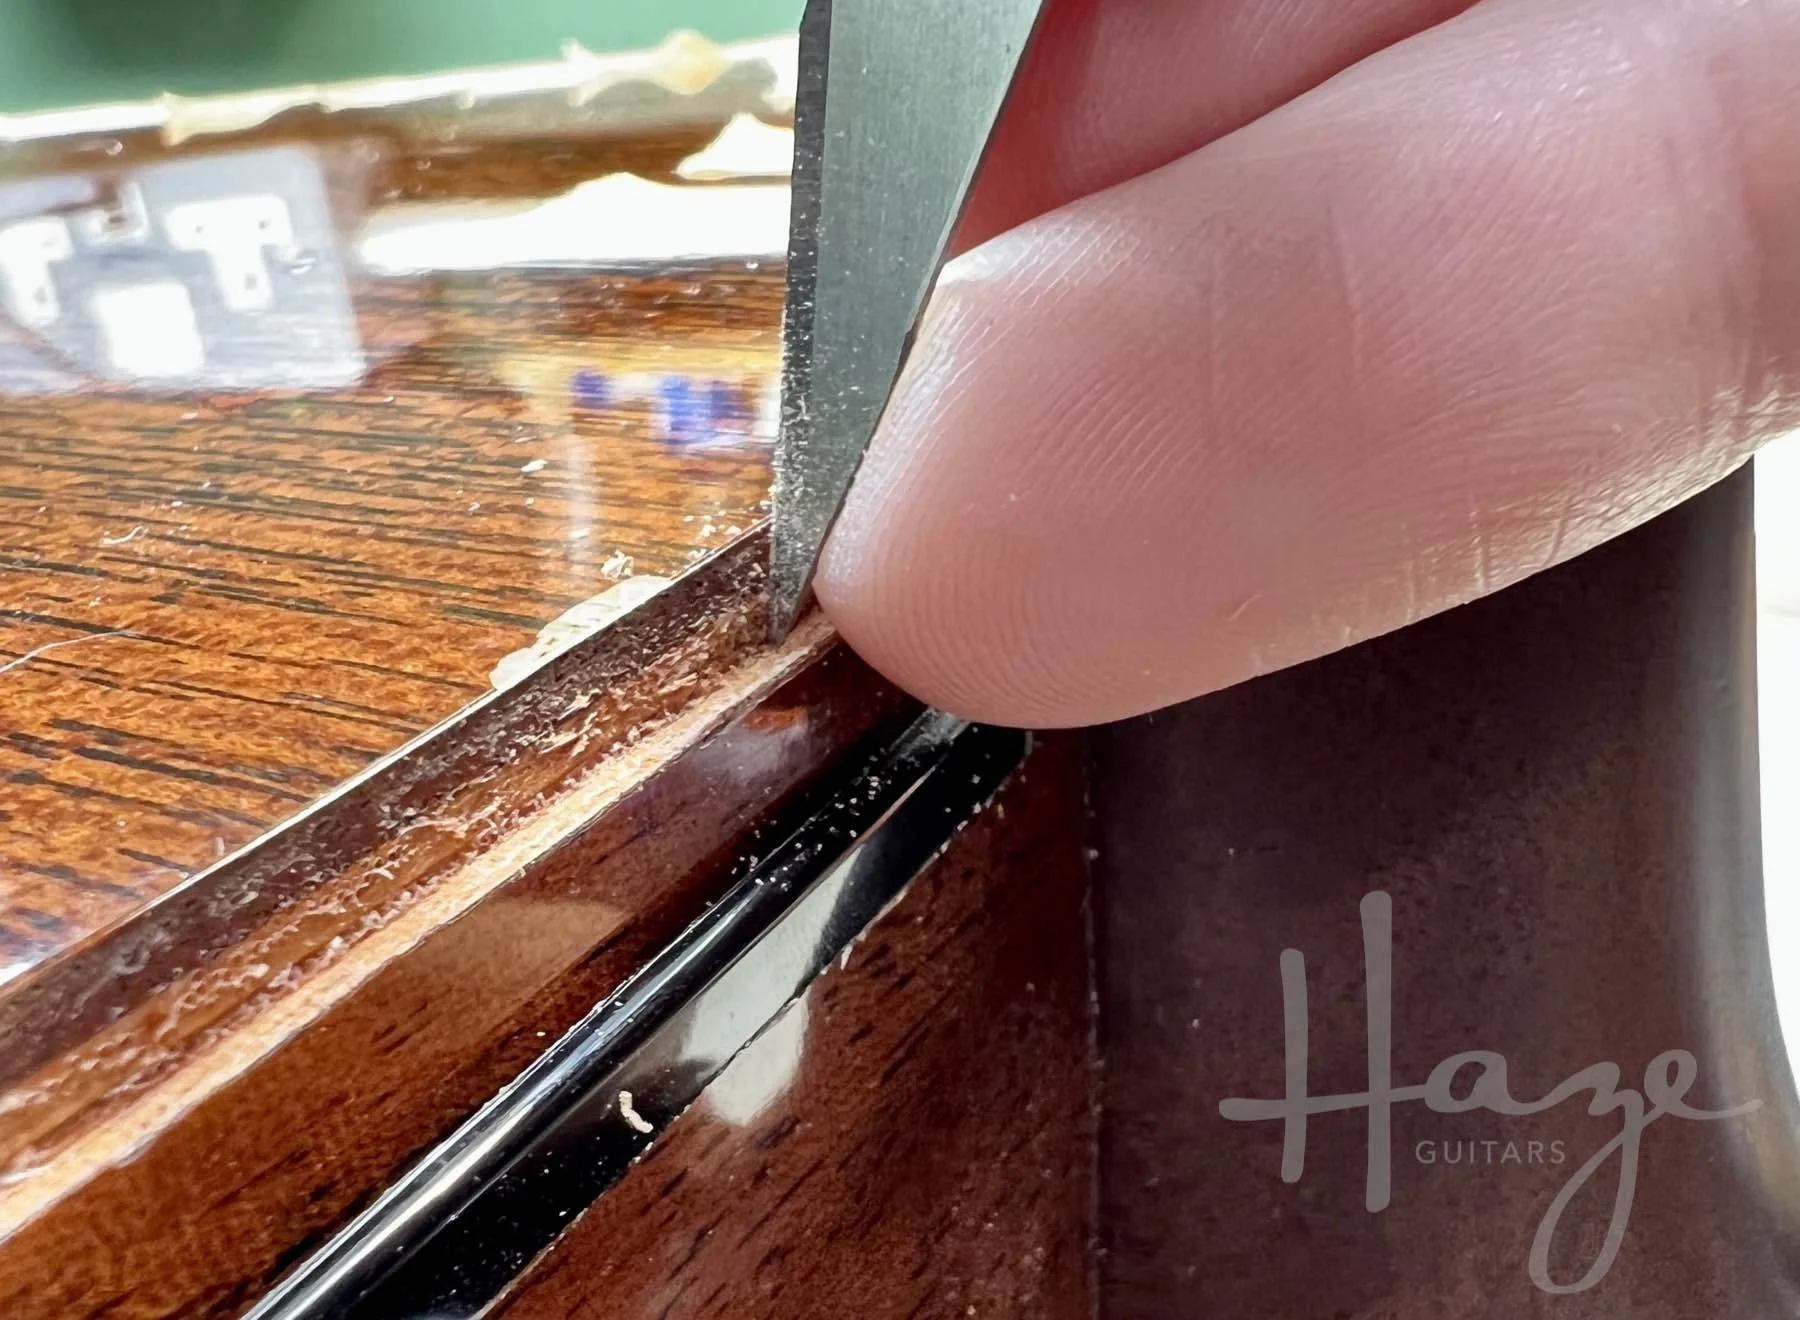
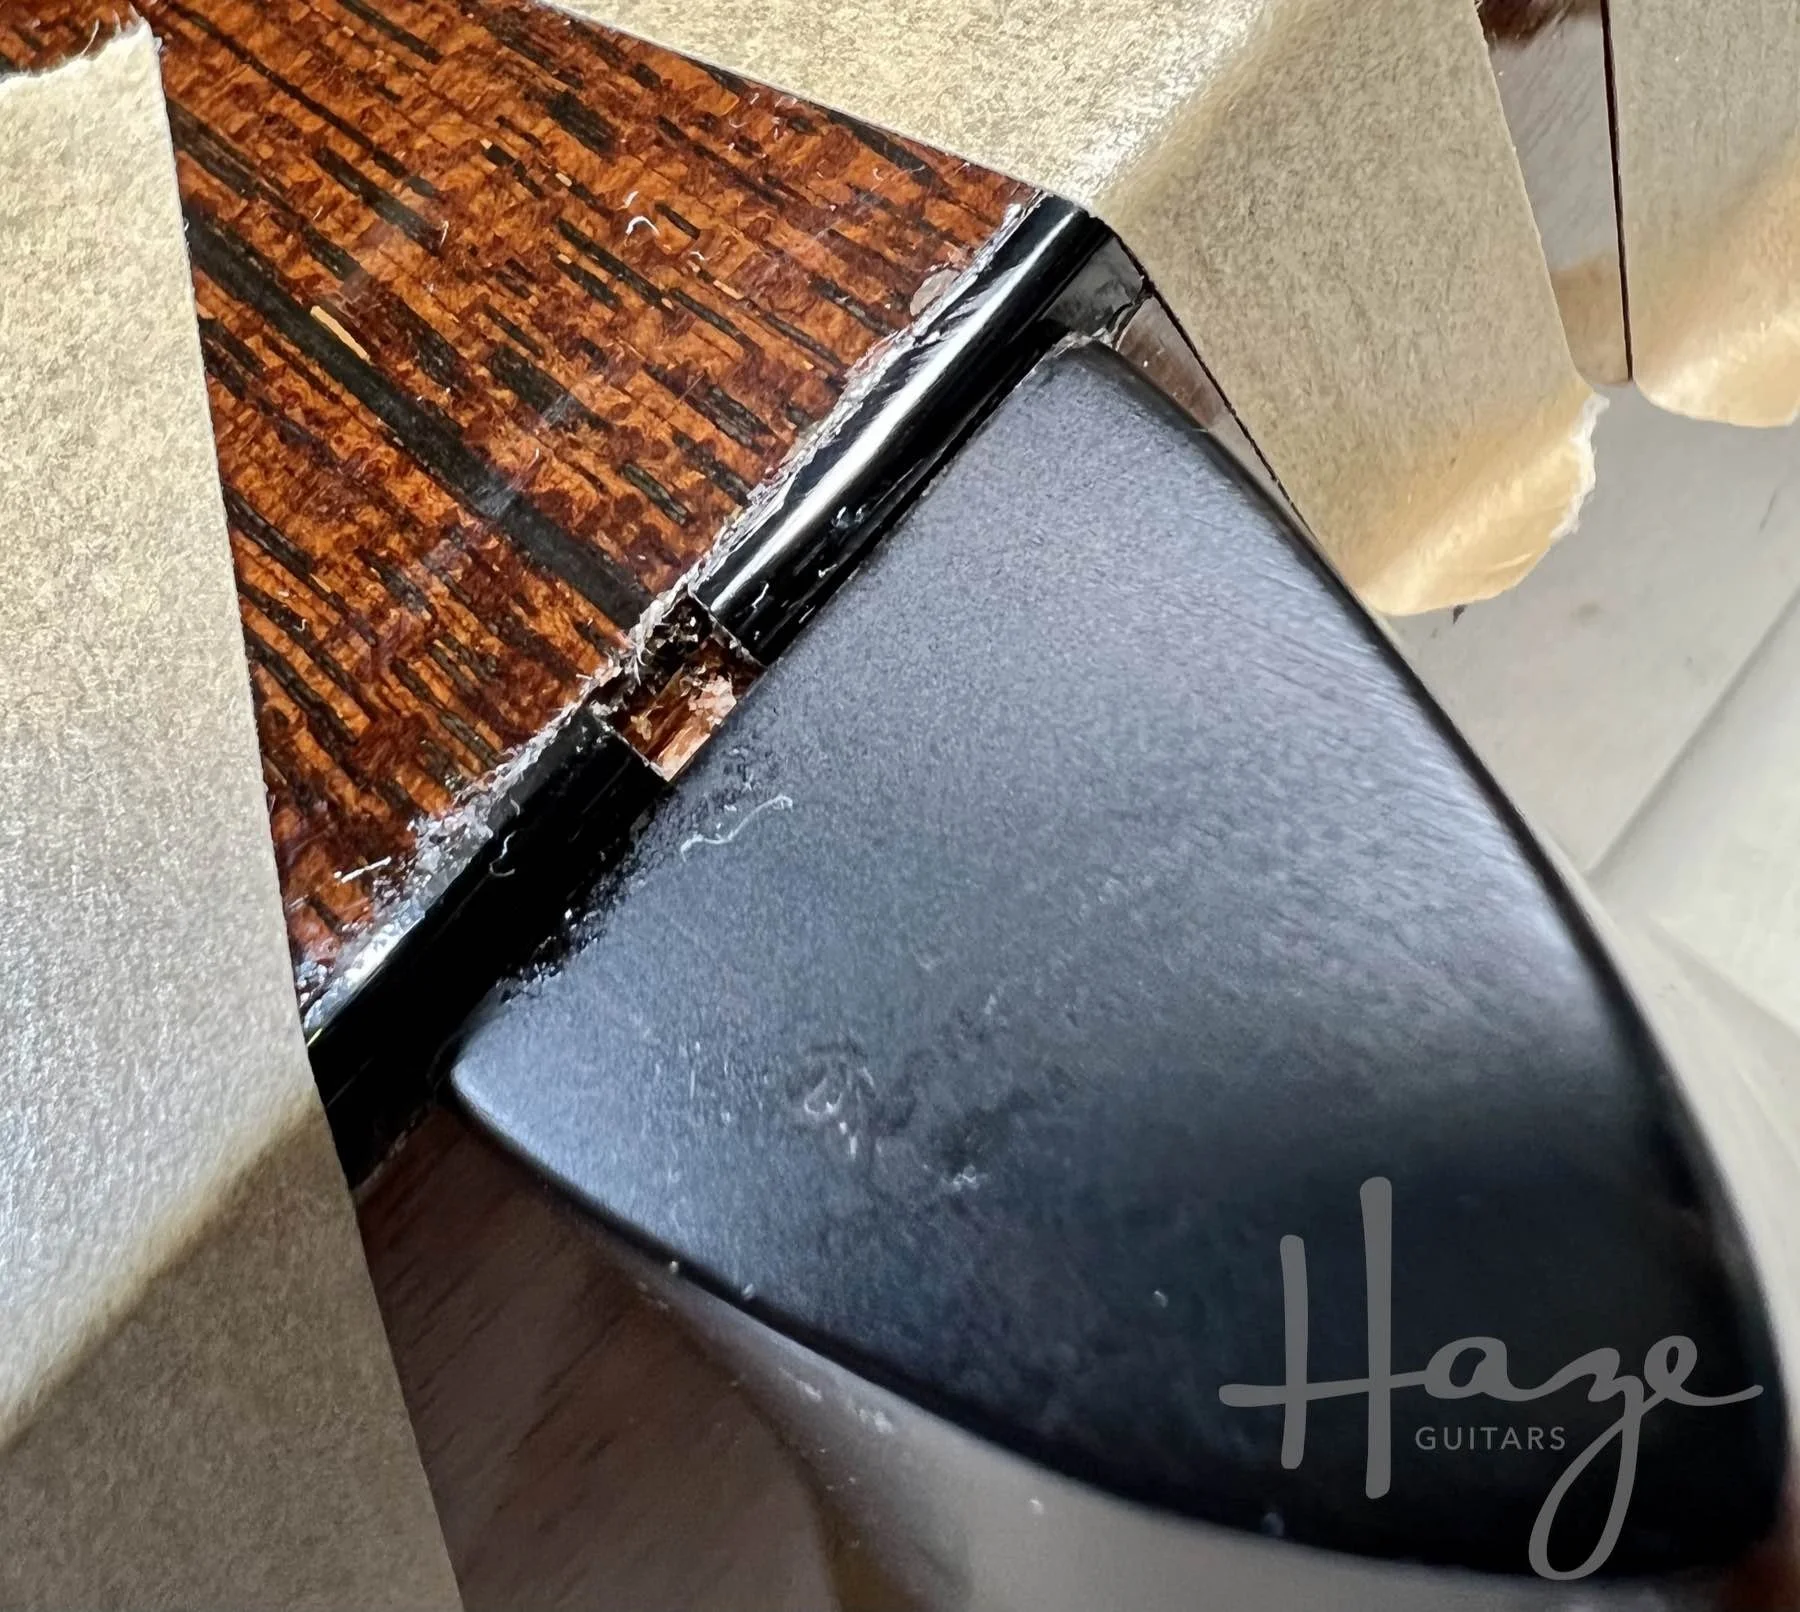
Speaking of trouble, though… For older instruments or those where the finish has already thinned, worn, or taking a bit of punishment, this process is usually ok. For newer instruments (and I’ve now seen this on a few relatively new and pristine Martins), you might need to take more care with the finish. This process is not typically too ‘chippy’ but I usually use a sharp craft knife to score the finish (lightly) along the binding lines just to encourage it to come away cleanly.
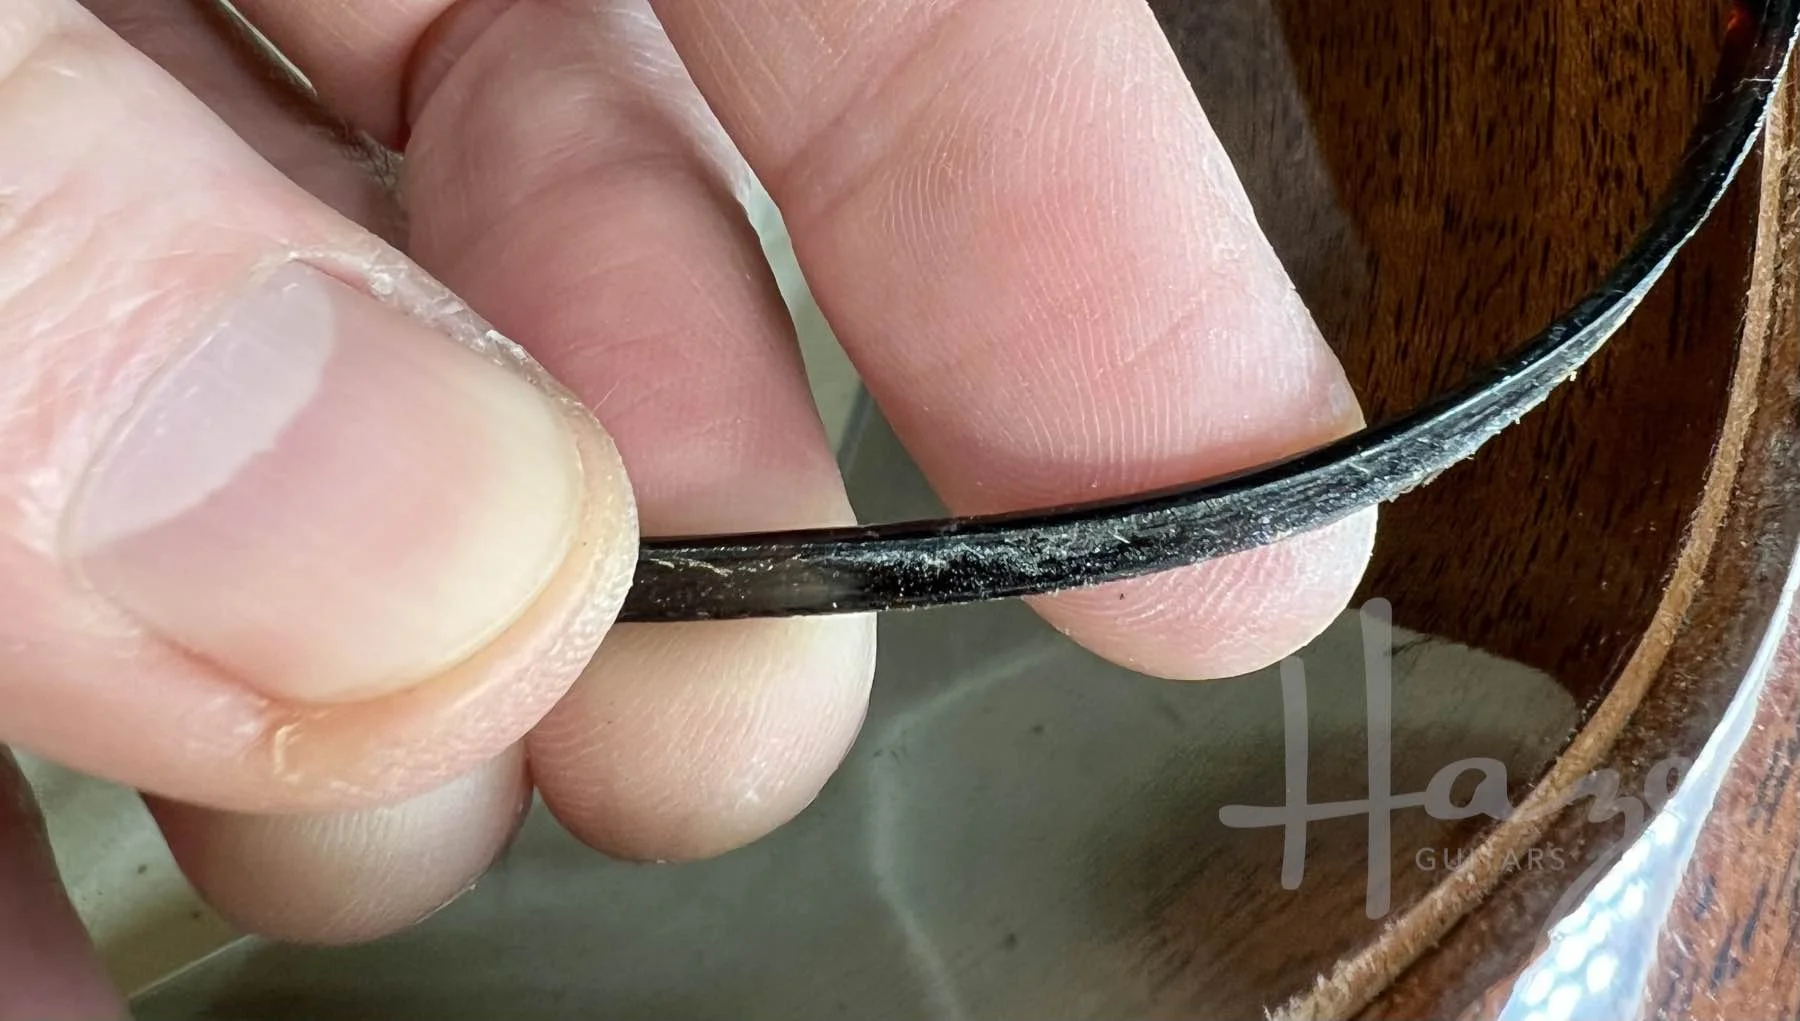
After some time, your patience will be rewarded with a binding that’s loose all the way to the seam. Now it needs to be cleaned up.
You’ll want to remove as much dried glue from the binding channel as possible. A sharp craft knife works well here again. Those little offset mini chisel are also good for the base of the channel. Whatever way you choose to do it, don’t go nuts. You don’t want to chip any more finish and you definitely don’t want to cut the channel out of shape.
Same process for the back of the binding itself. Use a blade to scrape the glue off the back and bottom. I’d advise against using sandpaper here as it’s easy to alter the shape of the binding if you’re not careful.
Then glue it all back into place. Often for binding, some sort of solvent-based glue is recommended (because it works really well). However, on an instrument that’s already been finished—especially if that finish is nitrocellulose—you don’t really want to get any solvent onto the finish. So, for these repairs I usually use fish glue. Hide glue or even Titebond will work just fine too. I've recently found 'Canopy Glue' (thanks to Evan Gluck, if I remember correctly — thanks Evan) which is used by model makers and seems to work really well. I suspect it will become the glue of choice for this in the future.
Remember I said we could take advantage of the neck or end block being unobtrusive places to place a binding seam. We’ll add our binding graft here and it’ll be nice and discreet.
OK. This is running long and I’ve only done half a guitar. I’ll pick this up again next week.
By the way, I should note that you could graft a piece of binding near the trouble spot at the waist and avoid all this separating-back hassle. Maybe. You might get away with this with darker or tortoiseshell bindings where it can be easier to hide the seam. It’s harder to hide the graft in lighter coloured bindings, though. And, no matter the binding type, there’s more risk of a repair being aesthetically obvious when you graft so choose wisely.
This article written by Gerry Hayes and first published at hazeguitars.com


