
Repairing shrunken and separating guitar binding
This is the second part of repairing shrunken guitar body binding — specifically working around the front of the guitar and navigating the tricky area where the binding disappears under the neck heel. There's also a small but useful tip about tape that I somehow forgot to mention last week .
Shrunken bindings often cause gaps at the internal curve of the guitar waist. Last week we looked at the annoying process of working shrunken binding free from a guitar body to provide a little extra slack at the waist. We pulled this slack back and glued the binding back in place, leaving a little gap at the start/end point which we filled with a new piece of binding grafted in.
So, with the back taken care of, it’s time to move around the front of the guitar. The procedure is pretty much the same for carefully separating the binding from the body—score along the joint to give the lacquer a handy ’break-line’ and then gently work the binding loose with a craft knife blade.
So far, so similar. When we get towards the neck, however, things take a bit of a twist.
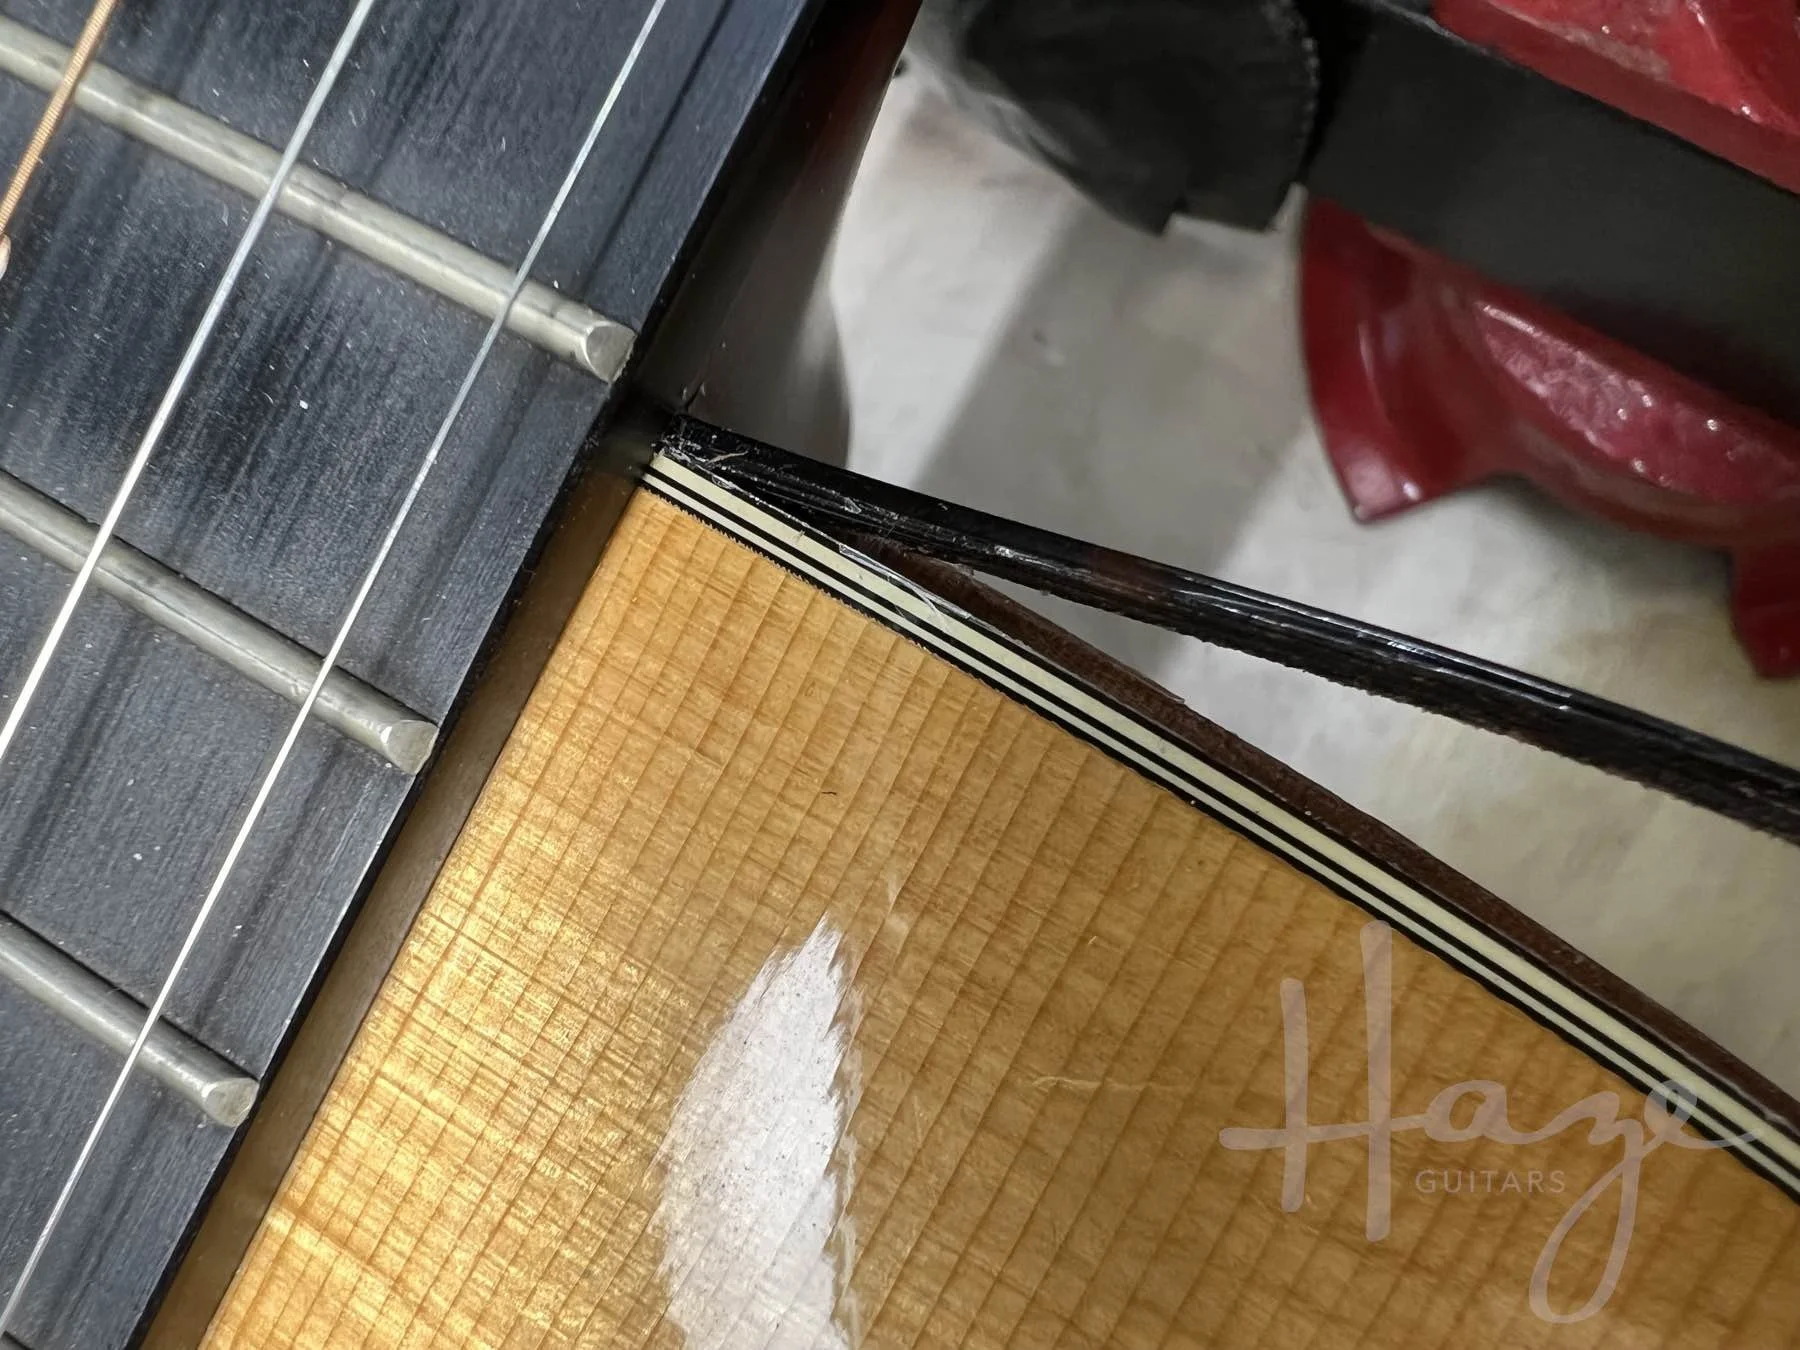
You see, before that neck was attached, the body binding was installed and it was installed a little past where the neck meets the body. Underneath that neck heel and fingerboard, the binding channel continues. That means, if we’re careful (and slightly lucky), we can pull the binding free from under the neck.
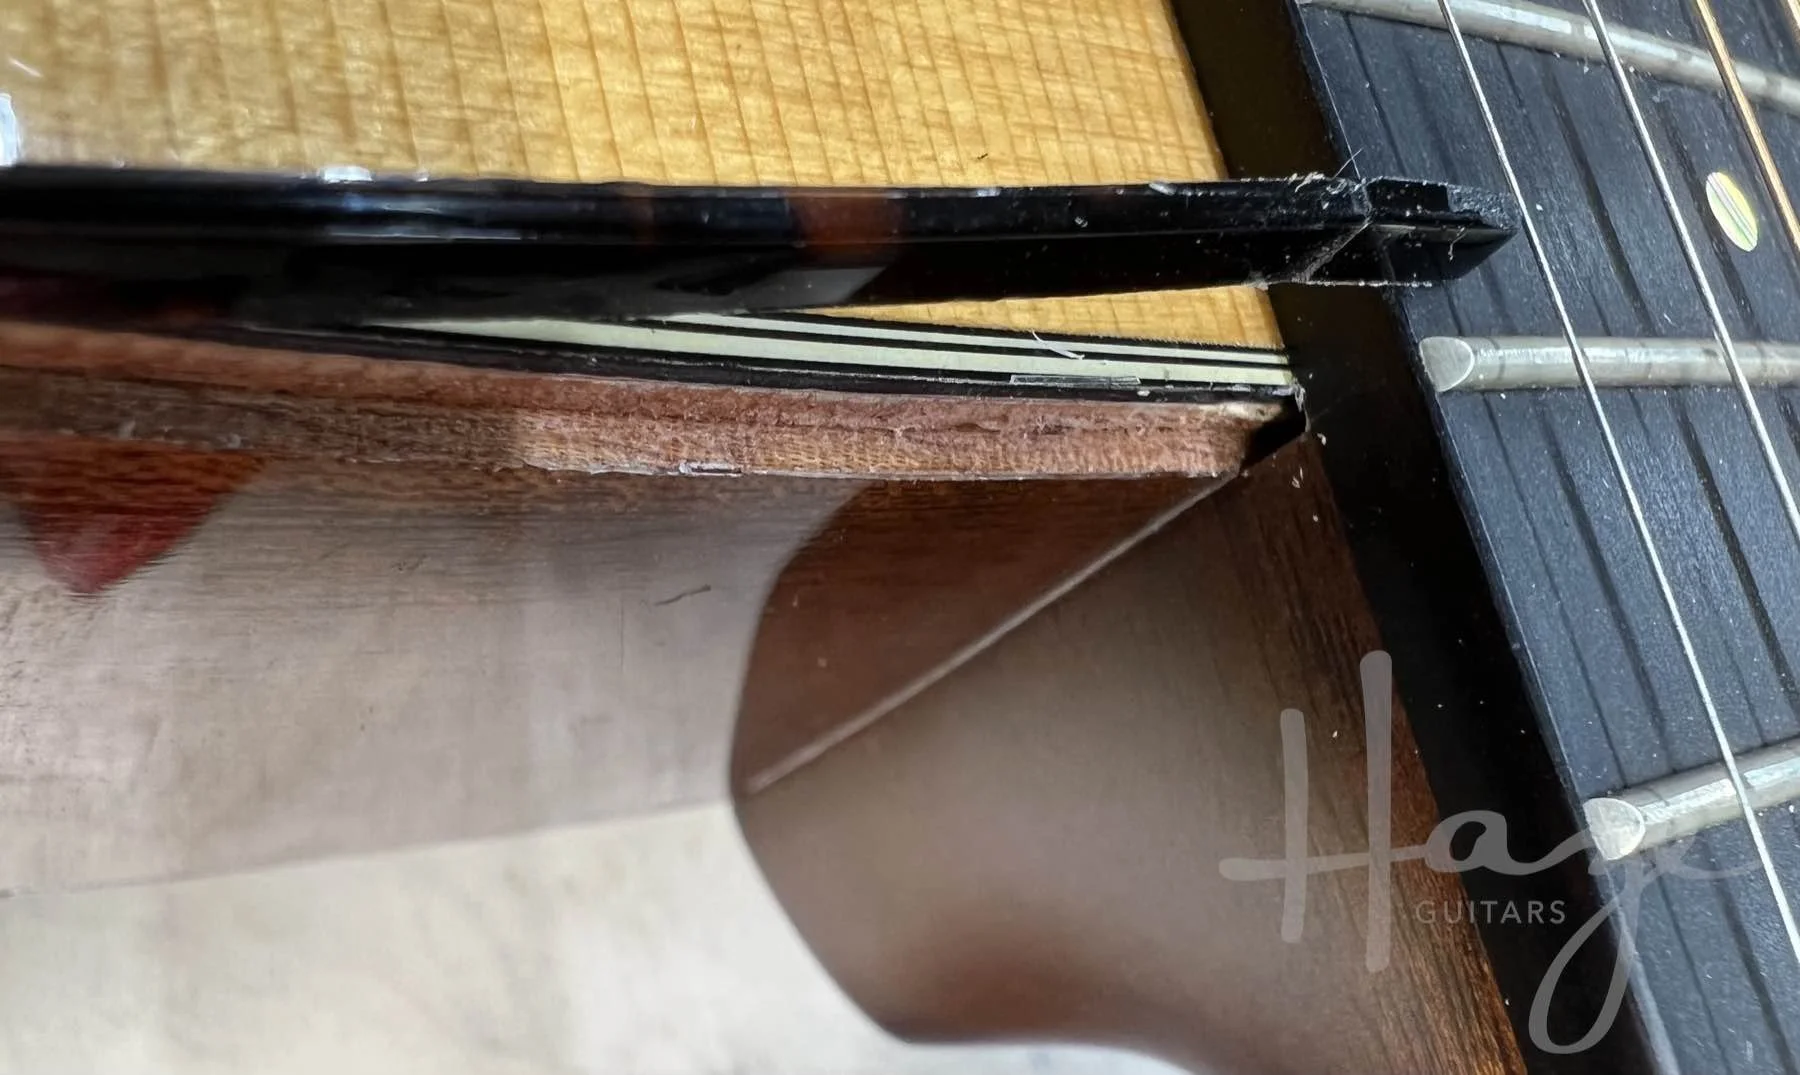
There’s no real trick to this. Just wiggle it and apply some pressure. If your luck holds, the binding will eventually pull out, revealing maybe 10mm (⅜”) or so of ‘spare’ binding length. If you luck doesn’t hold, the binding will break, leaving you having to graft a piece in but the good news is that a graft in this area right at the end will be pretty discreet. It’ll usually pull free, though.
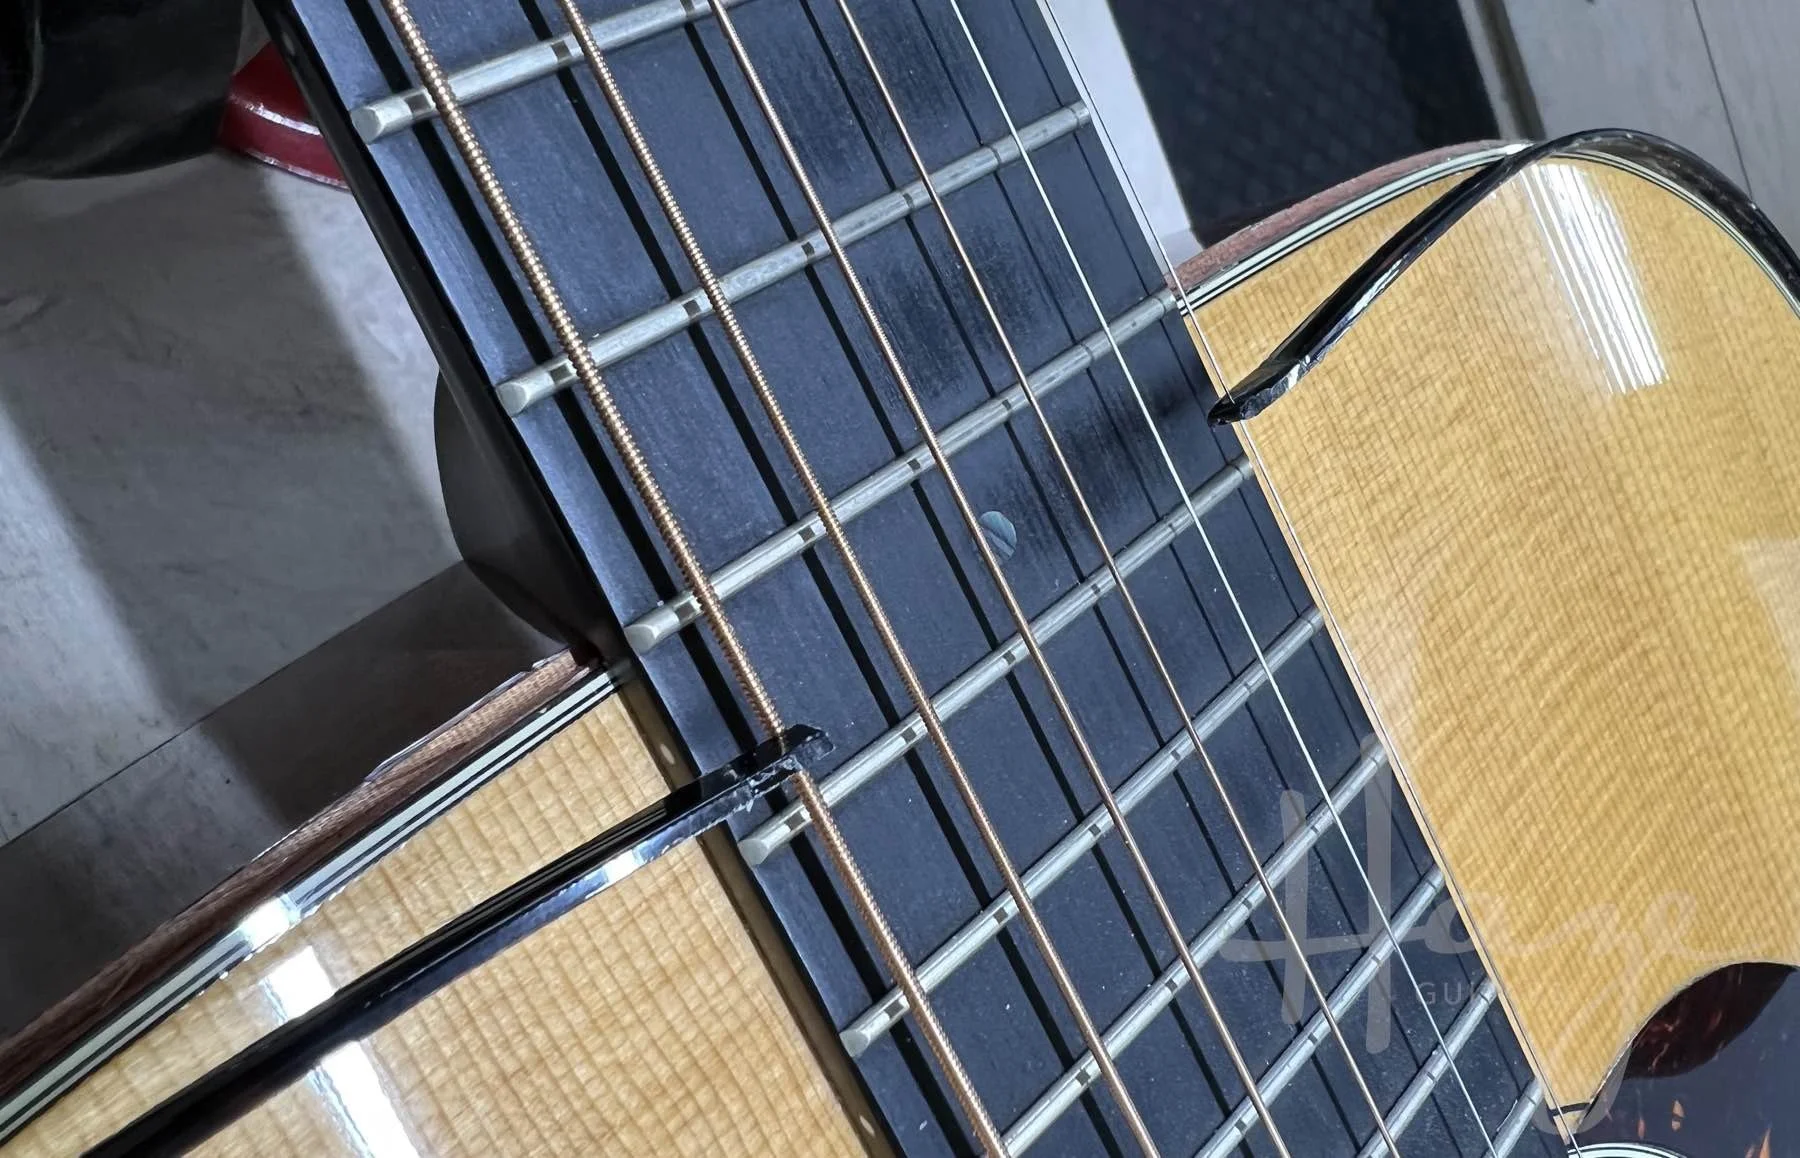
At this point, you’re back to cleaning the binding channels and the back/bottom of the binding to remove glue residue. Then glue it all back again. When you get back around the neck area, it should be relatively straightforward to push the free ends back into their slots for a nice clean job.
Incidentally, I don’t think I mentioned the tape last time around.
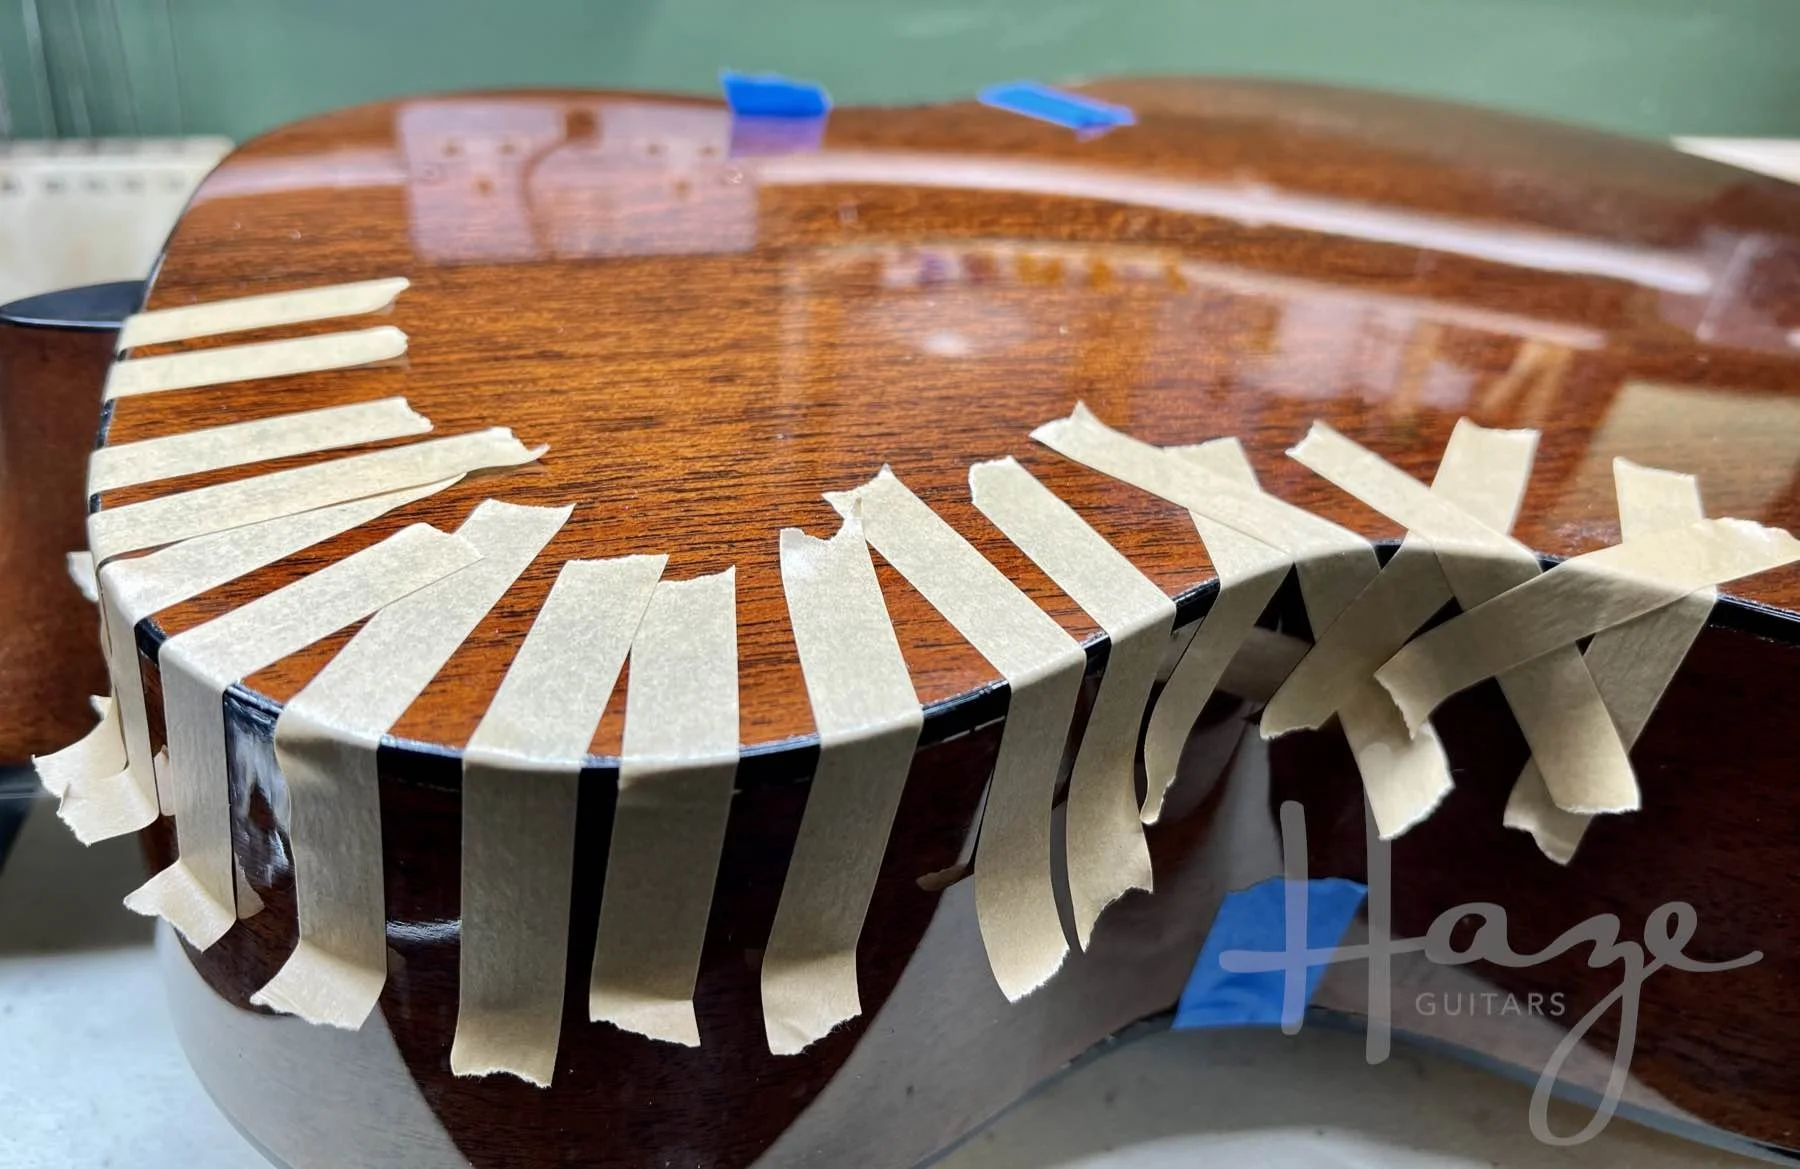
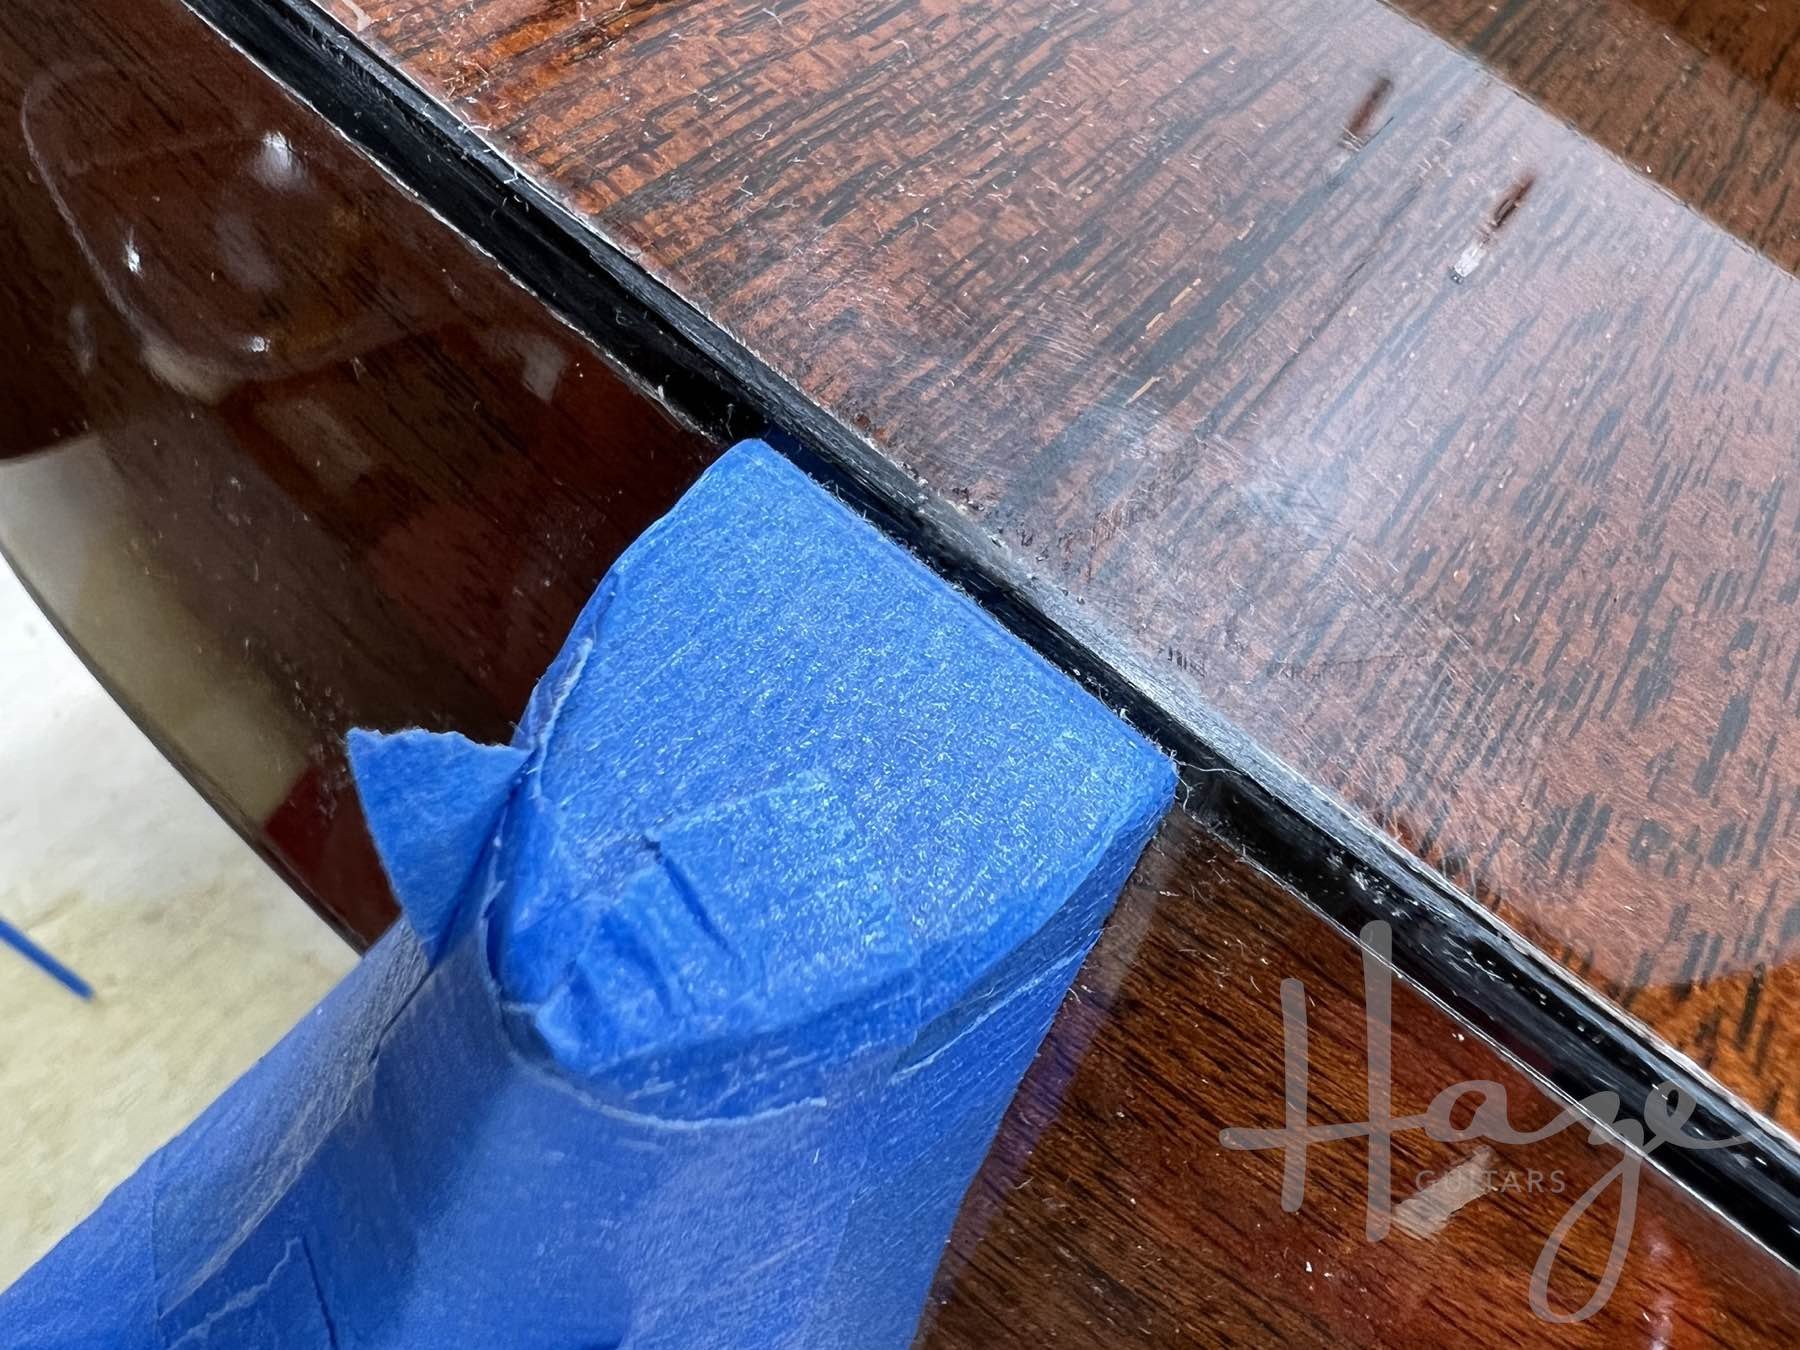
This is great tape for this job. So much so that Stew Mac sells it as ‘binding tape’. It’s strong, grippy, and most importantly, it doesn’t stretch. It went away for a while a few years ago but the Stew Mac folks managed to find another stockist. Yay! This stuff is very sticky but doesn’t tend to leave much residue. However, beware of its grip on delicate finishes.
You’ll notice I’ve put some strips on at an angle rather than perpendicular. I feel like this works better at keeping everything snug on these internal curves but I admit this may well just be some weird superstition I’ve developed. Give it a try and feel free to follow your own heart on the tape angle decision. 😄
This article written by Gerry Hayes and first published at hazeguitars.com


