
Aligning a bolt-on neck
Lining up a replacement neck sounds straightforward until a clamp gets in the way of your centre-line check. In this one, we'll walk through a simple trick that solves the problem neatly — useful whether you're fitting a bolt-on neck or even reattaching after a neck reset.
From time to time, it’s necessary to install a new neck. Most often, this is for a bolt-on guitar and the neck’s being replaced for preference reasons (feel, look, etc.) or for repair reasons (broken, don’t want to refret, whatever). Of course, sometimes repair reasons can mean a new neck has to be installed onto instruments other than bolt-ons. Reattaching the neck after a neck reset is probably the big one here.
When you’re doing this job, it’s absolutely vital to make sure the neck is straight. If it’s not the strings on one side can end up too close to the edge of the fingerboard and make playing uncomfortable or even impossible.
You can use a long ruler along the centre-line of the neck. Make sure that centre-line aligns perfectly with the centre of the bridge saddles and you can be pretty sure you’re good. That’s often what I do when I’m resetting necks. When you’re trying to line up a bolt-on neck, though, there’s a complication. You need to get your neck lined up and then you need to flip the guitar over so you can mark for neck screw positions through the screw-holes in the body. That’s almost impossible to do without actually clamping the neck into position on the body and, when you clamp the neck to the body the damn clamp’s in the way of your centre-line. Doh!
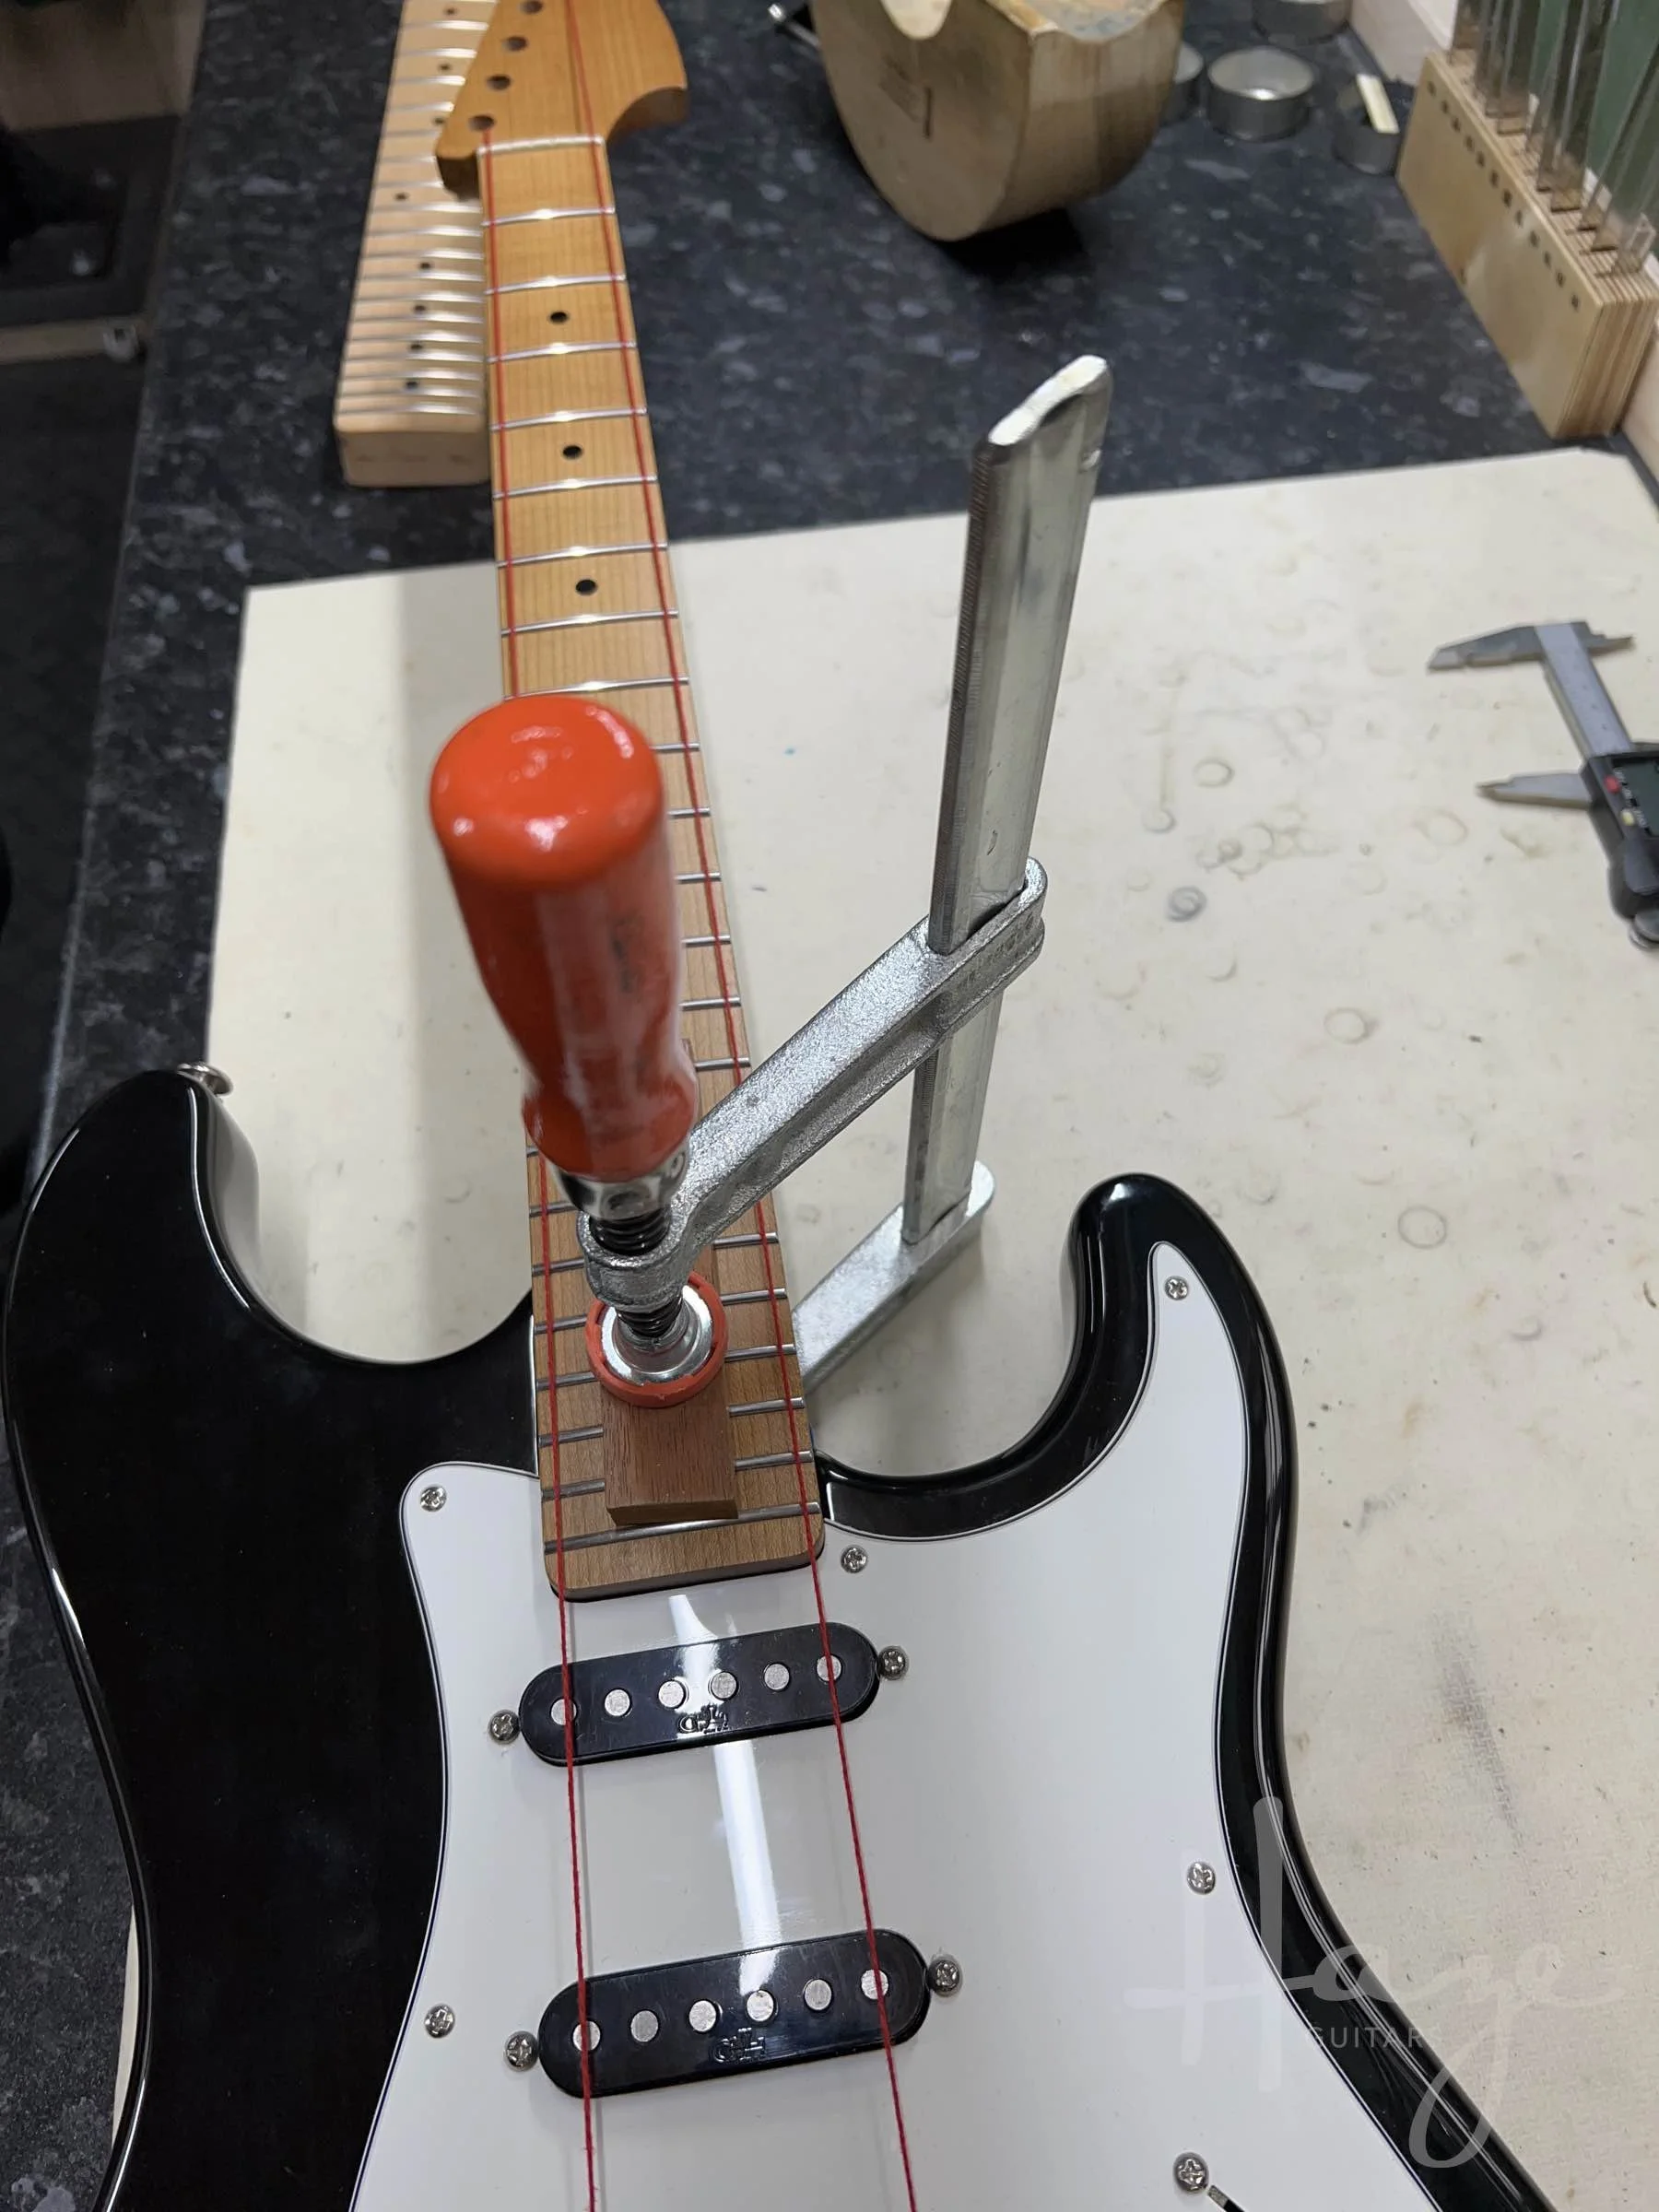
A bit of thread will save the day.
This is a length of heavy red thread that Bigsby package with their trems but any light string or wire that’s thin enough to sit on the nut slots without sliding about will do. This piece is long enough to run up and back down the length of the neck but you could use two shorter pieces if you had to. Thread it through the outside tuners/tuner holes and stretch it down to the bridge (or the other way around if you like). The important thing is that it sits in the outside nut string-slots and you can gauge how well it runs from there to the outside bridge saddles.
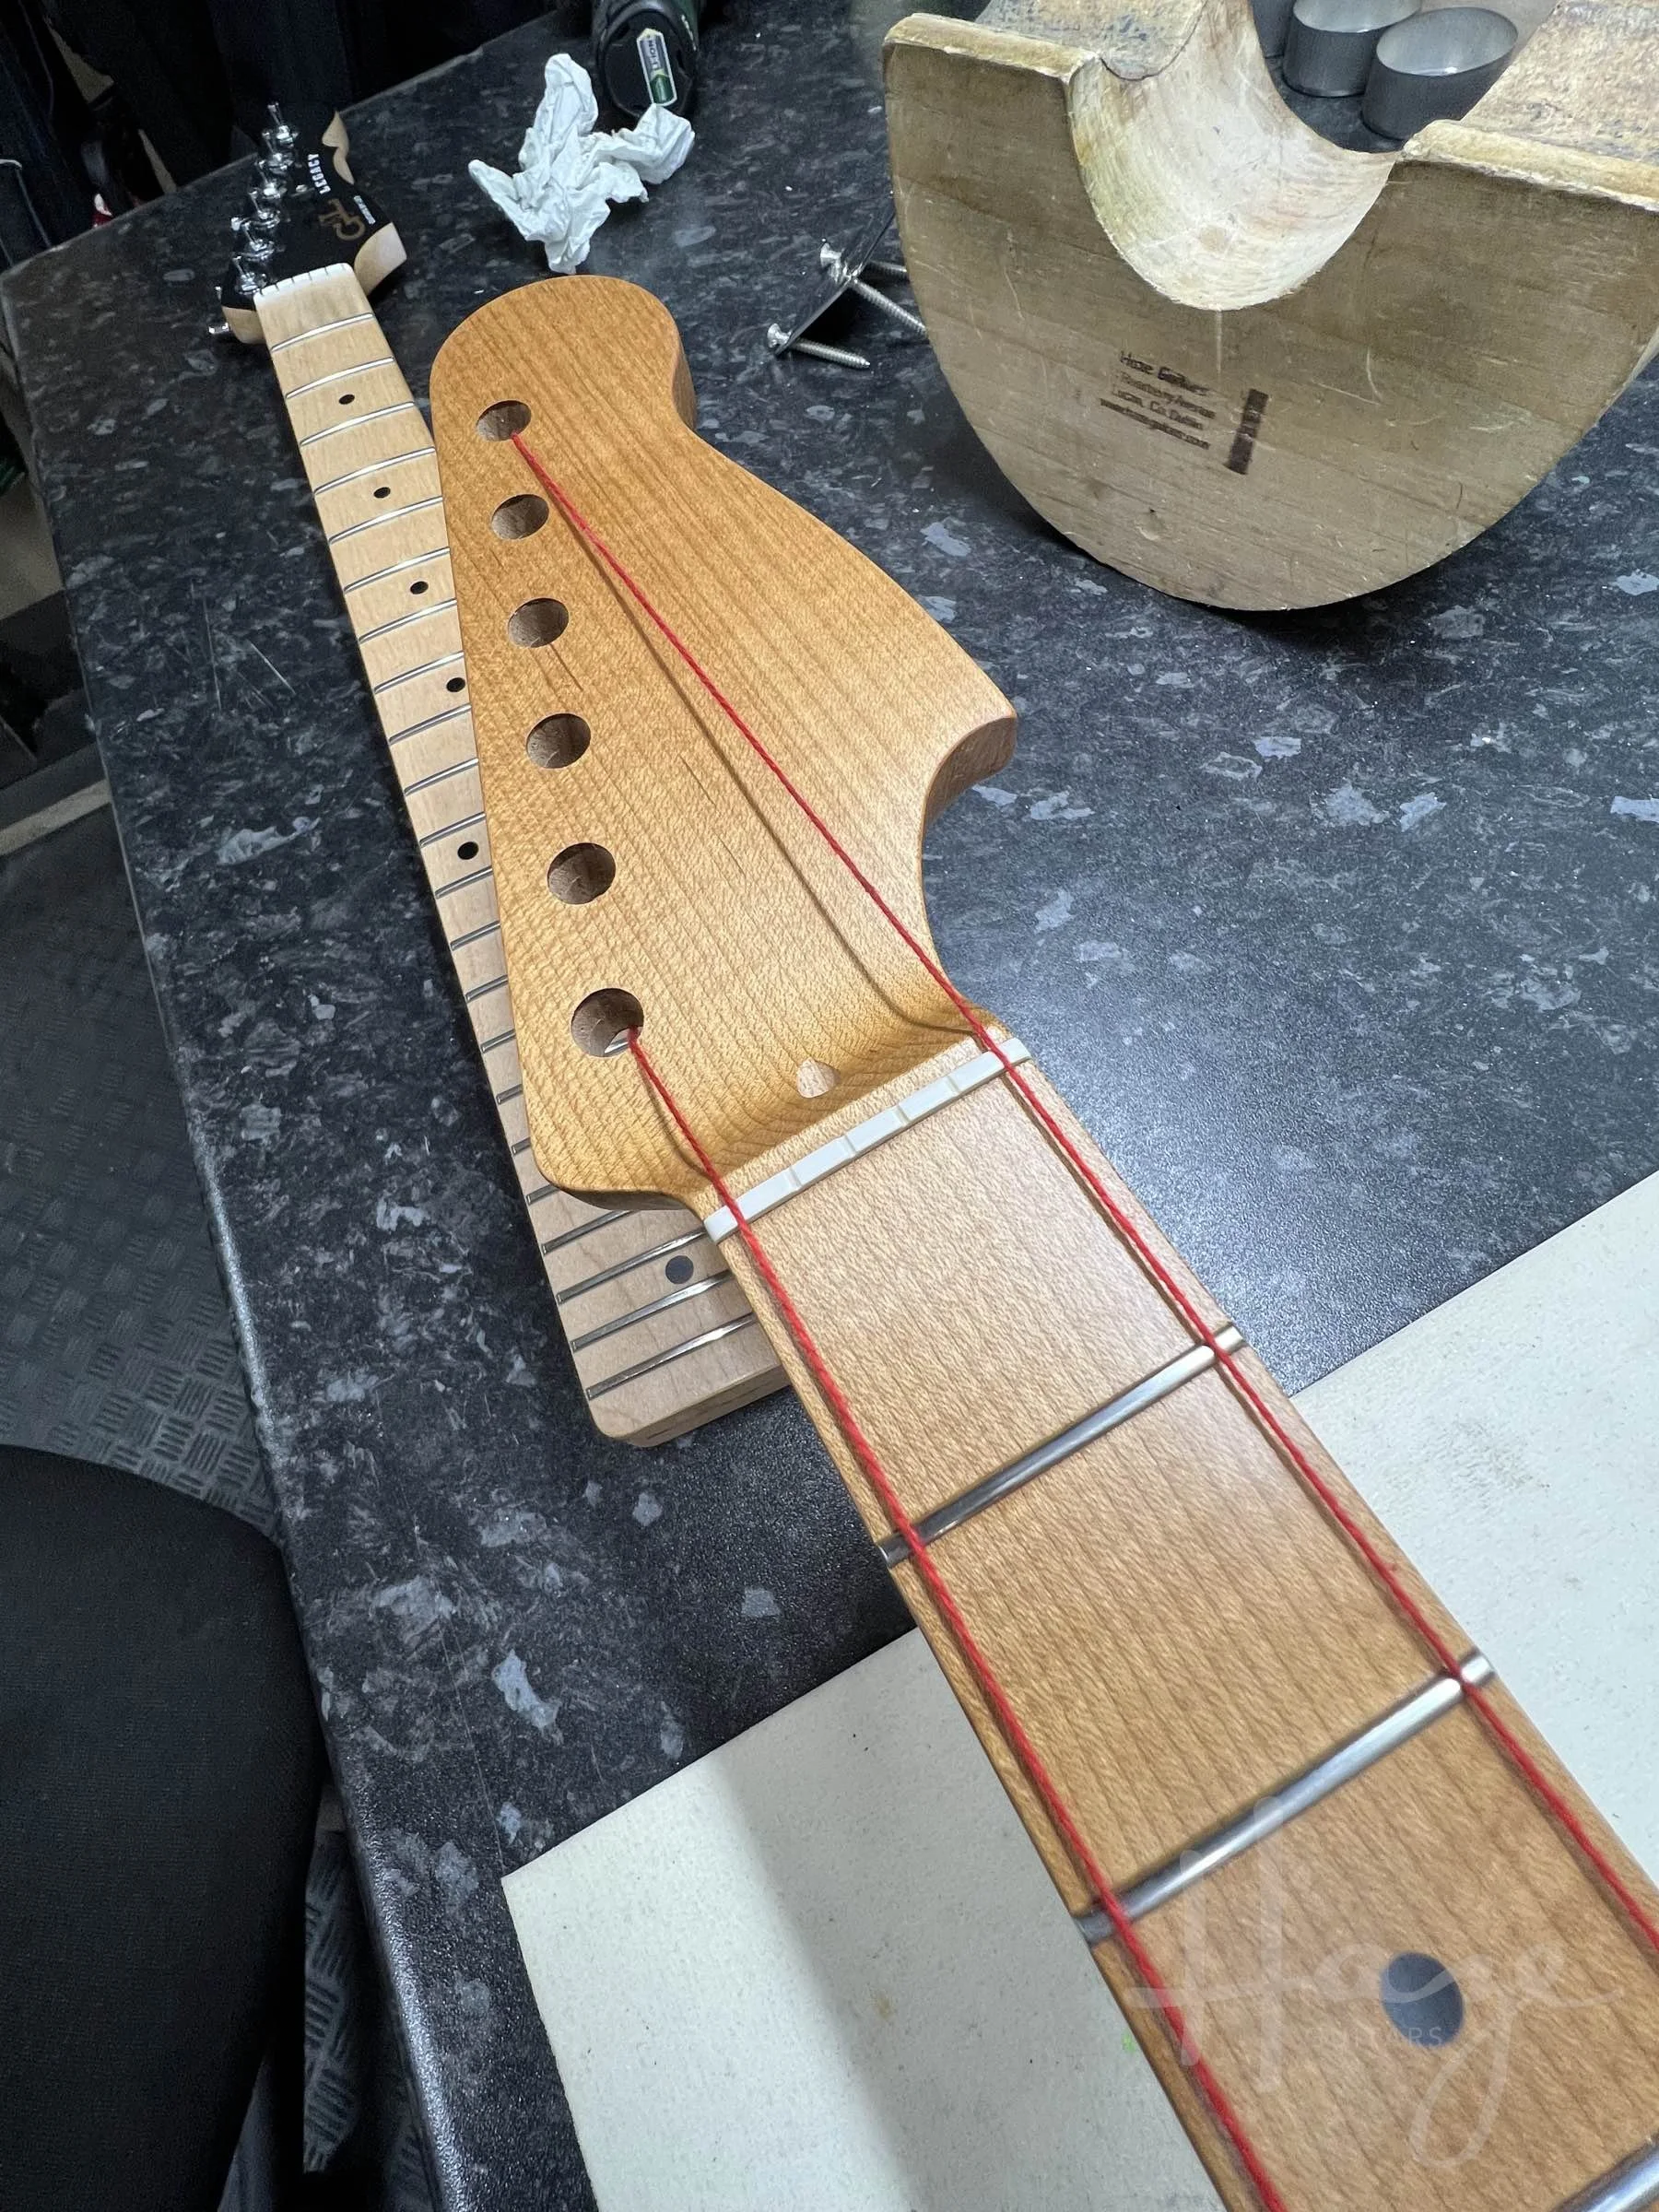
The thread doesn’t need to be tensioned up to pitch or anything but you’ll want to pull it reasonably taut to ensure it runs straight and true. You’re looking to ensure that the distance from the thread to the edge of the fingerboard is good and even all along the neck. Do this with your clamp snugged up but not fully tight and you can nudge the headstock-end to the bass or treble side as needed. When you’re happy, give the clamp a tighten and you’re free to flip the guitar and mark your holes. Easiest way is to insert an almost-fitting brad-point drill bit through the body holes and give it a twist to make a mark on the neck heel.
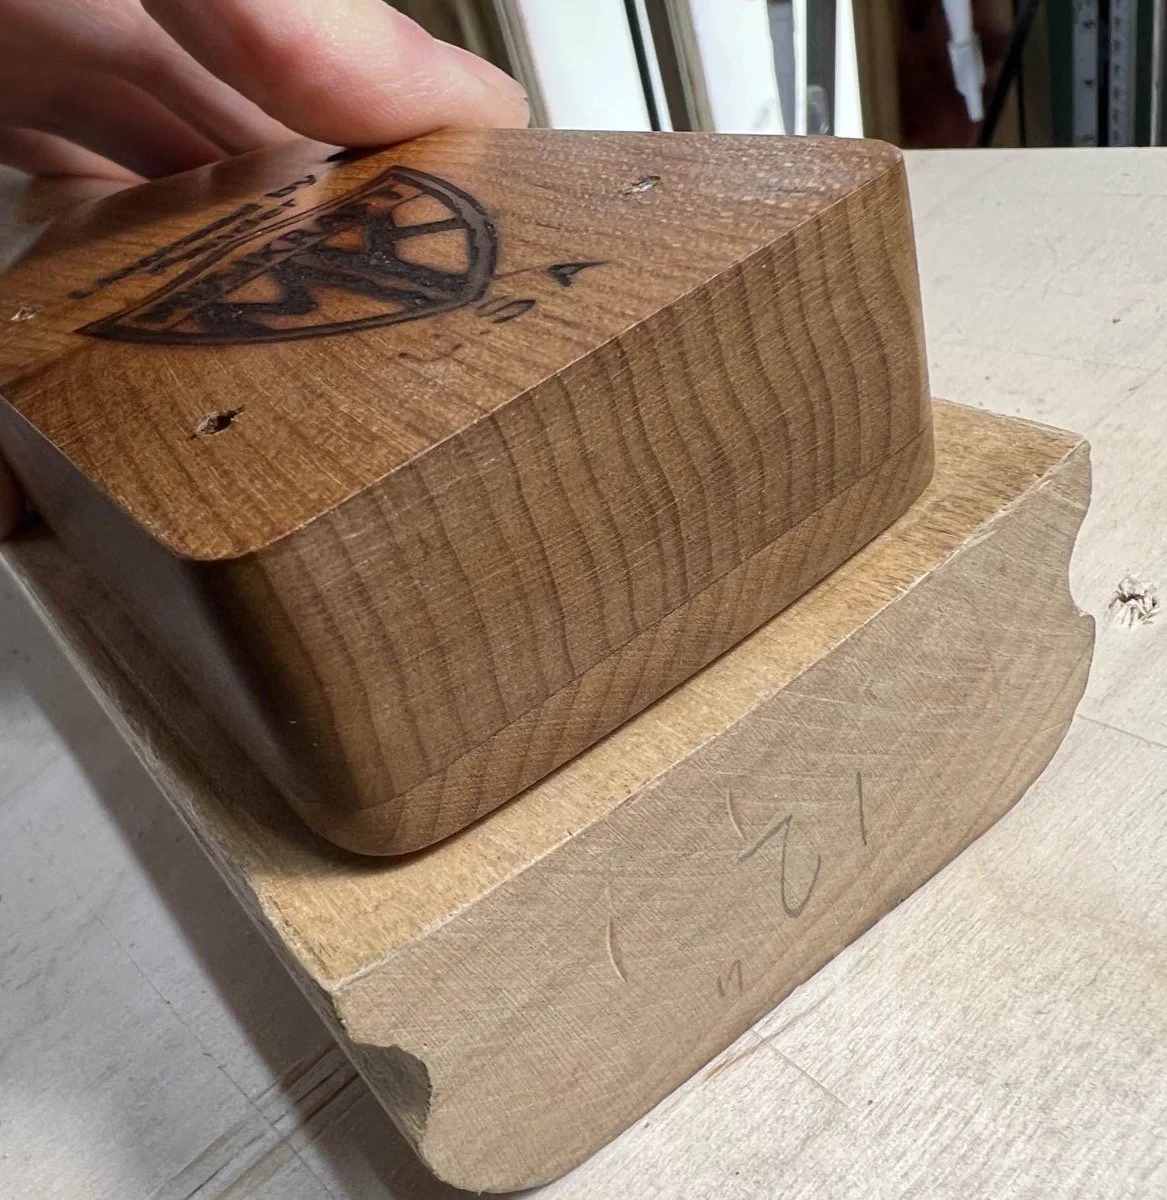
Then, you can remove your clamp and drill your screw holes. I recommend using a radius block under the fretboard so you can ensure the holes go in perpendicular to the heel. If you’ve a vice for your pillar drill, that’d do the job too.
This is a pretty simple tip but it’s really useful. Even when I can get to the centre line with a long ruler, I’ll often follow up with this to make sure all is definitely well. As we say in Ireland, “To be sure to be sure.” Good advice. 😄
This article written by Gerry Hayes and first published at hazeguitars.com


